32
20. Once heating is completed, push the knob to continue.
Follow the instructions displayed on the screen.
At this moment the printer will lift up the platform and check the distance between the nozzle and
the center point of the platform. Next, the display will show a message indicating that the three cali-
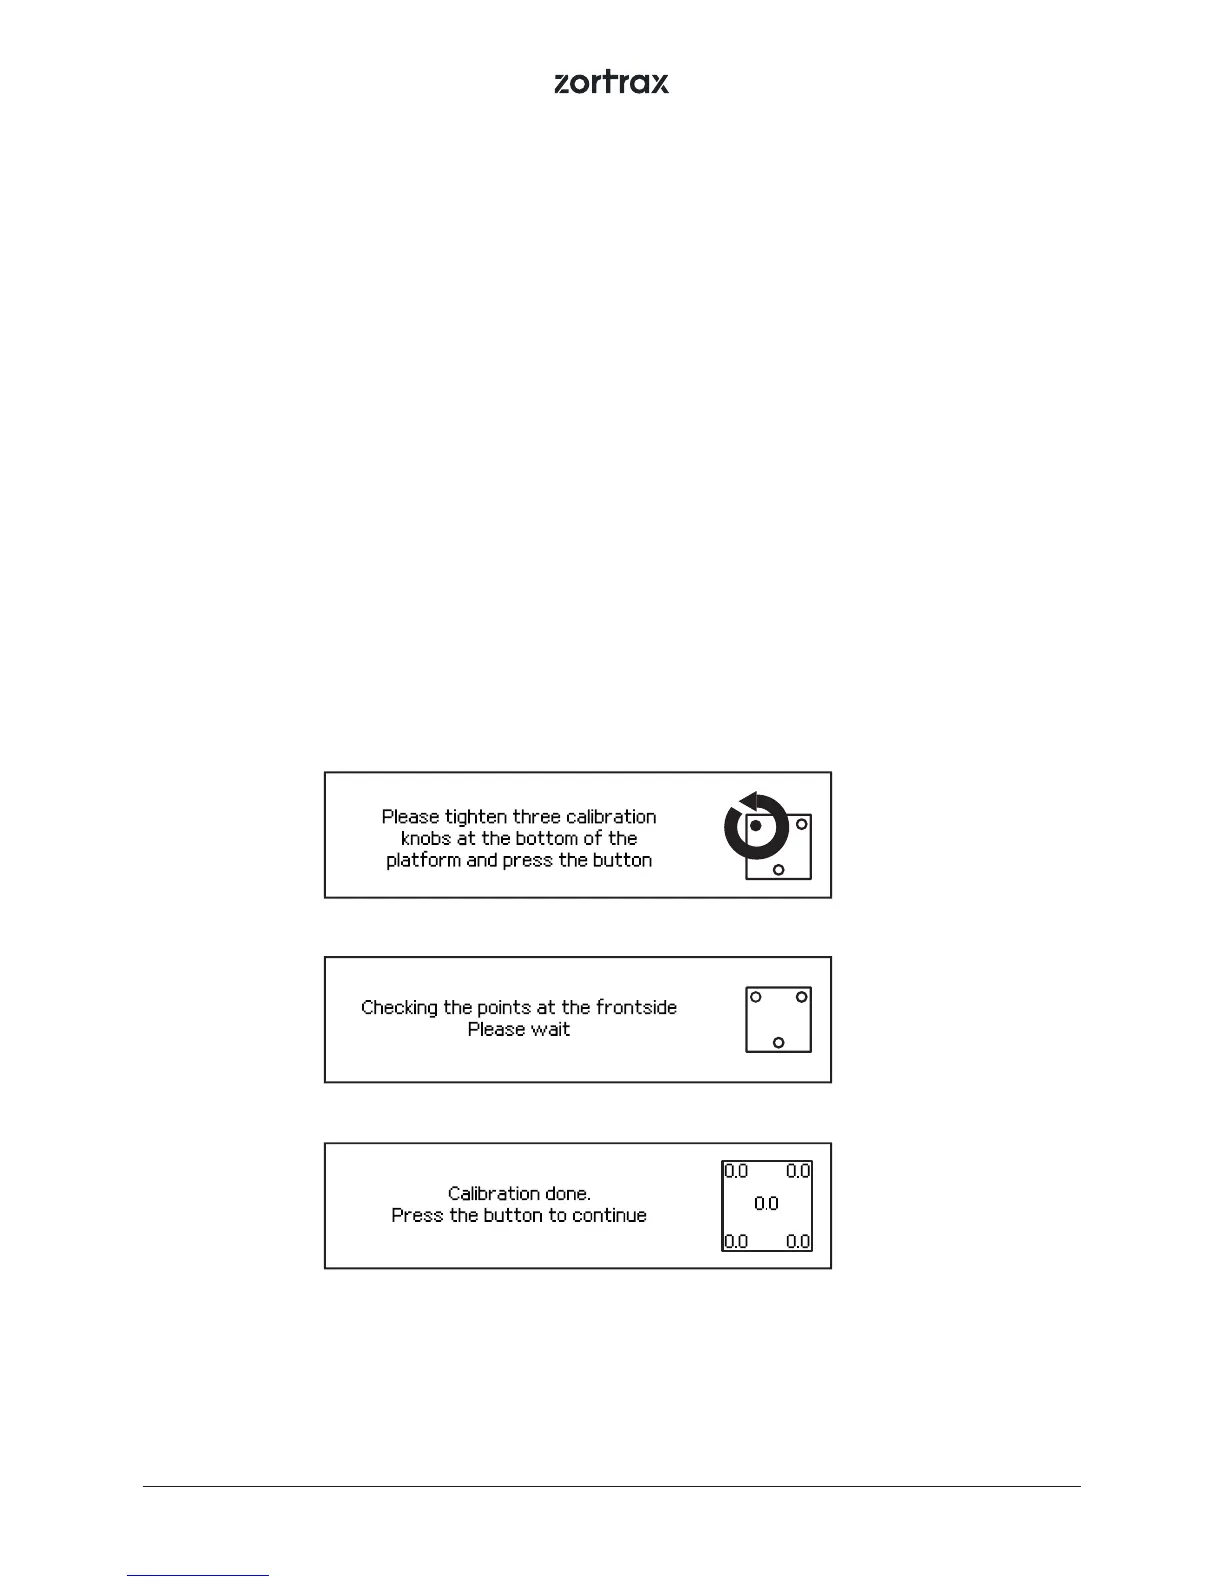
bration screws placed under the platform need to be tightened. Once you have tightened the screws,
push the knob to continue.
The printer will begin to check the distance between the nozzle and ve silver points on the platform:
two points at the front of the platform, two points at the back and the center point.
If the printer detects an incorrect distance in any of these points, the display will show instructions on
what adjustments should be made. Follow the instructions and tighten or loosen the screw indicated
in the message. Turn the screw slightly, only by a few degrees. Once you nish, push the knob and the
printer will recheck a given point on the platform.
If the distance between the nozzle and ve points is set within the acceptable limits, the printer will
nish the calibration procedure. Additionally, the display will show the calibration results.*
*M300 Platform Calibration:
In order to correct the dierence in values between the center and the side calibration points, you should tighten/loosen the two platform
screws placed next to the center point. If the center point value is 0.2 and one of the side points value is -0.2 (the dierence equals or
exceeds 0.4), you should tighten the screws, whereas you should loosen them if the center point value is -0.2 and one of the side points
value is 0.2.
 Loading...