Inserting the NIC in the PC
11
10 Click Done.
11 Exit the EtherCD, shut down Windows, and then turn off the power to the PC.
Do not remove the EtherCD from the CD-ROM drive. The next step is to install the NIC
in the PC. Go to the next section, “Inserting the NIC in the PC.”
Inserting the NIC in the PC
The following instructions apply to installing the NIC in most PCs. If these instructions are
not appropriate for your PC, refer to the documentation that accompanied your PC.
To install the NIC in the PC:
1 Remove all jewelry from your hands and wrists. Use only insulated or nonconducting tools.
2 Turn off the power to the PC and unplug the power cord.
3 Remove the cover from the PC.
4 Locate an empty, nonshared bus-mastering PCI slot and remove its slot cover. Save
the screw.
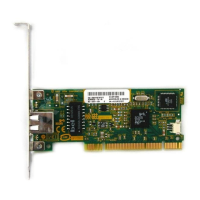
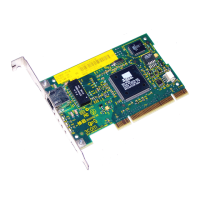
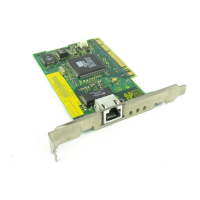
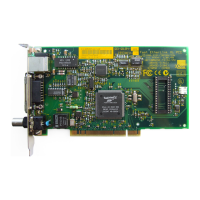
5 Carefully insert the NIC in the empty PCI slot.
Press firmly to ensure that the NIC is fully seated in the slot.
NOTE: If you have a Windows 95 or Windows 98 PC, do not install the NIC in
your PC until you have run the preinstallation program, as described in the
previous section,“Running the Preinstallation Program for Windows 95/98.”
Before handling the NIC, touch the bare metal case of your PC to discharge static
electricity from your body. While you are handling the NIC, wear a wrist strap
grounded to the PC chassis.
NOTE: Do not install the NIC in a shared PCI slot. Avoid any PCI slot next to an ISA
slot. This slot is often shared and does not support bus mastering.
If you are planning to install the Remote Wake-Up cable, choose an empty PCI slot
that is close to the matching connector on the PC motherboard. The Remote
Wake-Up cable is required only if your NIC supports Remote Wake-Up and you
want to use this feature.
If you do not know how to identify a PCI slot, check your PC documentation or ask
your system administrator.