2
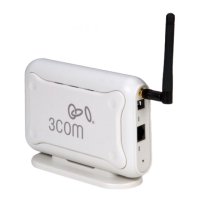
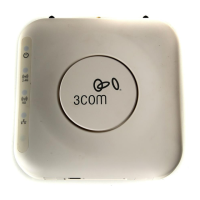
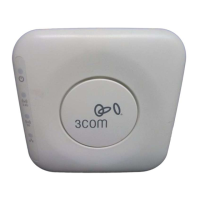
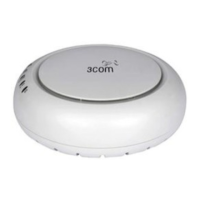
OfficeConnect 54 Mbps 11g Access Point Features
Observing Safety Precautions
This equipment must be installed in compliance with local and national building codes, regulatory
restrictions, and FCC rules. For the safety of people and equipment, only professional network
personnel should install the Access
Point.
Feature Description
Power Port The power port connects to the external power supply. Use only the 3Com
external power supply included in this package to power the Access
Point.
Ethernet Port The Ethernet port provides a 10/100BASE-TX Ethernet connection to a
3Com Wireless LAN switch. Use a suitable RJ45 cable to connect your
Access
Point to a computer or other equipment that has an Ethernet port
(such as a hub or a switch).
This port has an automatic MDI/MDIX feature, which allows you to use
either a straight-through or a crossover cable.
LEDs The LEDs indicate power and network activity. See “Checking the LED
Indicators” on page 5 for details.
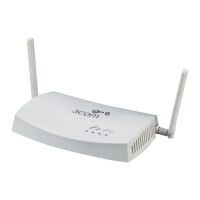
Antenna Connector One RSMA antenna connector allows you to connect an antenna that
operates in the 2.4
GHz band.
Reset Button The Reset button is accessible on the rear of the access point. Push the reset
button to restore the access point to its factory default settings.
WARNING: To comply with FCC radio frequency (RF) exposure limits, a minimum
body-to-antenna distance of 20 cm (8 in.) must be maintained when the Access
Point is
operational.
WARNING: To avoid possible injury or damage to equipment, you must use power supply
equipment that is safety certified according to UL, CSA, IEC, or other applicable national or
international safety requirements for the country of use. All references to power supply in this
document refer to equipment meeting these requirements.
RESET
NETWORK
Power Port
Ethernet Port
Reset Button
Antenna Connector
Power
LED
WLAN
LED
LAN
LED