4
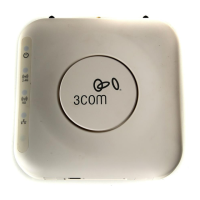
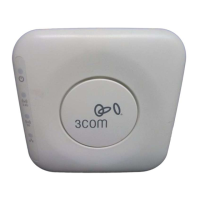
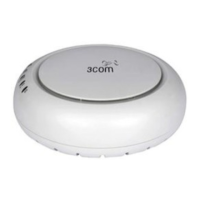
4. Mounting the Access Point
The Access Point can be mounted using the following methods:
• Wall mounting
• Tabletop mounting (horizontally, or vertically using the supplied cradle)
.
Wall Mounting
To mount the Access Point to a wall:
1 Locate a position on the wall which is free of obstructions.
2 Screw two mounting screws into the wall 85 mm apart.
3 Connect the Ethernet cable and power cable to the ports on the side of the Access Point.
4 Align the holes on the back of the Access Point with the screws and hang the Access Point
on the screws.
.
CAUTION: The Access Point is intended for indoor use only. Do not install the
Access
Point outdoors unless you install it in an appropriate outdoor enclosure.
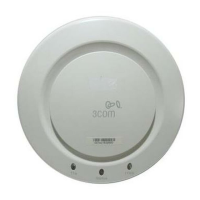
85mm
Wall Mount
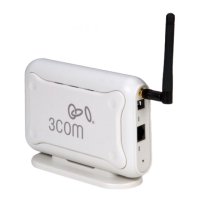
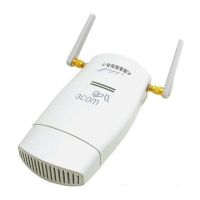
Tabletop Mount (horizontal) Tabletop Mount (vertical)