3
1. Unpacking the Access Point
Make sure that you have the following items, which are included with the Access Point:
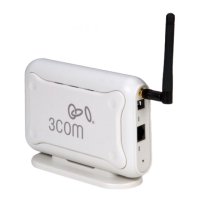
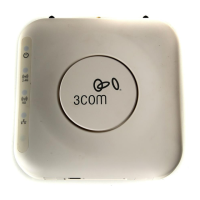
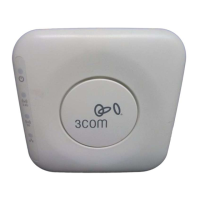
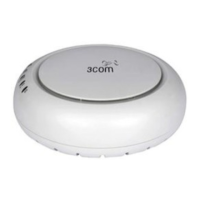
• One OfficeConnect Wireless 54 Mbps 11g Access Point
• One 3Com power adapter for use with the Access Point
• One cradle for vertical tabletop mounting
• Wall-mounting hardware: includes two threaded screws
• One CD-ROM containing the Setup Wizard software and
copies of this manual in additional languages
• One Warranty Flyer
2. Preparing for Installation
It is advisable to connect the power and check the Ethernet cables and LEDs before installing the
Access
Point in a hard-to-reach location. Additionally, observe the following items before
mounting or connecting the Access
Point:
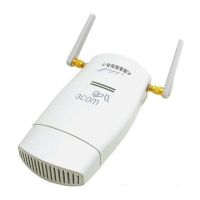
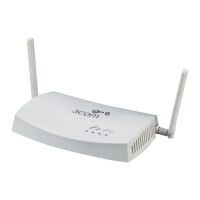
3. Attaching the Antenna
Carefully unpack the standard detachable antenna that came included with your Access Point.
Screw the antenna on to the antenna connector on the Access
Point and hand-tighten it. After
network startup, you may need to adjust the antenna to fine-tune coverage in your area.
For best results, adjust the antenna so that it is perpendicular to the floor and ceiling.
Installation Item Description
Hub or Switch To connect your wireless network to your wired network you will need an
additional hub or switch connected to the Access
Point’s Ethernet port.
Cabling Make sure that standard Ethernet cable is installed at the site before you
install the Access
Point.
Power
Requirements
Power can only be supplied using 3Com Power Adaptor which is included
with the Access
Point.
Make sure the power outlet is accessible. The power supply plug is the only
means of disconnecting the Access
Point from power.
MAC Address Record the Access Point MAC address in a safe place before the
Access
Point is installed in a hard-to-reach location.
The MAC address is printed on the back of the Access Point.
CAUTION: Do not handle the antenna tips, especially after they are connected to the
Access
Point. This could lead to electrostatic discharge (ESD), which could damage the
equipment.