5
Tabletop Mounting
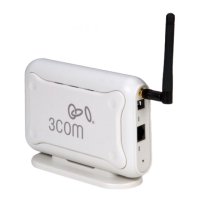
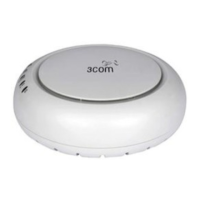
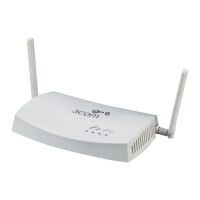
To install the Access Point on a flat surface such as a table or desktop:
1 If you want to mount the Access Point vertically, secure the cradle to the bottom of the
Access
Point. If you want to mount the Access Point horizontally, simply leave off the cradle.
2 Place the Access Point on the table or other flat surface.
3 Connect the Ethernet cable and power cable to the ports on the side of the Access Point.
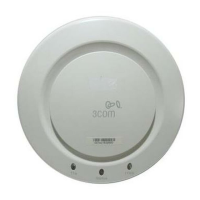
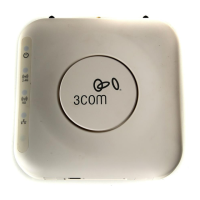
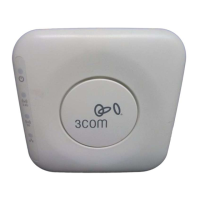
5. Checking the LED Indicators
When the Access Point is connected to power, LEDs indicate activity as described in the following
table. A steady lit LED indicates connection; a blinking LED indicates activity.
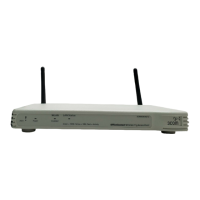
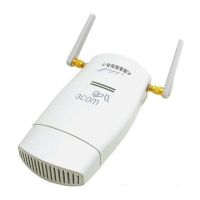
CAUTION: Do not place the Access Point on any type of metal surface. Select a location
that is clear of obstructions and provides good reception.
LED Color Indicates
Power Green The Access Point is powered up and
operating normally.
Off The Access Point is not receiving power
or there is a fault with the power supply.
WLAN Green If the LED is on it indicates that wireless
networking is enabled. If the LED is
flashing, the link is OK and data is being
transmitted or received.
Off No wireless link is present.
LAN Green If the LED is on, the Ethernet link
between the port and the next piece of
network equipment is OK. If the LED is
flashing, the link is OK and data is being
transmitted or received.
Off No Ethernet link is present.
Power
WLAN
LAN