3D Systems, Inc.
8
• If you select Person, choose either Head or Full Body.
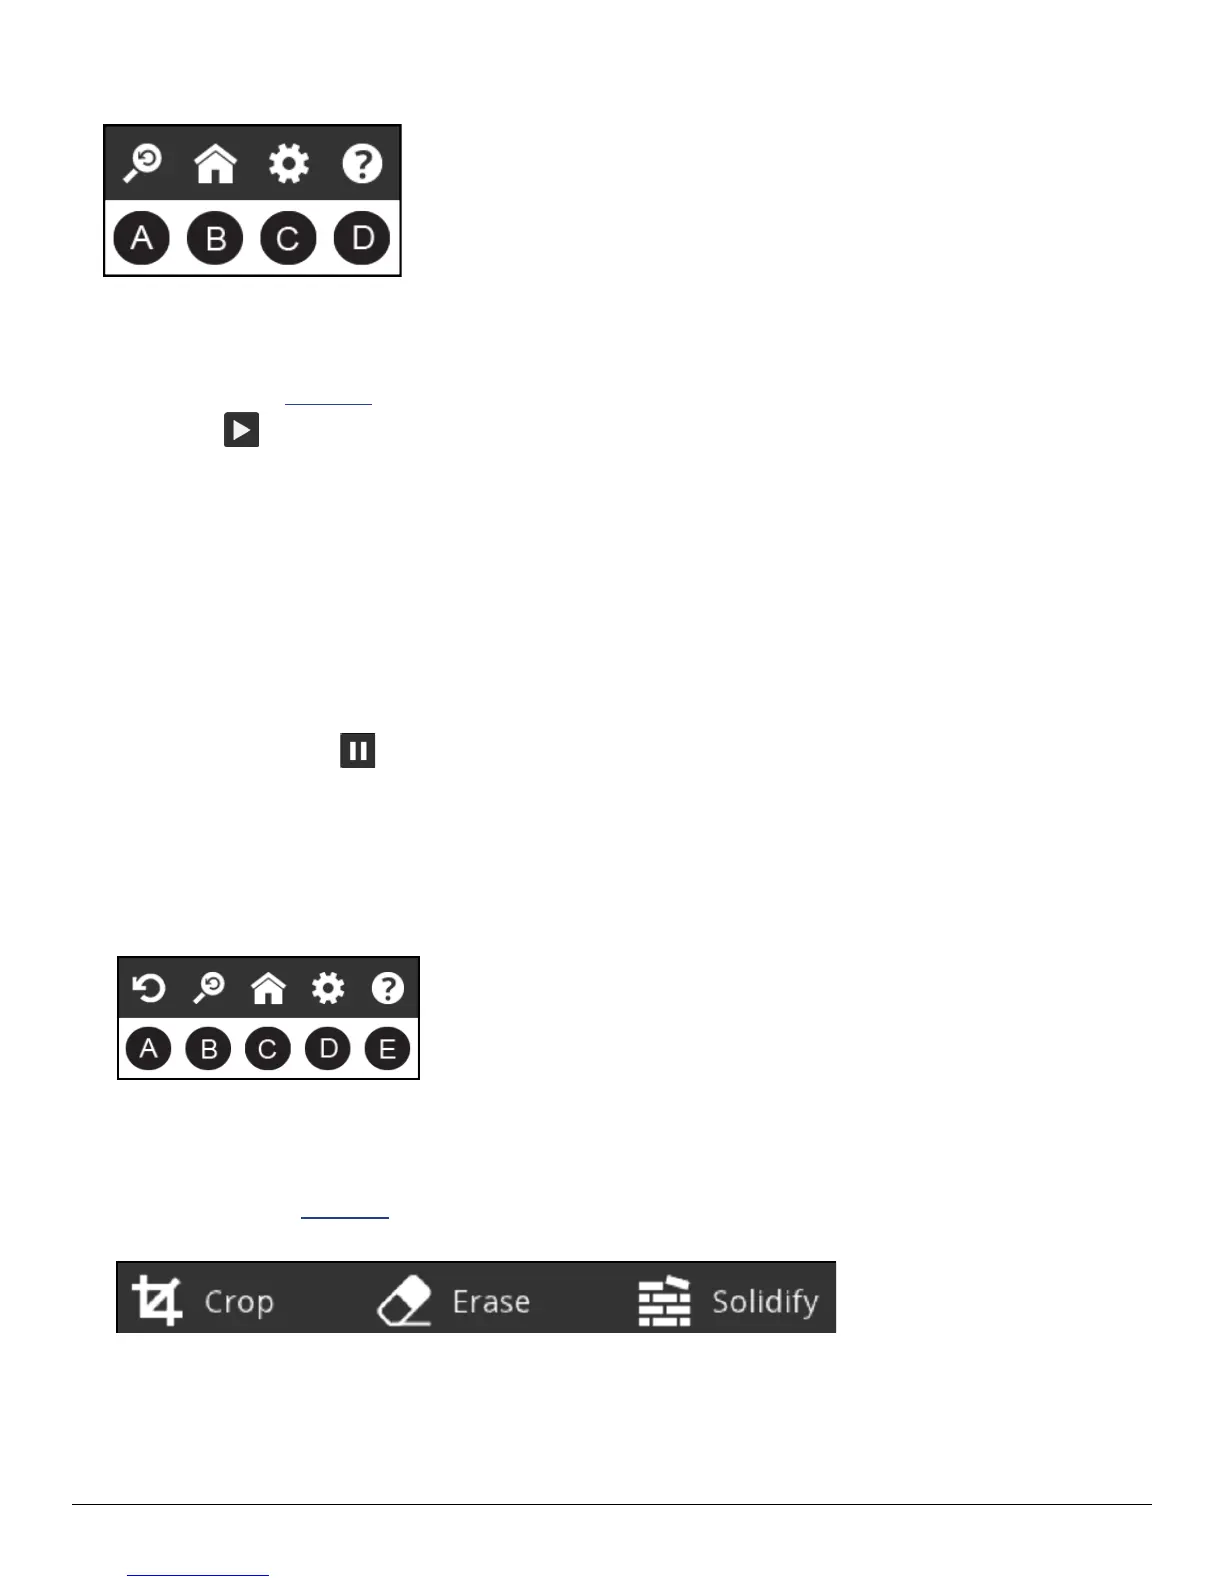
The Scan toolbar provides the following options:
• A - Reset View returns the view to the initial position and orientation.
• B - Home returns to the initial Start screen.
• C - Settings shows the settings for the current scan.
• D - Help displays the Help menu.
2. Tap Start Scan
.
3. Hold the scanner approximately 15 inches away from your subject, and ensure that the image is centered on your screen.
4. Slowly and steadily move the scanner around the subject while viewing the image on the screen.
Best Practice
• Remember to keep the image centered on the screen.
• Multiple passes on the object are allowed. If there are gaps in the scanned data after a single pass, continue scanning to try to ll
the gaps.
• Holding the scanner still over a portion of the object can also ll data gaps.
• Before scanning a small object or one without a lot of distinct features (such as a standard coffee mug), add some items around
the object. This will help the scanner maintain tracking by giving it more to lock on to.
• When scanning a human body, begin by aiming at the torso, and then get a whole body contour scan. Finish by scanning the
head.
5. To pause the scan, tap Pause
.
Tap the Start icon to resume the scan.
6. When you are satised with the scan, tap Next to nish and move to the editing phase.
EDIT A SCAN
Several tools are available as you edit a scan:
• The toolbar at the top of the screen provides the following options when you are editing the current scan:
▪ A - Undo erases the last change done on the scan.
▪ B - Reset View returns the view to the initial position and orientation.
▪ C - Home returns to the initial Start screen.
▪ D - Settings shows the settings for the current work ow.
▪ E - Help displays the Help menu.
• Edit tools
▪ If you need to crop your scan, tap the Crop button, and then use your nger to drag a window around the part of the scan that
you want to keep. When you are nished, the app removes the part of the scan that you want to delete. If an error occurred
while cropping, simply tap Undo and your scan will return to its original state. Tap Crop again to turn off the tool.
▪ Use the Erase tool to remove unwanted portions of your scan. Tap the tool, and then drag your nger, using the lasso effect,
over the area that you want to erase; the unwanted portion will be removed. Tap Erase again to turn off the tool.
▪ The Solidify tool will make your scan print-ready by lling in all the holes and closing the model to make it solid.