(English)
2
8246
8. When stored in accordance with temperature and humidity conditions specied below, the product may be used until the “use by” date specied
on the packaging.
Storage Conditions and Shelf Life
Before use, store respirators in the original packaging, away from contaminated areas, dust, sunlight, extreme temperatures, excessive moisture and
damaging chemicals. When stored in accordance with temperature and humidity conditions specied below, the product may be used until the “use
by” date specied on packaging. Always inspect product and conduct a user seal check before use as specied in these User Instructions. If you
cannot achieve a proper seal, do not enter the contaminated area. See your supervisor.
End of Shelf Life
Use respirators before the “use by” date specied on packaging
+86˚F
+30˚C
-4˚F
Storage Temperature Range
-20°C (-4°F) to +30°C (+86°F)
Storage Maximum Relative Humidity
Time Use Limitations
1. If respirator becomes damaged, soiled, or breathing becomes difcult, leave the contaminated area immediately and replace the respirator.
2. If oil aerosols are present, time use may be limited to 8 hours of continuous or intermittent use. Refer to NIOSH User’s Guide, Pub. No. 96-101.
FOR MORE INFORMATION
In United States, contact:
Internet: www.3M.com/workersafety
Technical Assistance: 1-800-243-4630
For other 3M products:
1-800-3M-HELPS or 1-651-737-6501
Fig. 1
Fig. 2
Fig. 3
Fig. 4
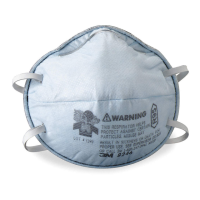
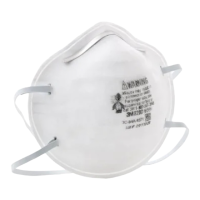
Fitting Instructions
Must be followed each time respirator is worn.
1. Cup the respirator in your hand, with the nosepiece at your ngertips, allowing the headbands to hang freely below your hand (Fig 1).
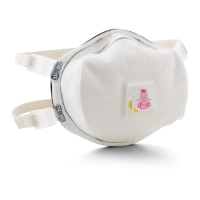
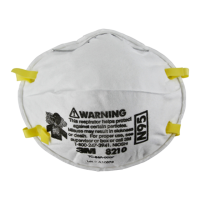
2. Position the respirator under your chin with the nosepiece up. Pull the top strap over your head resting it high at the top back of your head. Pull the
bottom strap over your head and position it around the neck below the ears ( Fig 2).
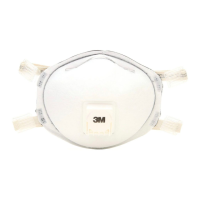
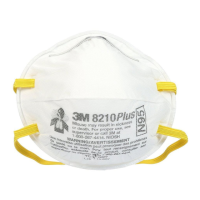
3. Place your ngertips from both hands at the top of the metal nosepiece. Using two hands, mold the nose area to the shape of your nose by pushing
inward while moving your ngertips down both sides of the nosepiece (Fig 3).
W Pinching the nosepiece using one hand may result in improper t and less effective respirator performance. Use two hands.
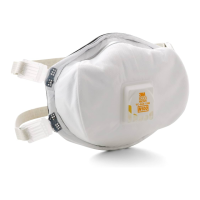
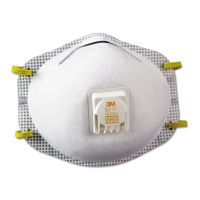
4. Perform a User Seal Check prior to each wearing. To check the respirator-to-face seal, place both hands completely over the respirator and exhale
(Fig 4). Be careful not to disturb the position of the respirator. If air leaks around nose, readjust the nosepiece as described in step 3.
If air leaks at the respirator edges, work the straps back along the sides of your head. If you CANNOT achieve a proper t, DO NOT enter the
contaminated area. See your supervisor.
Removal Instructions
See step 2 of Fitting Instructions and cup respirator in hand to maintain position on face. Pull bottom strap over head. Still holding respirator in
position, pull top strap over head and remove respirator.
This respirator contains no components made from natural rubber latex.