17
Channel Selection (Cont.)
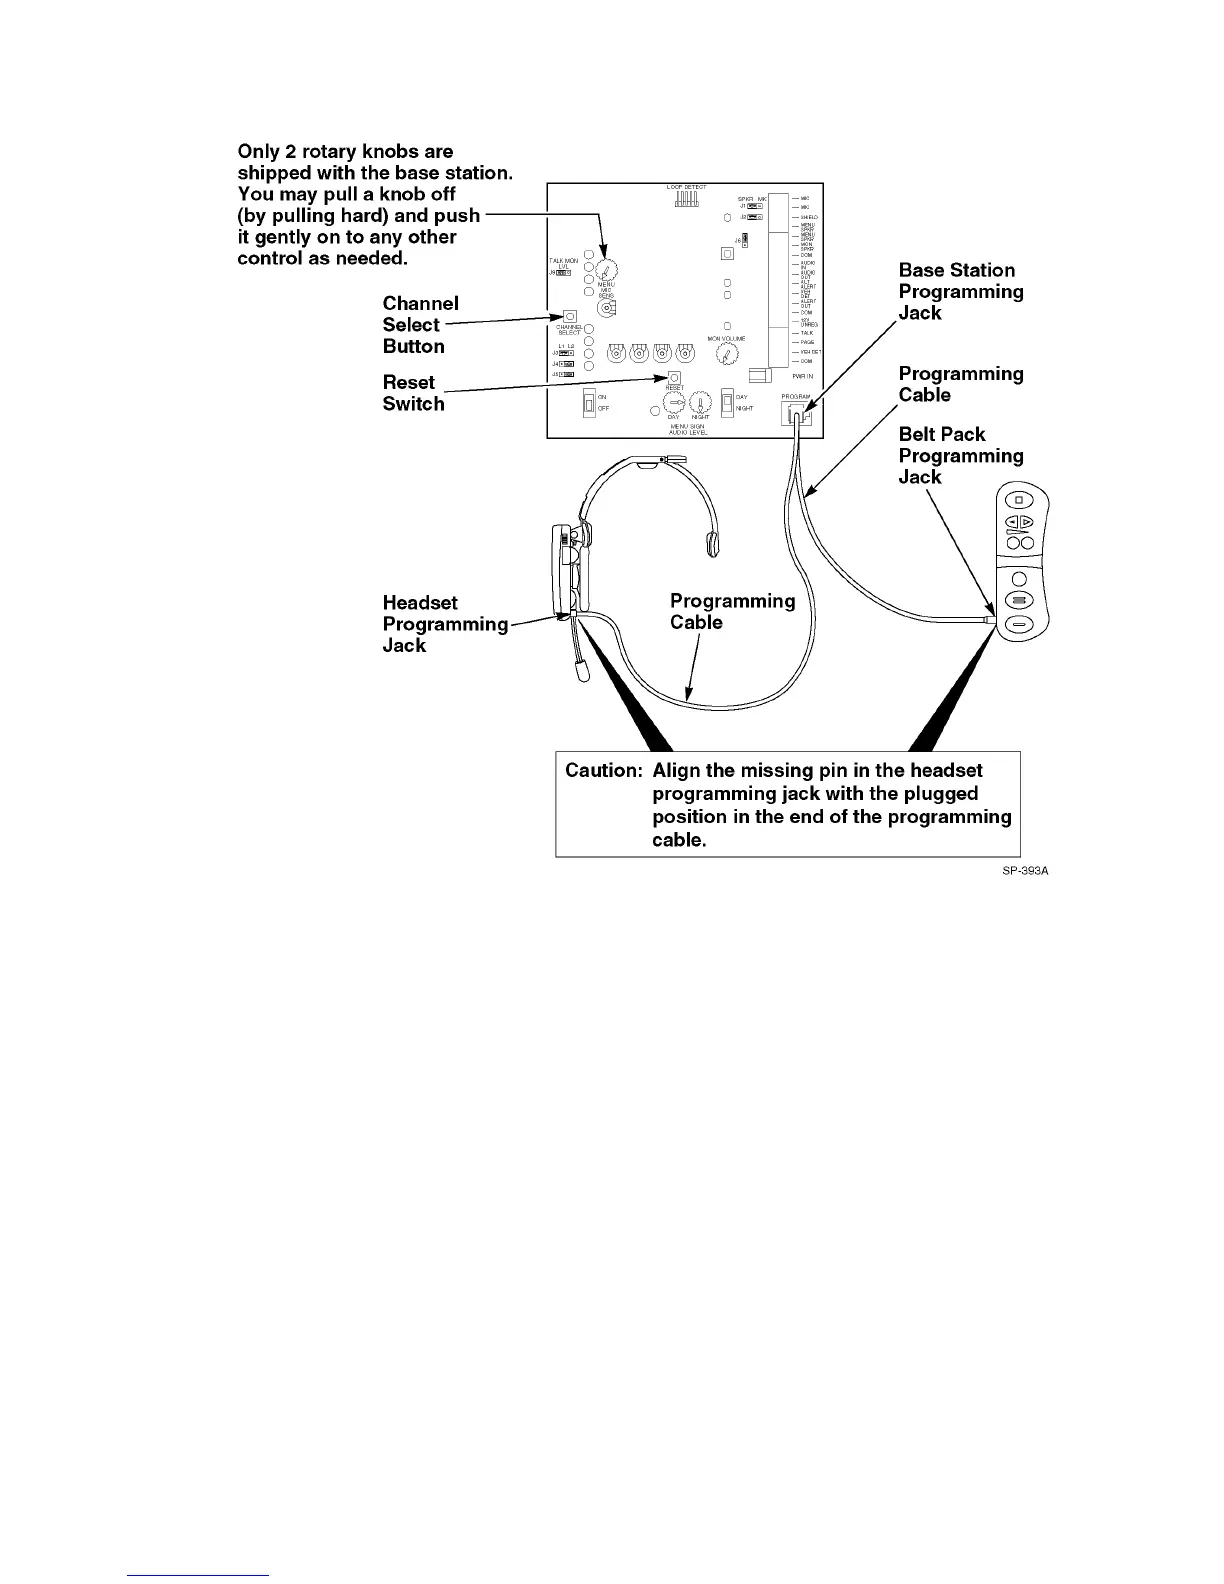
Figure 13. Base Station Circuit Board
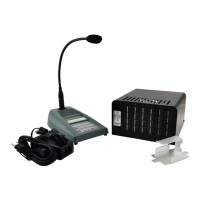
3. With the headset/belt pack turned on, plug one end of the programming cable into the headset programming
jack.
4. Plug the other end of the programming cable into the base station modular jack. Audible tones will be heard in
the headset earpiece indicating that programming is complete.
The headset/belt pack is now programmed to the same channel as the base station.
Repeat the channel selection procedure if interference occurs. After seven channel changes, the original channel
will again be encountered. If interference is still present and the system is a single lane system, try changing the J3
lane designation jumper from lane 1 to lane 2. If this fails and none of the channels are interference free, contact
your 3M representative.
Setting Audio Levels
To set the audio levels, refer to the related audio level procedure below and to the illustration of the base station
circuit board (Figure 14). All the audio level adjustment controls are located on the base station circuit board. An
illustration of the circuit board also appears on the decal mounted to the base station.