© 3M 2006
14
Repair Procedures
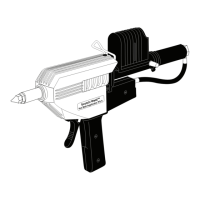
J. Thermostat/TCO Kit
Disconnect electrical and compressed air service.
Remove the heat shield assembly by removing the two
Phillips head screws from either side of the heat shield
and the one Phillips head screw on the heat shield
immediately above the loading chamber.
The thermostat and TCO are assembled as a unit and
are replaced as such no matter which component has
failed.
The Quick-Slide clips should be removed from the
thermostat. Remove the two screws holding the
thermostat, and pry the thermostat from the block.
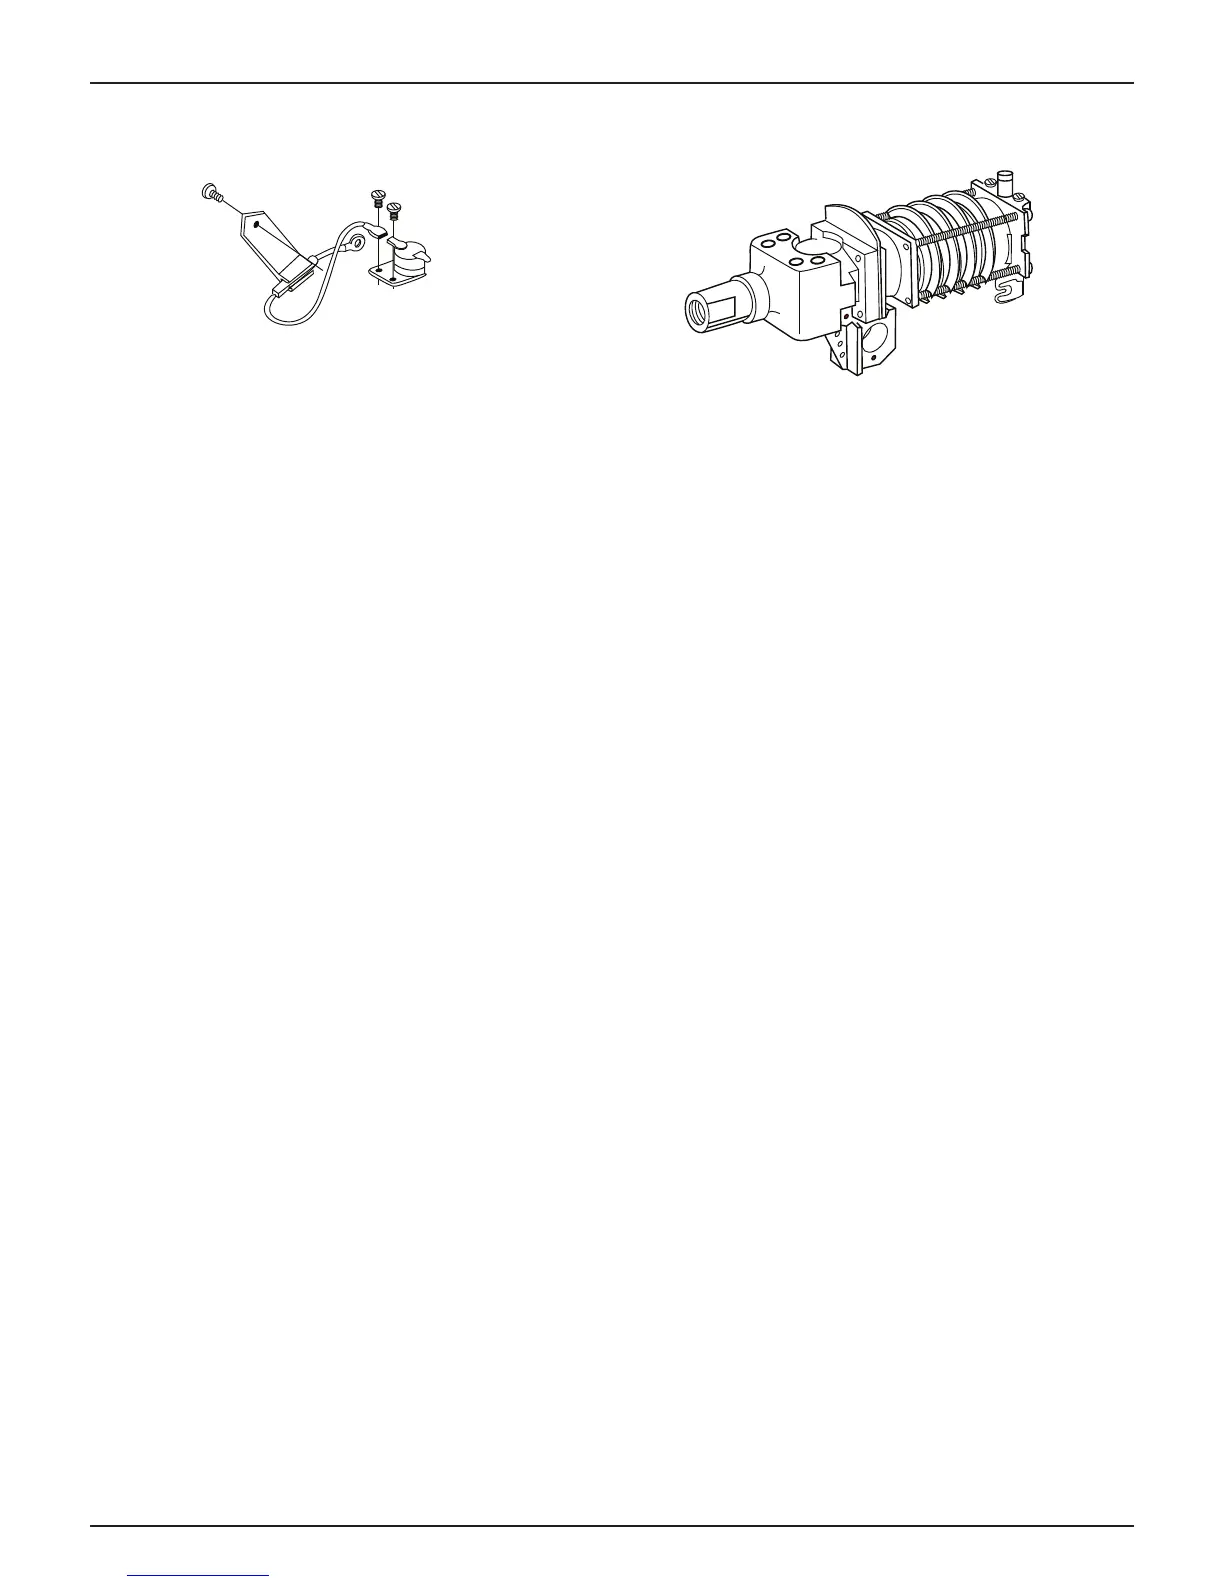
Insert new thermostat.
Make sure the rear rim of the
thermostat is slipped into the slot in the heat block
before affixing screws.
The thermal cutout assembly is then removed by
disconnecting the Phillips head screw, holding the
thermal cutout to the head block on the stand off strip.
Remove the other end of the thermal cutout from the
terminal strip with a small Phillips screwdriver.
Procedure is reversed to replace the thermal cutout.
K. Heat Block Kit
Disconnect electrical and compressed air service.
If the original heat block is broken or needs
replacement, you may use the 3M factory refurbish
program. Please contact your distributor for
information on our PG II equipment refurbish program.
 Loading...