24
4. Putcapwithmaleadapterbackonthecontainerandslide3/4”
hoseoverendofmaleadapterandfasteninplaceusinghose
clampprovided.
DELIME USING FLO-JUG METHOD
5. Slidethehoseclampoverendofhoseandslidehoseoverthe
maleadapterinthewaterheaterdrainopening and secure in
placeusinghoseclamp.
6. Liftcontainertothe“Pour”Positionbeingcarefultokeepthevent
in the handle above the liquid level and pour the UN•LIME into
the heater.
7. Lowercontainer,youmayhavetoplacethecontaineronitsempty
cartontopreventtheUN•LIMEfromowingbackintothecontainer.
8. LetUN•LIMEremainintheheaterfor5minutesandthenlower
thecontainertothe“Drain”Position.
9. Delimingactivityisindicatedbyfoaming on the surface ofthe
UN•LIME.Ifthereisdelimingactivity,repeatsteps6thru8.
Normally,limeremovalwillbecompletedwithinonehour.Severe
build-upoflimemaytakelongerthananhourtocompletedescaling.
Note:TocheckUN•LIMEforcontinueduse,placesomescaleorwhite
chalkinaglasswithasmallamountofUN•LIME.Ifthematerialis
vigorouslydissolvedbytheUN•LIME,itcanbereused;ifnot,the
UN•LIMEshouldbereplaced.
Ifthetemperature-pressurereliefvalveontheapplianceweepsor
dischargesperiodically,thismaybeduetothermalexpansion.You
mayhaveacheckvalveinstalledinthewaterlineorawatermeter
witha check valve. Consultyour local watersupplier or service
technicianforfurtherinformation.Donot plug the temperature-
pressurereliefvalve.
DRAINING AND FLUSHING
It is recommended that the water heater storage tank be
drained and ushed every 6 months to reduce sediment
buildup.Thewaterheatershouldbedrainedifbeingshutdown
during freezing temperatures. See Installation Considerations
inthismanualforthelocationofthewaterheatercomponents
describedbelow.
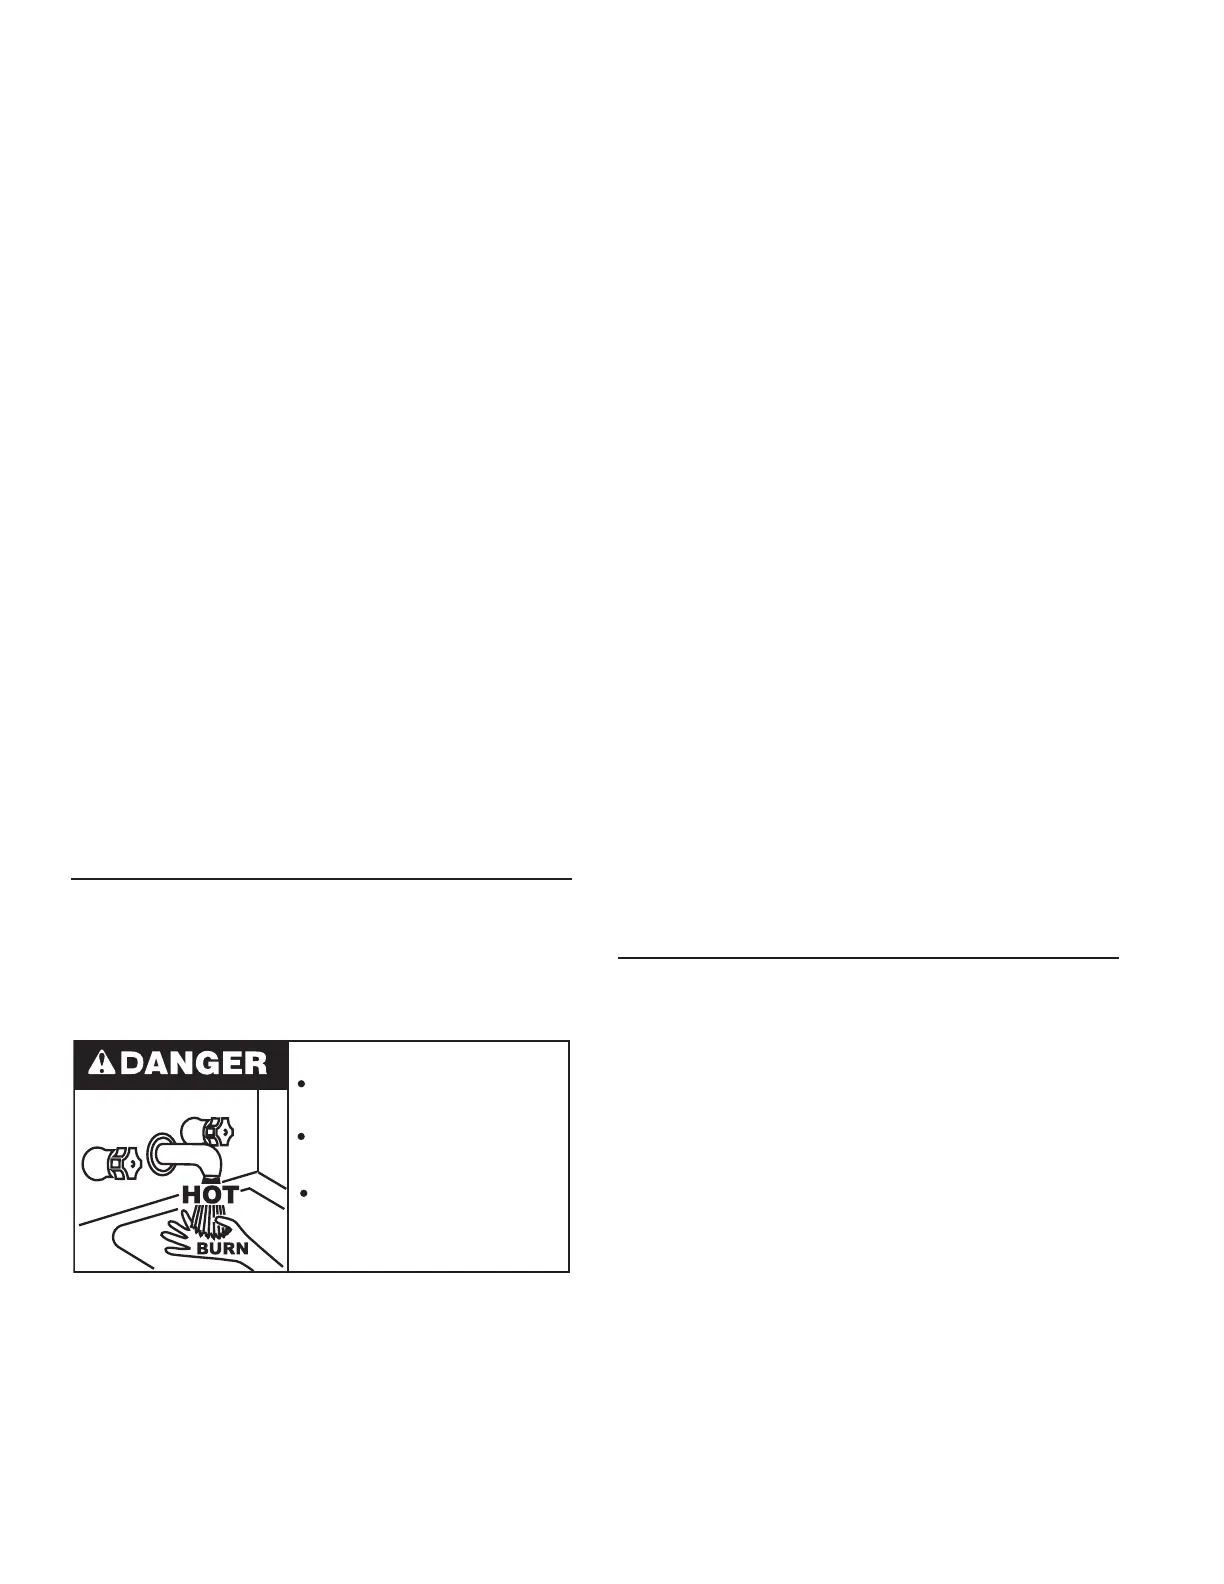
Burn harzard.
Hot water discharge.
Keep hands clear of drain
valve discharge.
TO DRAIN THE WATER HEATER STORAGE TANK:
1. TurnoffthegassupplyattheMainGasShutoffValveifthe
waterheaterisgoingtobeshutdownforanextendedperiod.
2. Ensurethecoldwaterinletvalveisopen.
3. Openanearbyhotwaterfaucetandletthewaterrununtil
thewaterisnolongerhot.
4. Closethecoldwaterinletvalvetothewaterheater.
5. Connect a hose to the water heater drain valve and
terminateittoanadequatedrain.
6. Open the water heater drain valve and allow all the water to
drainfromthestoragetank.
7. Close the water heater drain valve when all water in the
storagetankhasdrained.
8. ClosethehotwaterfaucetopenedinStep4.
9. Ifthewaterheaterisgoingtobeshutdownforanextended
period,thedrainvalveshouldbeleftopen.
TO FLUSH THE WATER HEATER STORAGE TANK:
1. Ensurethecoldwaterinletvalveisopen.
2. Openanearbyhotwaterfaucetandletthewaterrununtil
thewaterisnolongerhot.Thenclosethehotwaterfaucet.
3. Connectahose tothe drain valve and terminateit toan
adequate drain.
4. Ensure the drain hose is secured before and during the
entire ushing procedure. Flushing is performed with
systemwaterpressureappliedtothewaterheater.
5. Openthewaterheaterdrainvalvetoushthestoragetank.
6. Flushthe water heater storage tank to remove sediment
andallowthewatertoowuntilitrunsclean.
7. Close the water heater drain valve when ushing is
completed.
8. Removethedrainhose.
9. Fillthewaterheater-seeFillingTheWaterHeaterinthismanual.
10. TurnonthegassupplytothewaterheaterattheMainGas
ShutoffValve.
11. Allowthewaterheatertocompleteseveralheatingcycles
toensureitisoperatingproperly.
SERVICE
Beforecallingforrepairservice,readthe“StartUpConditions”and
“OperationalConditions”foundinthe“ForYourInformation”section
ofthismanual.
Ifaconditionpersistsoryouareuncertainabouttheoperationofthe
waterheatercontactaservicetechnician.Ifyouarenotthoroughly
familiarwithgascodes,yourwaterheater,andsafetypractices,contact
yourgassupplierorqualiedinstallertocheckthewaterheater.
Use the ”Leakage Checkpoints” guide to check a “Leaking”
waterheater.Manysuspected“Leakers”arenotleakingtanks.Often
thesourceofthewatercanbefoundandcorrected.
Readthismanualrst.Thenbeforecheckingthewaterheatermake
surethegassupplyhasbeenturned“OFF”,andneverturnthegas
“ON”beforethetankiscompletelyfullofwater.
Neverusethiswaterheaterunlessitiscompletelylledwithwater.
Topreventdamagetothetank,thetankmustbelledwithwater.
Watermustowfromthehotwaterfaucetbeforeturning“ON”gas
to the water heater.