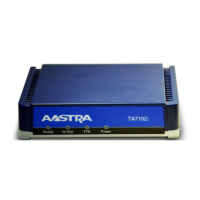
TA7102i Hardware Installation
© 2014 Aastra Sweden | 153_1531 ANF 901 14| A | 2014-01-24 A 14
Regulatory compliance and safety
information received
Software version verified
Rack, desktop, or wall mounting of
chassis completed
Initial electrical connections
established
ASCII terminal attached to console
port
Cable length limits verified
Initial configuration performed
Initial operation verified
Site Log
Aastra recommends that you maintain a site log to record all actions relevant to the TA7102i, such as:
• Installation: Print a copy of the installation checklist and insert it into the site log.
• Upgrades and maintenance: Use the site log to record ongoing maintenance and expansion
history. Update the site log to reflect the following:
• Configuration changes
• Maintenance schedules, requirements, and procedures performed
• Comments, notes, and problems
• Software changes and updates to firmware
Network Information
When planning the installation of the TA7102i, you should consider the following network
information.
Network Diagram
It is always good practice to draw a network overview diagram that displays all neighboring IP
nodes, serial connected elements, and other components. It is recommended that you keep a
copy in the site log (see “Site
Log” for more information on keeping a site log).
IP-Related Information
Before you can install the TA7102i, you need to have the following information:
• IP addresses and subnet mask used for the Ethernet WAN connector
• IP addresses of the central SIP server

 Loading...