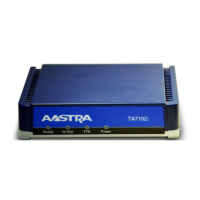
TA7102i Hardware Installation
© 2014 Aastra Sweden | 153_1531 ANF 901 14| A | 2014-01-24 A 13
3 Installation
This chapter describes the installation of the TA7102i.
3.1 Planning the Installation
Before installing the TA7102i, you should complete the following tasks:
• Create a network diagram (see section “Network Diagram”).
• Gather IP-related information (see section “IP-Related Information” for more information).
• Install the hardware and software needed to configure the TA7102i
(see section“Network Information”).
Installation Checklist
The installation checklist lists the tasks for installing the TA7102i. Print a copy of this checklist and
mark the entries as you complete each task. Include the completed checklist in your site log.
Figure 3: Installation Checklist
TA7102i name/serial number
Network information available &
recorded in site log
Environmental specifications
verified
Site power voltages verified
Installation site pre-power check
completed
Additional equipment available
Quick start guide received

 Loading...