EasyManua.ls Logo

ABB ACH400 Series User Manual

ABB ACH400 Series
28 pages
To Next Page IconTo Next Page
Page #1 background imageLoading...
Page #1 background image
ABB HVAC Drives
ACH400 Vertical Electronic Bypass to ACH550 E-Bypass,
1 - 25Hp @ 208V, 1 - 50Hp @ 480V (R1 ... R4 Frame Size Drives)
Retrot Guide
PRODUCTS
Question and Answer IconNeed help?

Do you have a question about the ABB ACH400 Series and is the answer not in the manual?

ABB ACH400 Series Specifications

General IconGeneral
BrandABB
ModelACH400 Series
CategoryController
LanguageEnglish

Summary

ACH400 to ACH550 Drive Replacement Instructions

Step 1: Verify correct replacement drive

Confirm chosen replacement drive and verify catalog numbers.

Steps 2-4: Record settings, deactivate system, and remove power

Record ACH400 parameters, deactivate system, and lockout power.

Step 5: Remove bypass unit cover

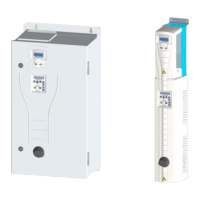
Loosen and remove screws to detach the bypass unit cover.

Steps 6-8: Verify voltages, board version, and control panel

Verify voltages, check board version, and remove drive's control panel.

Steps 9-10: Remove drive cover and disconnect power wiring

Remove drive front cover and disconnect power wiring.

Steps 11-12: Disconnect control wiring

Disconnect customer and factory installed control wiring from ACH400.

Step 13: Remove ACH400 drive

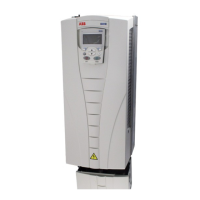
Loosen mounting screws and physically remove ACH400 drive.

Steps 14-16: Clean, prepare, and mount ACH550

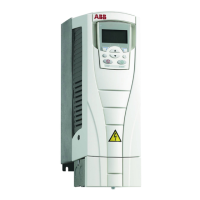
Clean area, prepare, and mount the new ACH550 drive.

Steps 17-18: Reinstall power and control wiring

Reinstall power wiring and new control cable to ACH550.

Steps 19-20: Reinstall customer wires and covers

Reconnect customer control wires and reinstall ACH550 covers and panel.

Step 21: Reinstall option mounting bracket

Reinstall metal option mounting bracket if it was removed.

Step 22: Reinstall bypass unit cover

Apply gasket and reinstall bypass unit cover, aligning disconnect handle.

Steps 23-25: Power up, verify, and program ACH550

Reapply power, verify status, and program new drive via Start-Up Assistant.

Steps 26-27: Test unit and complete replacement

Test system operation and confirm drive replacement completion.

Related product manuals