Do you have a question about the ABB NALF Series and is the answer not in the manual?
General guidelines for equipment usage and environmental conditions.
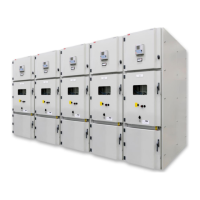
Key factors influencing prefabricated substation lifetime and operation.
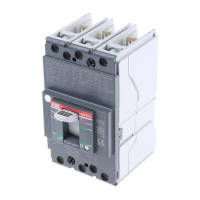
Detailed features and standards compliance of the NAL/NALF/VR switch-disconnector.
Description of available NAL/NALF/VR switch-disconnector versions and configurations.
Pre-installation checks, including visual inspection and contact greasing.
Procedures for preparing the switch, including contact checks and drawbar connections.
Instructions for performing test operations on switches with K- and A-mechanisms.
Guidelines for designing and preparing a rigid supporting structure for the apparatus.
Proper installation procedures, avoiding base deformation and ensuring correct contact alignment.
Detailed steps for correctly installing medium voltage cable lugs onto terminals.
Specific instructions for installing and adjusting the switch with the HE hand operation mechanism.
General adjustment instructions for the HE hand operating mechanism.
Specific adjustment procedures for the K-mechanism type.
Specific adjustment procedures for the A-mechanism type.
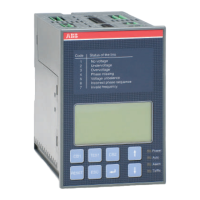
Description of the NEMD drive's intended use for operating NAL and E/EB earthing switches.
Key technical specifications and performance data for the NEMD mechanism.
Environmental conditions under which the NEMD drive is designed to operate.
Overview of the NEMD drive's components and how it functions.
List of different versions and part numbers for the NEMD drive.
Detailed steps for authorized personnel to replace the mechanism.
Procedures for testing the A-mechanism after mounting.
Steps for mounting the fuse-base with three post insulators and fuse contacts.
Detailed instructions for mounting and assembling the fuse tripping mechanism.
Procedures for adjusting the fuse tripping mechanism for proper operation.
Steps to perform fuse tripping testing and adjustment according to standards.
Mounting procedure for earthing switches E/EB, including shaft extension connection.
Steps for mounting the earthing switch to NAL/VR terminals and tightening contact screws.
Procedure for mounting earthing switch to NALF/VR fuse-switch disconnector.
Instructions for installing mechanical interlocks between switch-disconnector and earthing switch.
Procedure for testing the mechanical interlock function between switches.
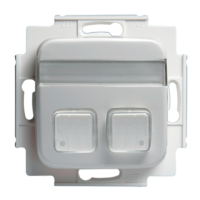
Mounting and connection of auxiliary switches for electrical signaling of switch status.
Procedure for mounting auxiliary switches on E-EB earthing switches for signaling.
Installing auxiliary switches for fuse interruption detection on A-mechanisms.
Steps to mount an open fuse auxiliary switch onto a motor bracket.
Instructions for mounting the NM/MU motor drive onto the mechanism shaft.
Procedures for setting up and mounting motor drives on A-mechanisms.
Procedures for setting up and mounting motor drives on K-mechanisms.
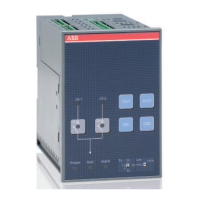
Details on the UEMC 41 motor operating device, its versions, and applications.
Instructions for cleaning the apparatus using appropriate cleaning agents.
Information on service intervals, installation requirements, and conditions for operation.
Procedures for mechanical overhaul, including maintenance intervals and storage conditions.
Guidelines for electrical overhaul based on operations and breaking current.
Checking the position of main knives on fixed contacts after mounting.
Detailed steps for replacing the contact knife and draw bar assembly.
Instructions for replacing the pivot side support insulator.
Procedure for replacing the fixed contact on the opening side of the switch.
Steps for replacing the arcing chamber assembly.
Instructions for replacing hollow insulators with arcing chambers.
Procedure for replacing insulators used for fuse-bases and earthing switches.
Steps for replacing contact knives on the 36 kV NAL/VR switch-disconnector.
Instructions for replacing the draw bar assembly on the 36 kV unit.
Procedure for replacing the supporting insulator on the 36 kV unit.
Steps for replacing the hollow insulator on the 36 kV unit.
Procedure for replacing the piston and piston rod assembly.
Information on the product's design life span and compliance with IEC standards.
ABB's commitment to environmental protection and product recycling at end-of-life.
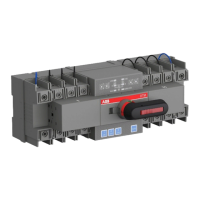
| Rated Frequency (f) | 50 / 60 Hz |
|---|---|
| Standards | IEC 60947-3 |
| Protection Degree | IP20 |
| Rated Operational Voltage | 690 V |
| Rated Current | 16A to 125A |
| Poles | 3 or 4 |
| Operating Temperature | -25°C to +60°C |