5. Insert the torque wrench through the septum and ghten the setscrew, turning it clockwise unl the5.
torque wrench clicks.
NOTE: Aer removing the torque wrench, check the septum to ensure it has closed. If the septum did
not close, gently reseat the septum aps.
Figure 4. Tighten the setscrew clockwise
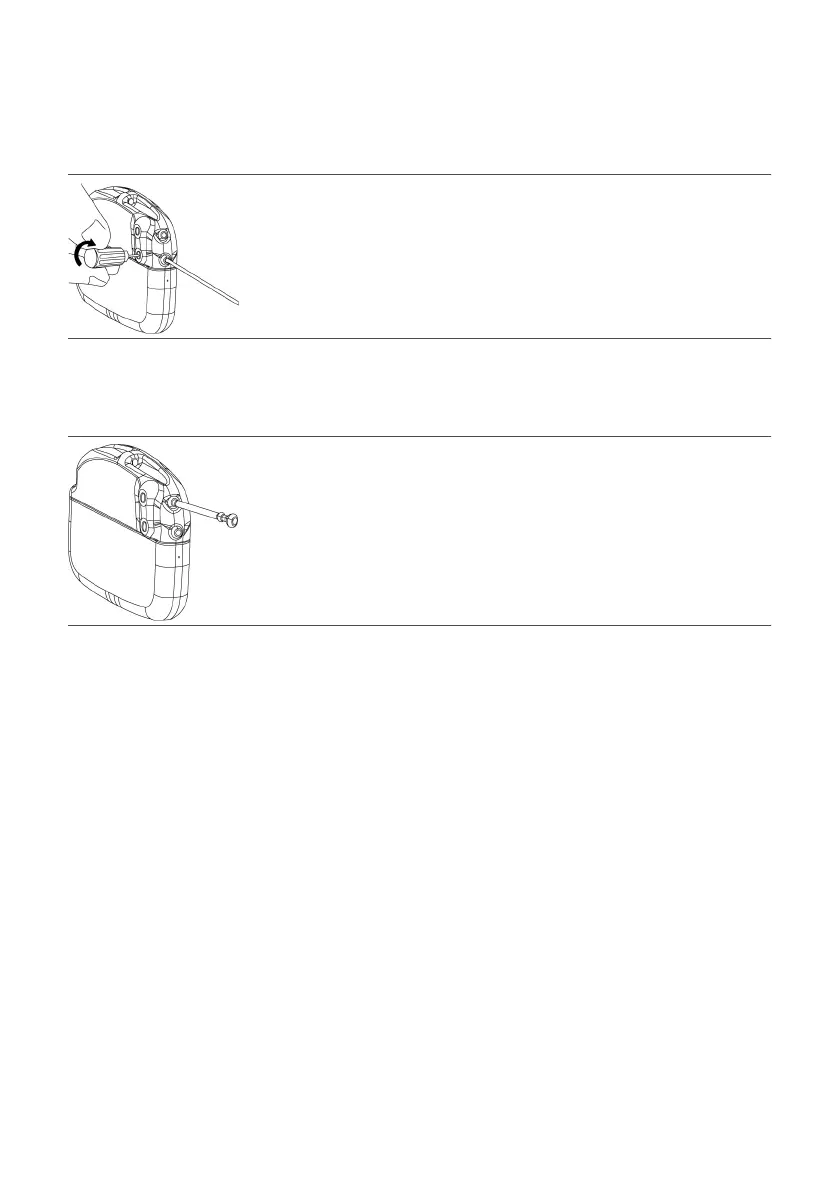
6. If implanng two leads, repeat the previous steps. If implanng a single lead only, insert the header port
6.
plug into the unused port, and use the torque wrench to ghten the setscrew unl the torque wrench
clicks.
Figure 5.
Insert the port plug
Implanng the Generator
The following steps outline the suggested procedure to implant the generator:
CAUTION: Do not implant the IPG face down. Implant it with the label facing toward the skin, or it may
not communicate or recharge.
1.
Place the generator into the generator pocket. The depth of the generator pocket from the surface of
1.
the generator to the surface of the skin should be at least 0.5 cm (0.20 in.) and not exceeding
2.5 cm (0.98 in.).
2.
Carefully coil any excess lead or extension behind the generator in loops no smaller than
2.
2.5 cm (0.98 in.) in diameter to provide strain relief for the lead or extension and generator connecon.
CAUTION: Do not bring the suture needle in contact with a generator, lead, or extension, or the
component may be damaged.
3. To stabilize the generator within the pocket, pass suture through the hole at the top of the generator3.
header and through the hole on the side of the generator header, and secure these to connecve ssue.
4.
Check the enre system by uoroscopy before closing to ensure proper posioning of the lead or leads
4.
and that the lead or leads are straight, with no sharp bends or kinks.
5. Use the clinician programmer app to communicate with the generator and perform intraoperave5.
tesng to conrm that the system is operaonal. See the clinician's manual of the clinician programmer
app for instrucons.
NOTE: Generator output may not be idencal to that of the trial smulator at the same sengs.
NOTE: Ensure the generator is set to Surgery mode.
6. Ensure that the generator is away from the pocket incision suture line, close the pocket incision, and6.
apply the appropriate dressings.
NOTE: When the surgical procedure is completed, ensure Surgery mode has been turned o.
9