Visit: www.abisupport.com
8
Tools Needed:
- Gloves
- Safety Glasses
- Tin Snips
- Wire Cutters
- #2 square bit screwdriver
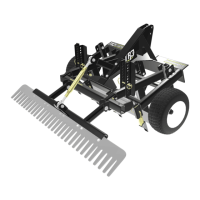
Figure 1.
Removing From Shipping Crate
Initial Setup Instructions
(Property Edition)
Initial Setup Instructions
Unpacking Instruction & Setup
1. Cut metal straps (Use caution when cutting metal straps
that they do not spring toward you and cause injury).
2. Cut and remove Zip-Ties.
3. If unit is wrapped in plastic, remove plastic.
4. Hook up to tractor and remove from skid (see page 11 for
Setup Guide).
5. If unit is shipped with outer Rake sections removed from
unit, unscrew boards securing Rake sections to skid with #2
square bit screwdriver.
Tools Needed:
- Gloves
- Safety Glasses
- (2) 1-1/8” wrenches (or socket set)
- (2) ¾” wrenches (or socket set)
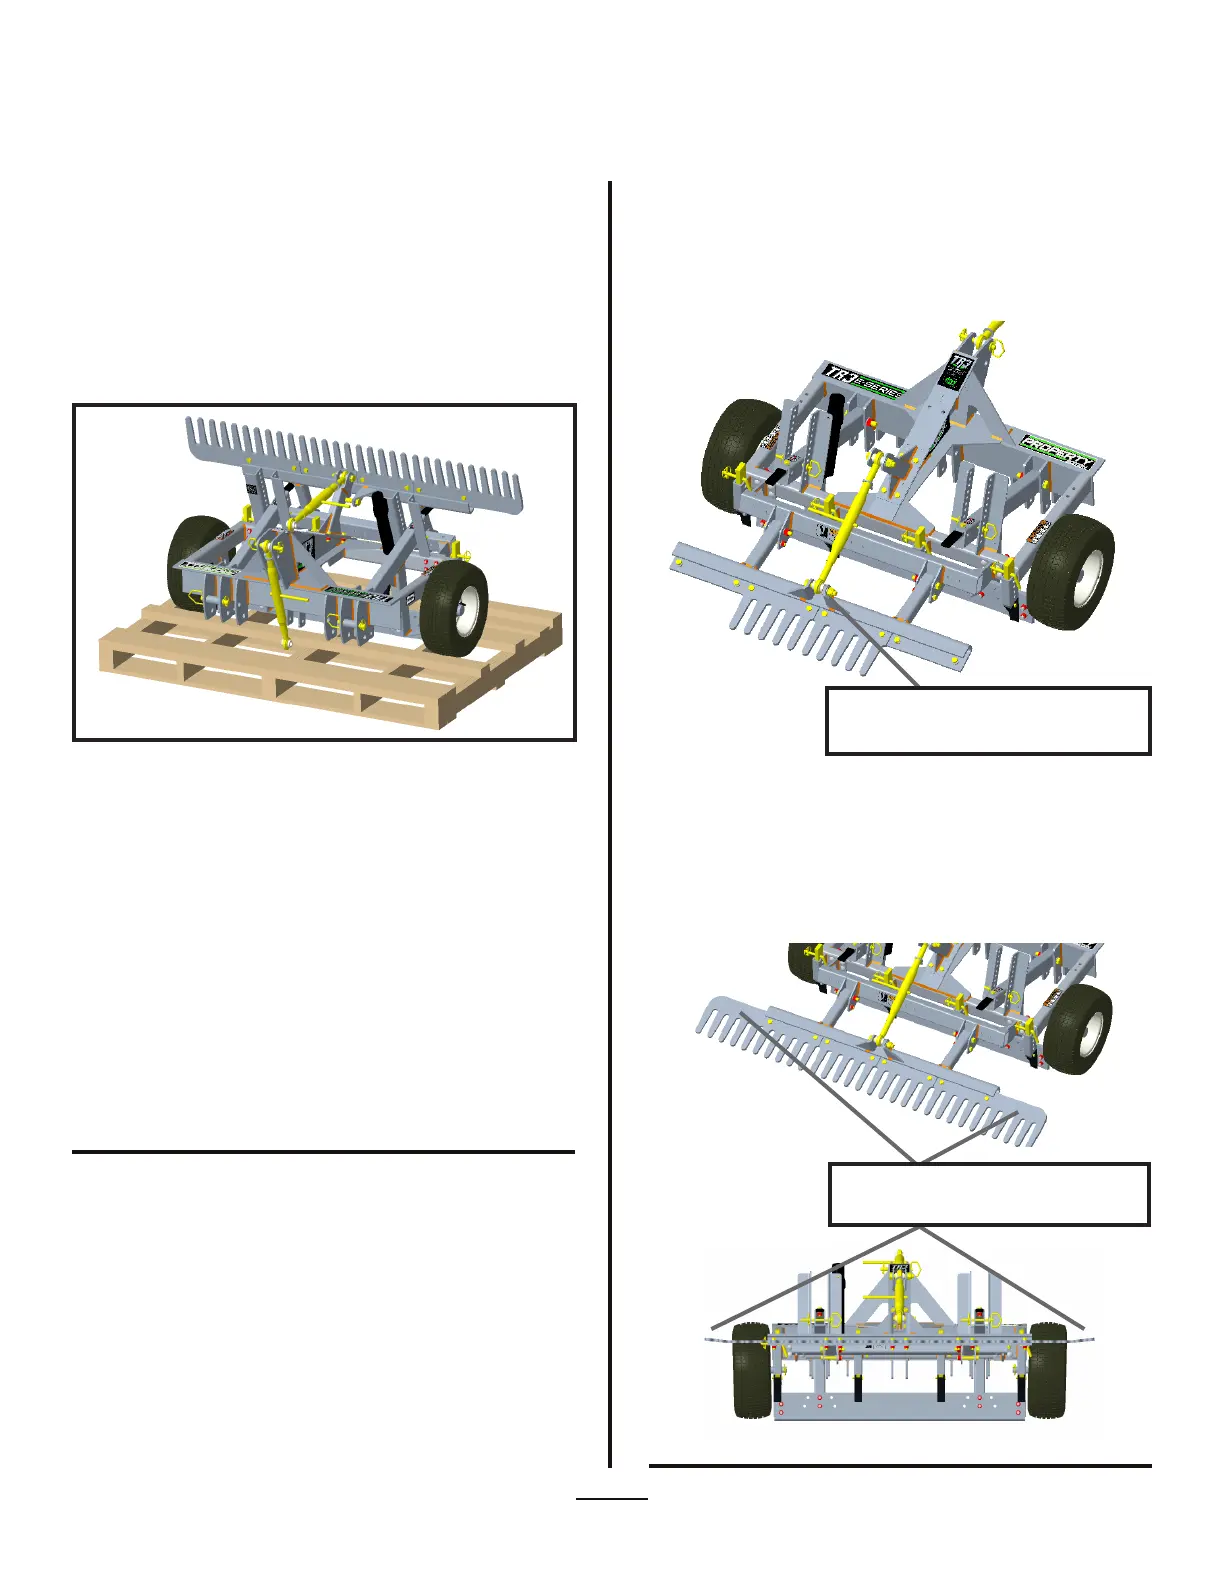
1. Remove bolt (1-1/8” Hex) that secures the Toplink to the
Rake attachment from Rake attachment mounting bracket.
Position Toplink end to line up with Rake attachment
brackets holes and slide bolt thru brackets and Toplink and
tighten nut (see Figure 1).
2. For Units that are shipped with outer Rake sections
removed (as shown in Figure 1), remove bolts and nuts
(3/4” Hex) from Rake support bracket. Set End Rake sections
on Rake support bracket and re-insert bolts and nuts and
tighten (see Figure 2). Bent ends of Rake Sections are to be
angled upwards (see Figure 3).
Attach Toplink to mounting brackets on Finish
Rake attachments
Figure 3.
Figure 2.
Assemble outer rake sections as shown with
bent ends angled upwards