Page 19 of 39
In-service plan for blood glucose testing
7. Cleanse the puncture site by means of
Allow the site to air dry completely before puncturing.
8. Advise the patient of imminent puncture.
9.
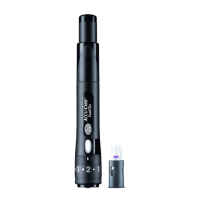
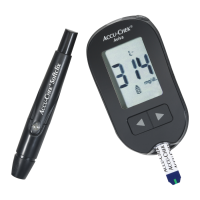
Example text using Safe-T-Pro
®
Plus lancet:
a. Twist off the protective cap of the Safe-T-Pro Plus lancet and discard.
b. Choose the desired depth setting
c. Hold the Safe-T-Pro Plus lancet tip against the puncture site
d. Press the purple trigger button
e. Withdraw the Safe-T-Pro Plus lancet from the site
10. Hold the puncture site downward and gently apply intermittent proximal-to-distal pressure
along the nger toward the puncture site to express a blood drop. Do not apply strong
repetitive pressure at the ngertip as it may cause hemolysis or contamination of the
sample with tissue uid and may lead to questionable results.
11.
This is advantageous because it ensures that the cleansing agent is dry, it stimulates blood
ow and clears interstitial uid from the sample.
3,4
12. Apply a well-formed drop to the ACCU-CHEK Inform II test strip as described in the patient
testing procedure that follows.
13. Apply gentle direct pressure to the puncture site for several minutes and elevate the hand
to reduce blood ow to the ngertip. Check the site to ensure that it is no longer bleeding
before leaving the patient bedside.
14. Discard all sample collection and testing materials by means of
15. Wash hands before leaving the patient room.
16. Explain that specialized samples such as neonate heelstick, venous, arterial or line draw
whole blood may be used, but collecting such samples requires advanced training.
3. CLSI Document H4-A5: Procedures and Devices for the Collection of Diagnostic Blood Specimens by Skin Puncture –
Approved Standard; Fifth Edition; 2004; Page 11
4. Document C30-A2: Point-of-Care Blood Glucose Testing in Acute and Chronic Care Facilities; Approved Guideline –
Second Edition; 2002; Page 10
 Loading...