15
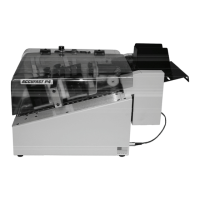
4.6 Feeding Pieces
Once the Feeder and Printer have been set up and pieces loaded in the
feeder, it is time to begin to test and refine the set ups to obtain the best
print quality possible.
The feeder should have a small stack of material in the hopper, ready to
feed, and the power to the machines should be OFF.
To test and adjust the feed and transport:
1. Close the Cover fully.
2. Turn the Power On
3. Set Feed Speed to OFF (fully CCW)
4. Turn Transport ON (Push red button on Printer)
5. Turn Feeder ON (push red button on Feeder)
6. Rotate Feed Speed Knob clockwise, feeding commences.
To stop feeding temporarily, rotate the feed speed knob fully CCW.
To stop the feeder in an emergency of case f a Jam, push the Feed
Power button.
To stop transport in an emergency, push the Red Transport Switch, or lift
the cover.
To resume feeding in case of any emergency or abrupt shut down, start
at step 3 above.
Caution
To avoid jams or temporary current limit shut downs, never start
the feeder without first turning down the Feed Speed.
Caution
To avoid dangerous conditions, the printer is equipped with a
Current Limiter that will shut down the transport when the motor
begins to work too hard. The Current Limiter protects the equip-
ment and the operator from damage or harm.