22
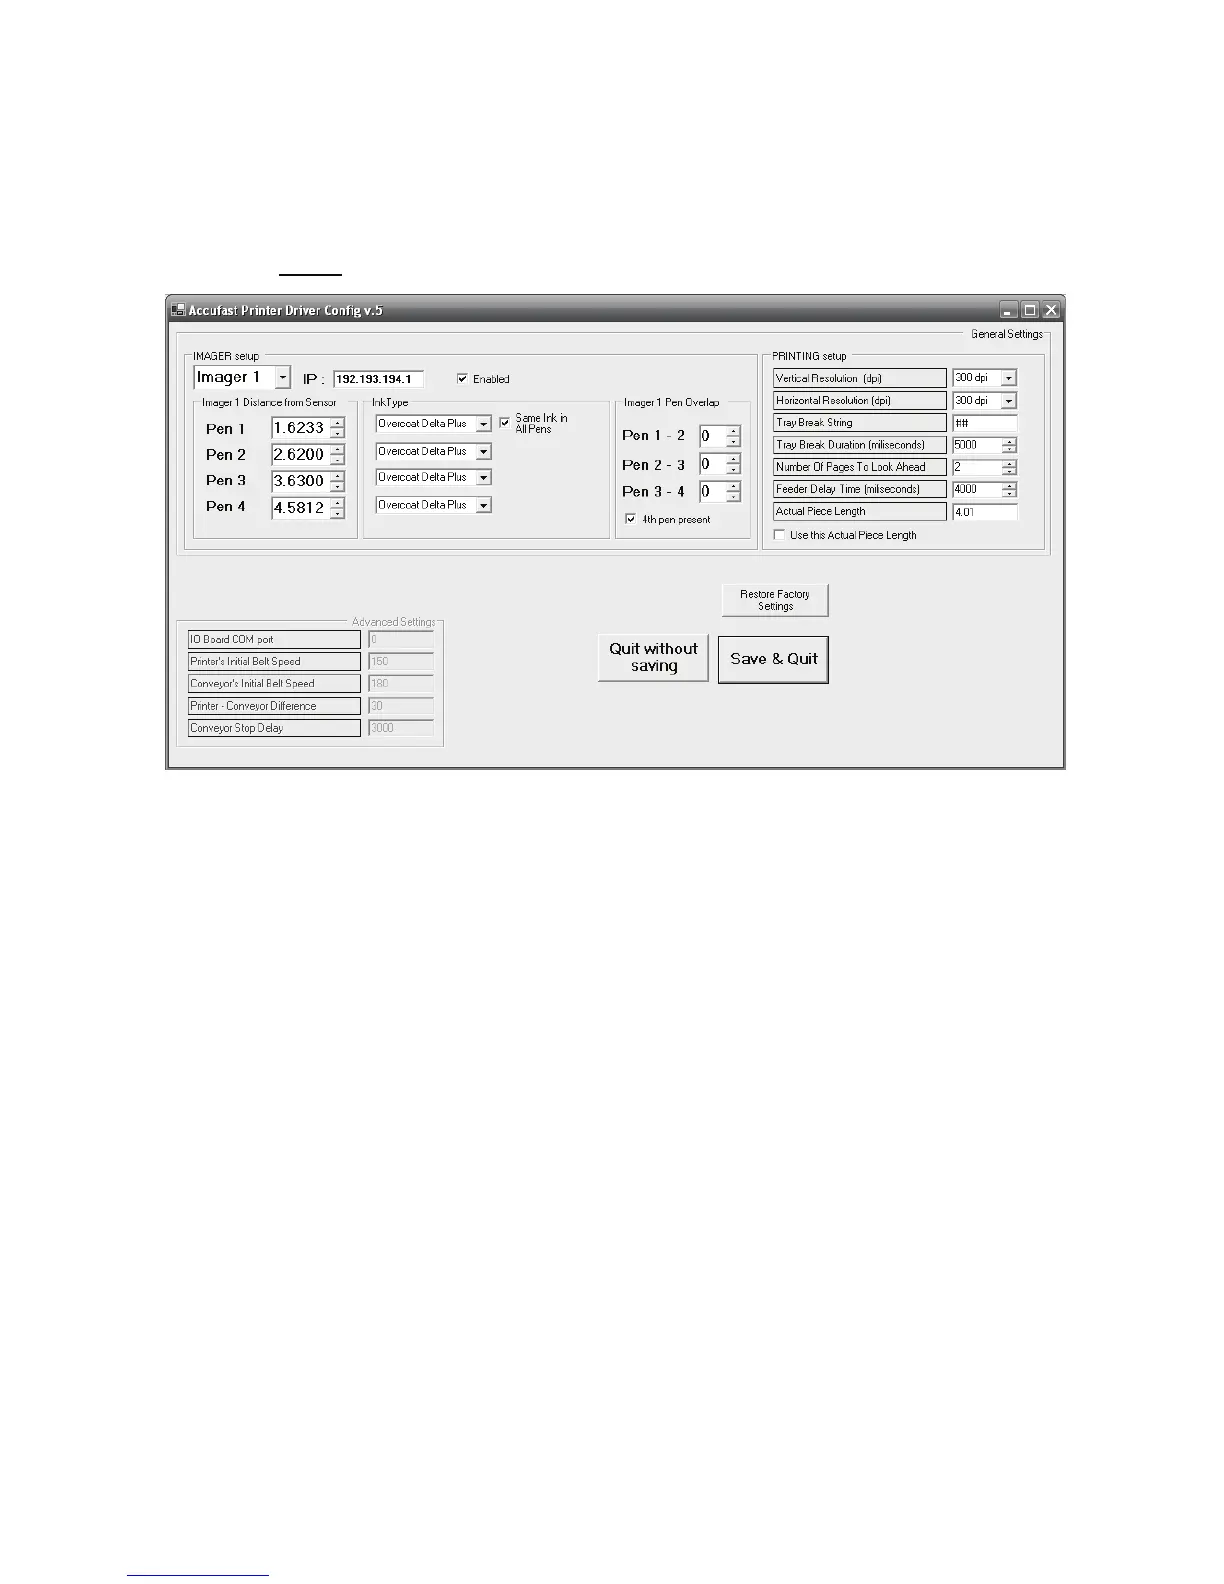
5.6 Advanced Set Up
In the upper right corner of the Control Panel screen, click the blue
Setup. The screen below opens.
The IMAGER Setup box contains Imager details and adjustments that
effect communication and printer performance.
The ACCUFAST P4 only has one imager, The Control Panel can be set
up to handle up to 4 imagers, but leave it set at 1 as there is no other.
The IP address refers to the specific address of the imager’s control
board. It is set at the factory and should not be changed. Unchecking
the enabled box disrupts communication between the imager and the
host computer. Leave it checked.
The stitching box can be used to set individual pen parameters. First,
each pen is located a specific distance from the piece sensor. By chang-
ing that distance, you make the pen print a bit before or after the others.
Using stitching, you can line up the pens so that they print a solid,
straight unbroken vertical line with an accuracy of +/- a pixel. This dis-
tance can be detected by the human eye. If it becomes necessary to
print across the pen lines, use this tool to more accurately line up the
pens, but do not expect perfection. To stitch, use a purge pattern and
line up the solid edges of the purge block.