MOB USER MANUAL
10 Y1-03-0283 Rev. C
Note any particular jacket manufacturer’s packing requirements. Repack the
bladder into the cover, following the manufacturer’s guidelines. Ensure the
activation tape does not get trapped in the fastenings or tangled up.
Once the MOB is fully attached to the life jacket, the device is armed.
If the MOB has turned on during the installation process, make sure it is turned
off by pressing the “TEST/OFF” key until the LED flashes red twice. Release the
key.
NOTE: In all installation scenarios, the AISLink MOB should be mounted on the
life jacket so that the beacon is above the water when the life jacket is being
worn in the water.
A. Oral bracket attachment onto jacket with separate bladder:
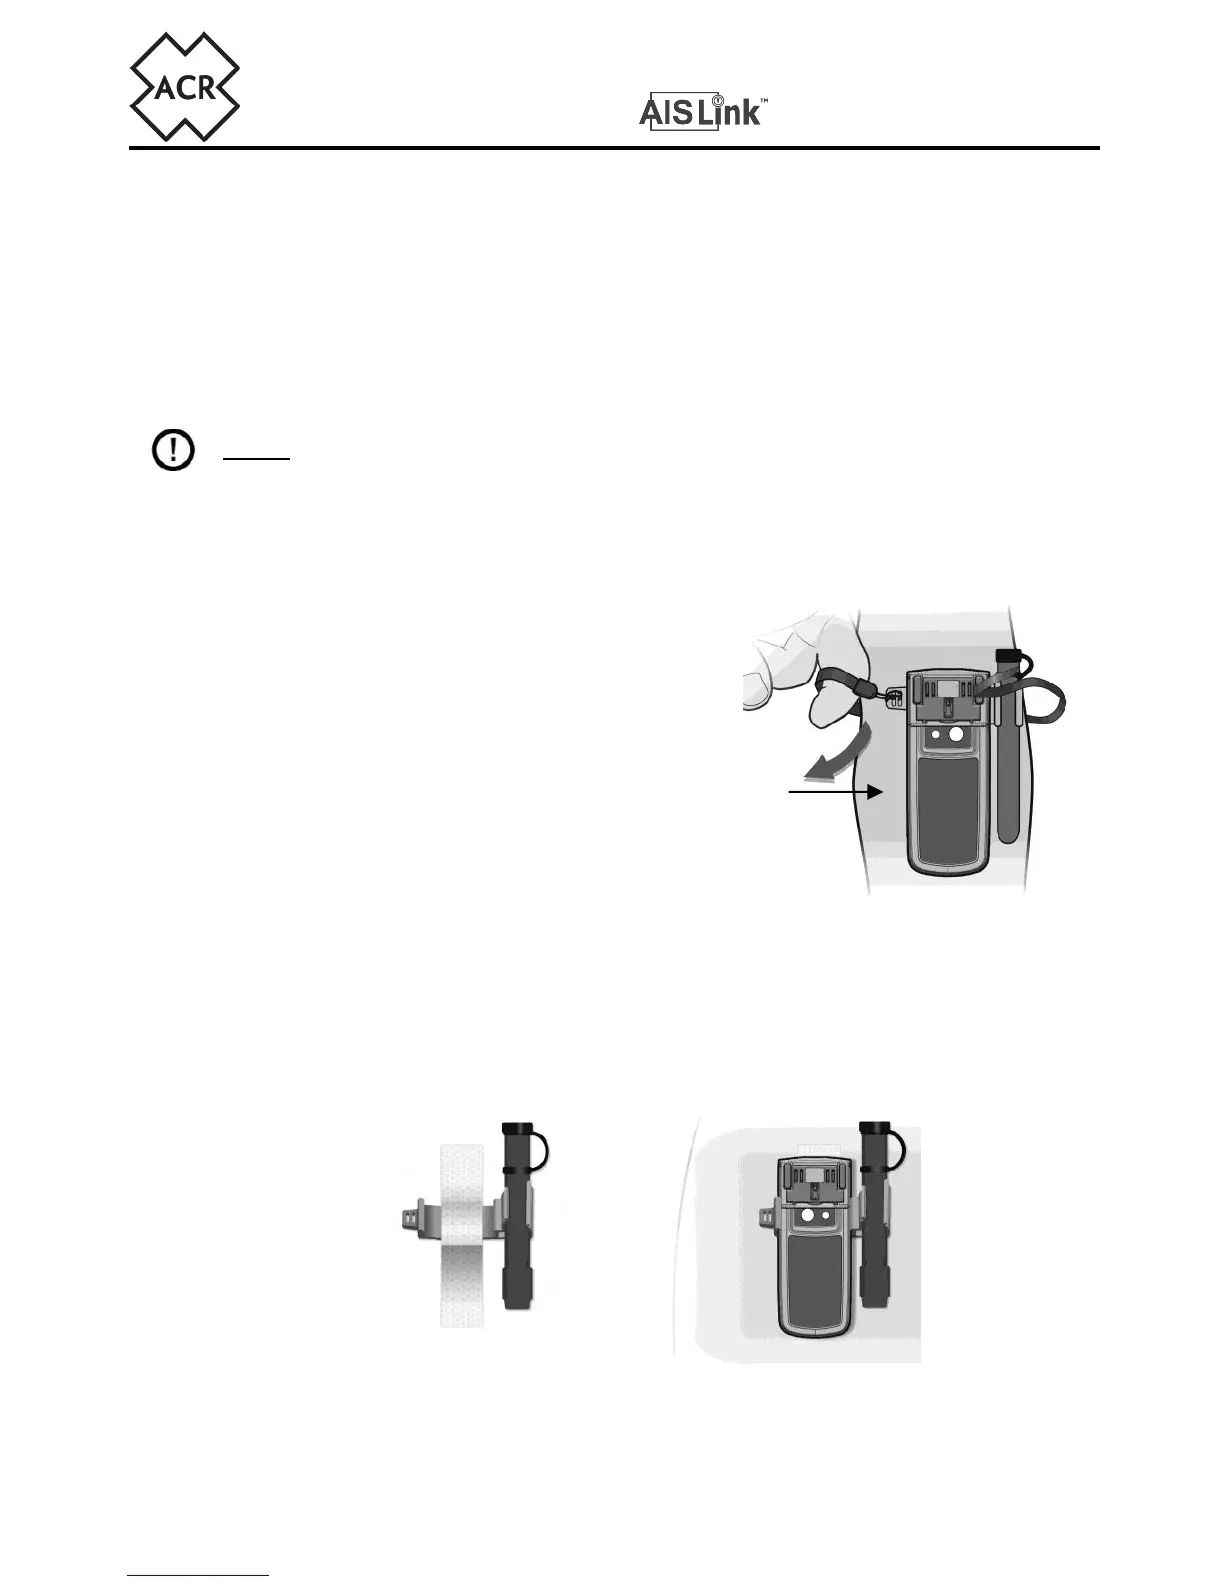
A1. Pass the activation tape around the
bladder of the life jacket and then clip
the MOB to the mounting bracket.
A2. Follow the steps indicated previously in
Section 3 to attach the activation tape to
the activation slide, rewind the antenna
(section 6), and finally re-insert the
activation slide back in-between the two
arming retainers.
B. Oral bracket attachment onto jacket with bladder stitched into cover:
B1. Place one of the two reflective strips over the oral mounting bracket and adhere
the strip to the life jacket as shown. Then mount the MOB to the oral mounting
bracket.