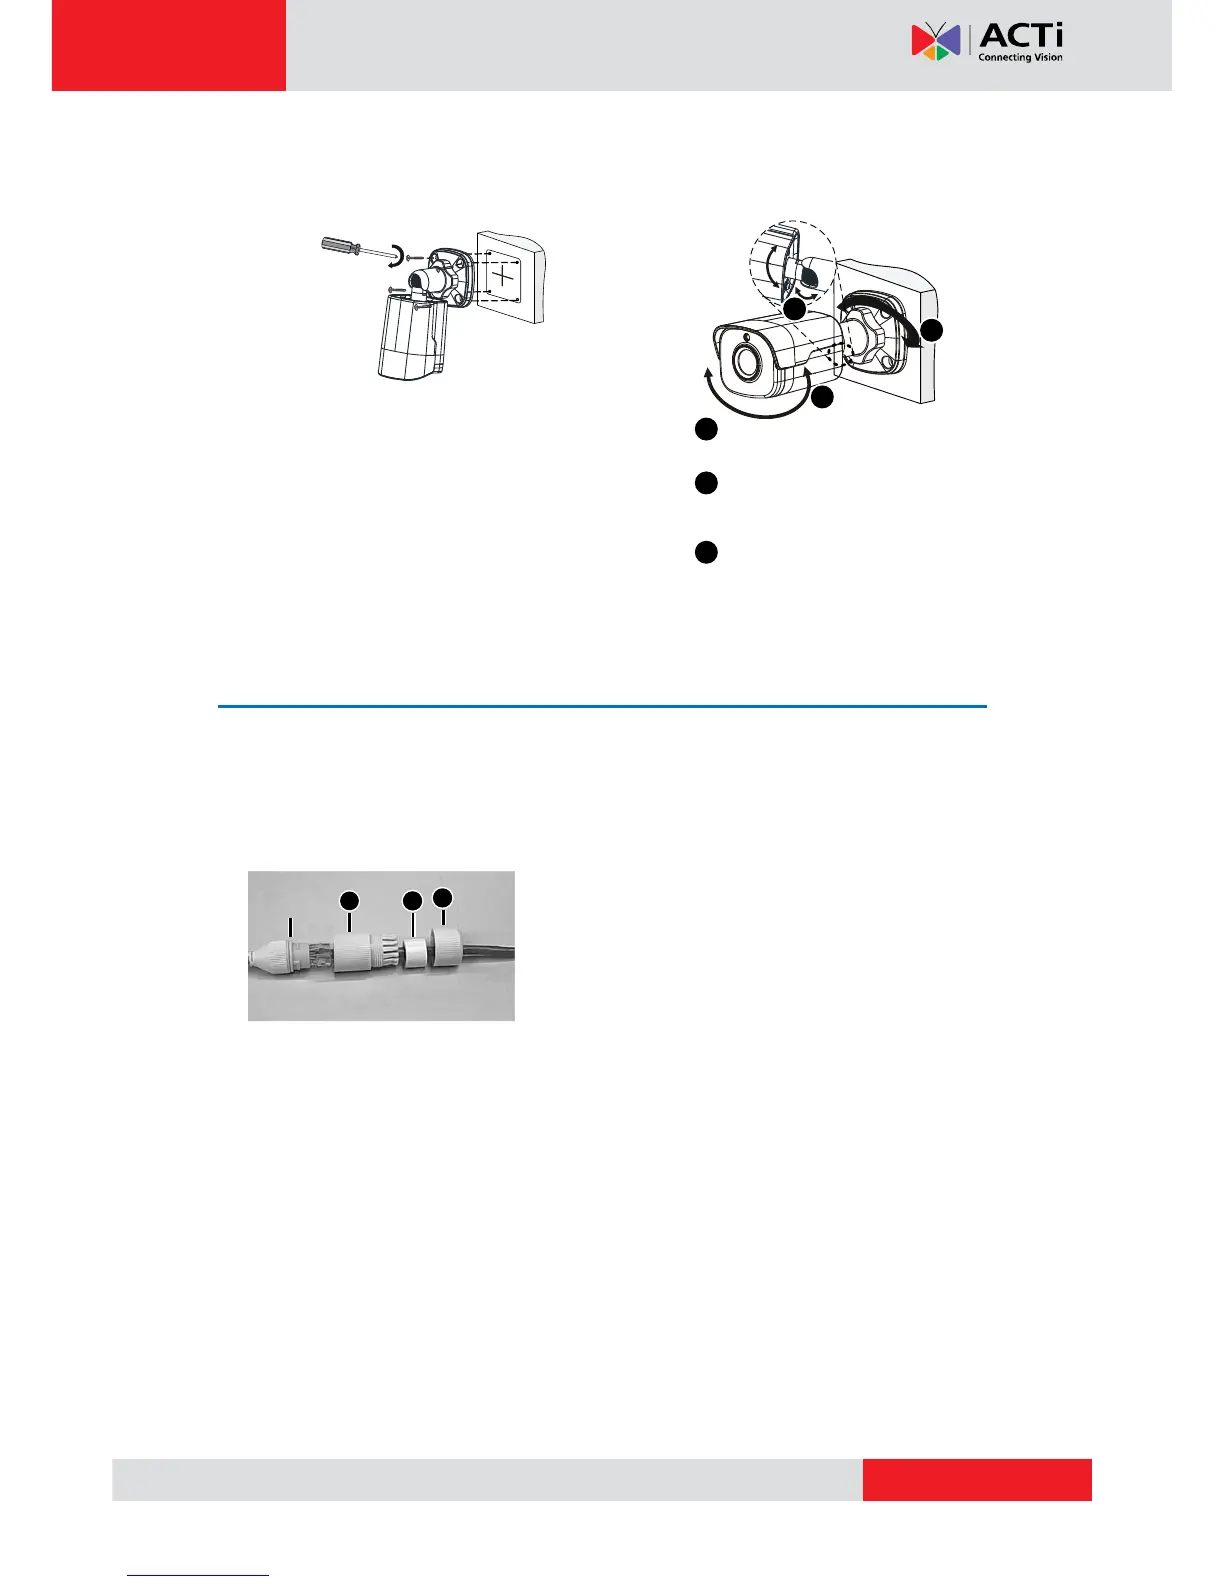
5. Mount your camera onto the wall and
connect all cables.
6. Adjust the monitoring direction.
7. Power on your camera and adjust images.
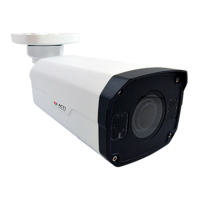
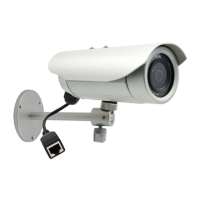
Waterproof RJ-45 Connector
NOTE: The preceding installation process is for concealed installation, during which holes are
punched on the wall and cables are penetrated into the wall. If open installation is adopted,
cables are not penetrated into the wall but threaded out from the outlet on one side of the
base.
Attach the seal ring to the Ethernet interface. Mount
the waterproof components in order. Then insert the
cable into the Ethernet interface and screw the
waterproof bolt in.
NOTE: You can crimp the inner wires of the cable with the RJ45 plug first and then cover the
waterproof components. You may also cover the waterproof components first.
Lead tapping screws through
the guide holes in the base
and fix them on the wall by
using a screwdriver.
Tighten the locknut.
Adjust the opening of the
universal joints as required.
Rotate the spherical hinge of
the camera to get the desired
monitoring direction.
1
2
2
3
1
3
Insert in order
Seal ring
1
23