The procedure is as follows:
1. Press and hold the Security button on Bridge A for no more than 10 seconds. Must release after 10 seconds.
Once released, the Power light will flash.
The password to Bridge A has just been erased and random security key has been generated. It must now be
linked to your network to adopt the new network security key.
2. Press and hold the security button on Bridge B for 10 seconds and release it when the Power light flashes. The
password to Bridge B has just been erased and random security key has been generated. It must now be
linked to your network to adopt the new network security key.
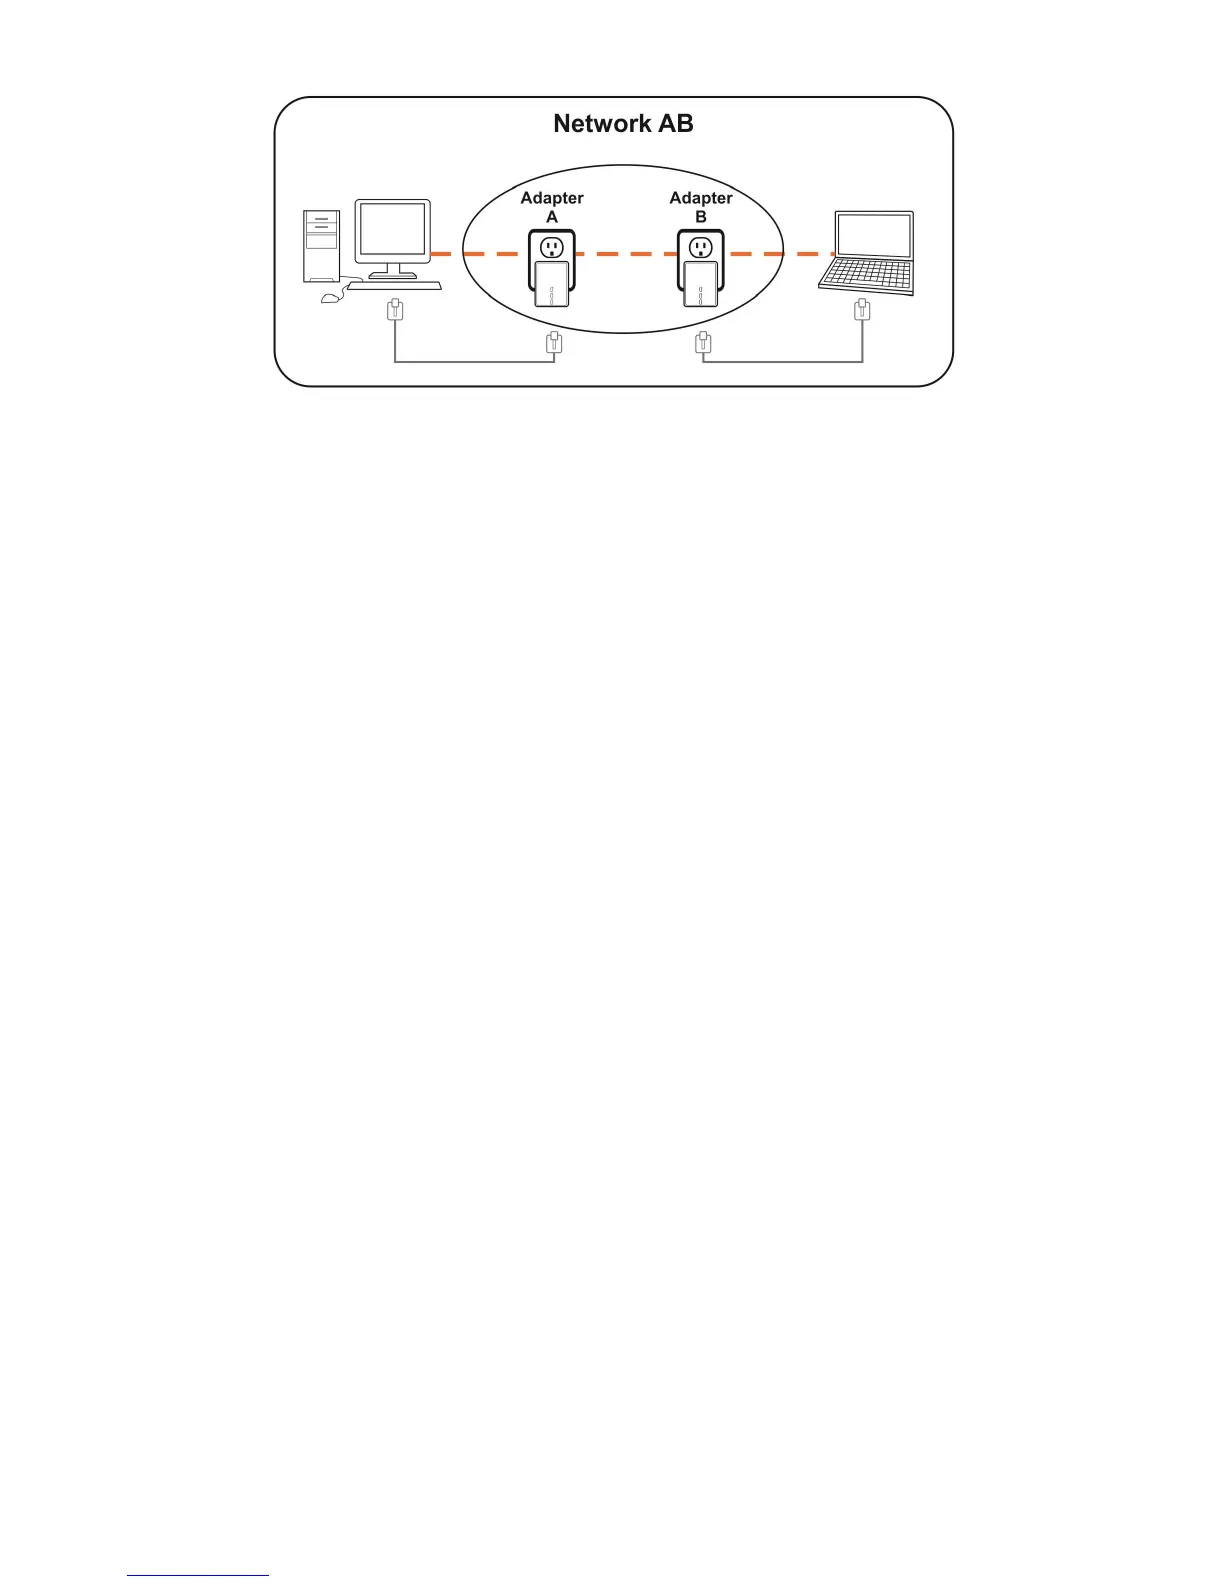
3. Currently, Bridge A and Bridge B are not networked
4. Press and hold the Security button on Bridge A for 1~3 seconds then release.
5. The Power light on Bridge A starts to flash.
6. Within 120 seconds after the Power light on Bridge A starts to flash, press and hold the Security button on
Bridge B for 1~3 seconds then release.
7. Both Bridge A and Bridge B are now networked together.
2.2 Adding Bridge C to existing Network AB (Network ABC)
One unassociated Bridge C is added to an existing Network AB.