6
INSTALLATION
Fixing
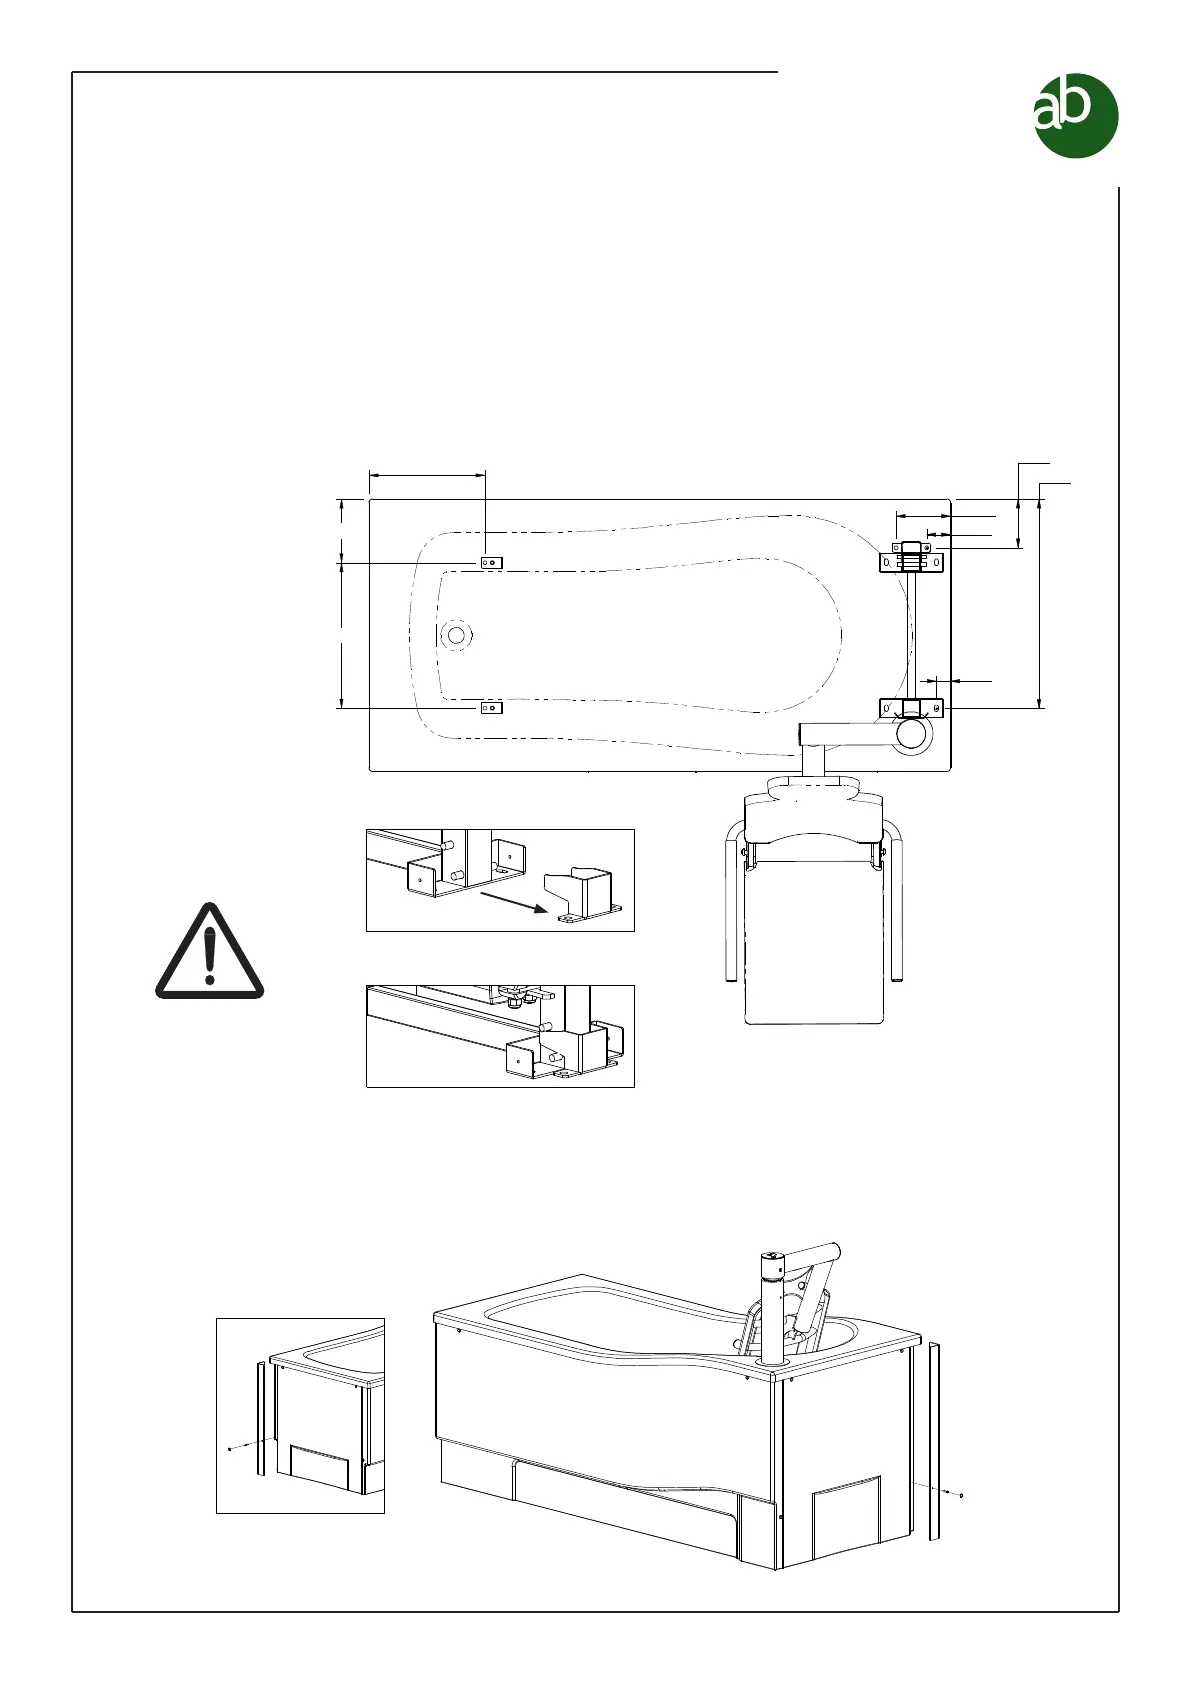
• The bath MUST be secured to the floor via the 5 mounting points as shown
below. Note: Suitable fixing’s for the type of floor MUST be used.
• Hole positions are as shown, measured from rim of tub. We recommend the
floor be marked out, drilled and the mounting bracket fitted before the bath is
placed in position. The bath can then be slid fully into the bracket before fixing
the other feet into position.
ALWAYS fit mount
bracket on opposite
side to seat.
• Where the bath is fitted with one side against a wall, a corner trim is fitted
instead of a full side panel as shown below.
Trim may be cut to
length when fitted to
the foot end panel