10
5. Assembly Instructions (cont.)
5.4 Assembly (cont.)
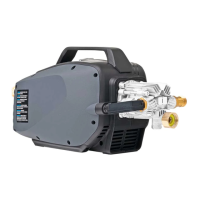
5.5 Wallmount
8 9
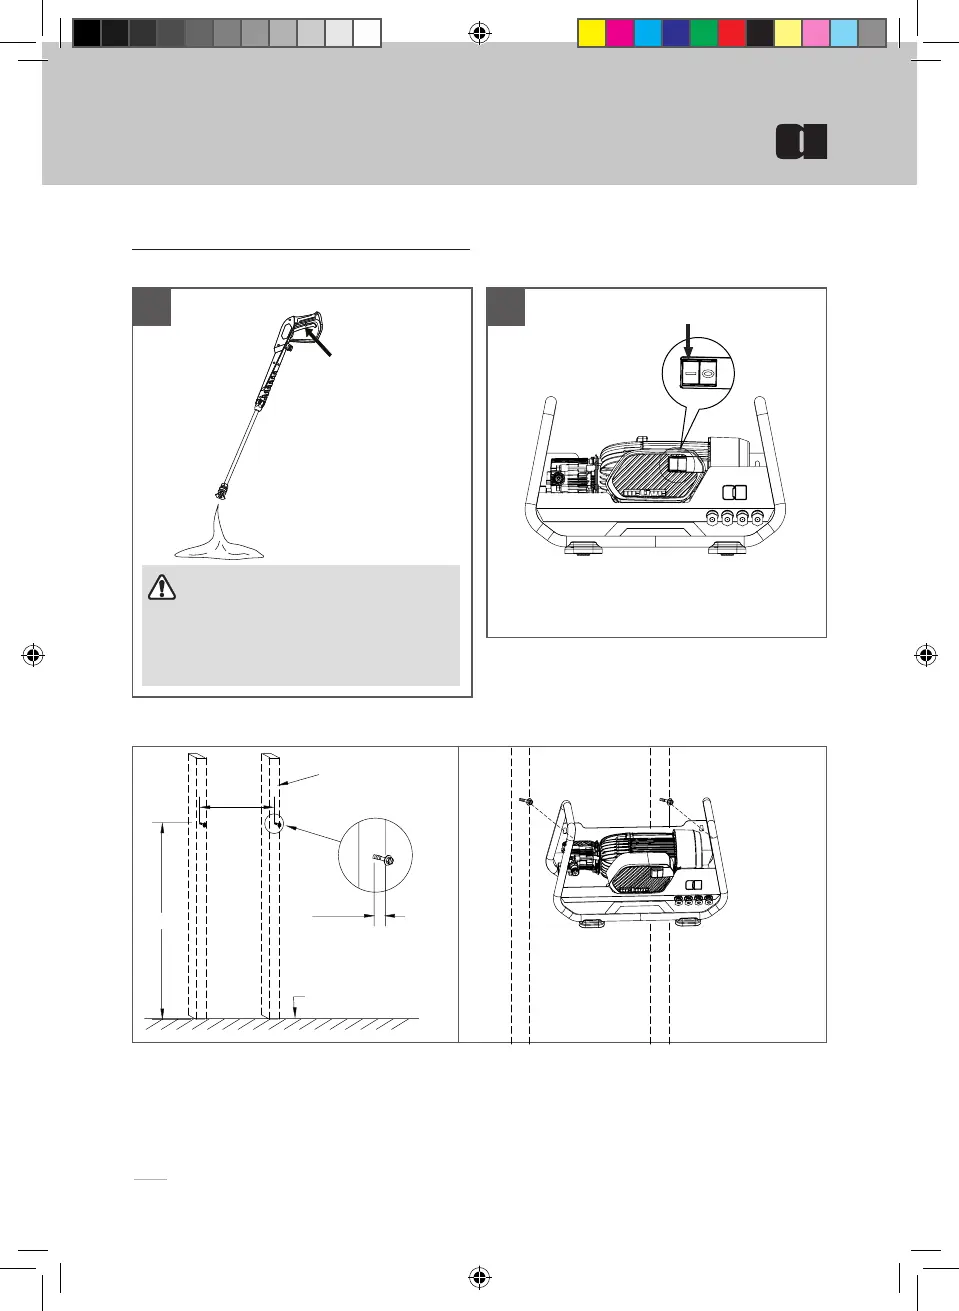
Purge air by squeezing
the trigger on the gun
until there is a steady
stream of water.
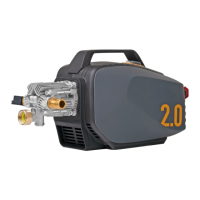
Push ON/OFF button, switch is set in ON position,
machine is ready to operate.
1. Locate the adjacent wood studs in the garage (16"
spacing in between*). Use measuring tape to mark 2
drilling holes for the screws. Make sure there marks
are level and placed in the middle of each stud.
2. Drill on the marks using 3/16" drill bits. Place the
wood screws onto the holes and leave 1/5" away
from the wall.
3. Hang the machine align to the screws and tighten
screws.
* For concrete wall, please see Appendix A
* For 24" spacing between adjacent studs, please
see Appendix B
GROUND
1/5˝
45~65"
16˝
CAUTION
Drain unit aer each use (for storage): remove
water connection, turn ON the machine for a
few seconds and press gun trigger to drain
remaining water in the pump.
Turn OFF immediately.
PURGING
Assembly Instructions
ON / OFF button