1. After the camera is turned on, Press( ) button to start video recording.
2. When the camera starts to record, LED light blinks* and shows recording time on the screen.
3. Press( ) button to stop recording.
4. You can adjust video settings in “User Menu”.
* If LED o option is selected in user setup, LED light will not blink.
6. Video recording
6
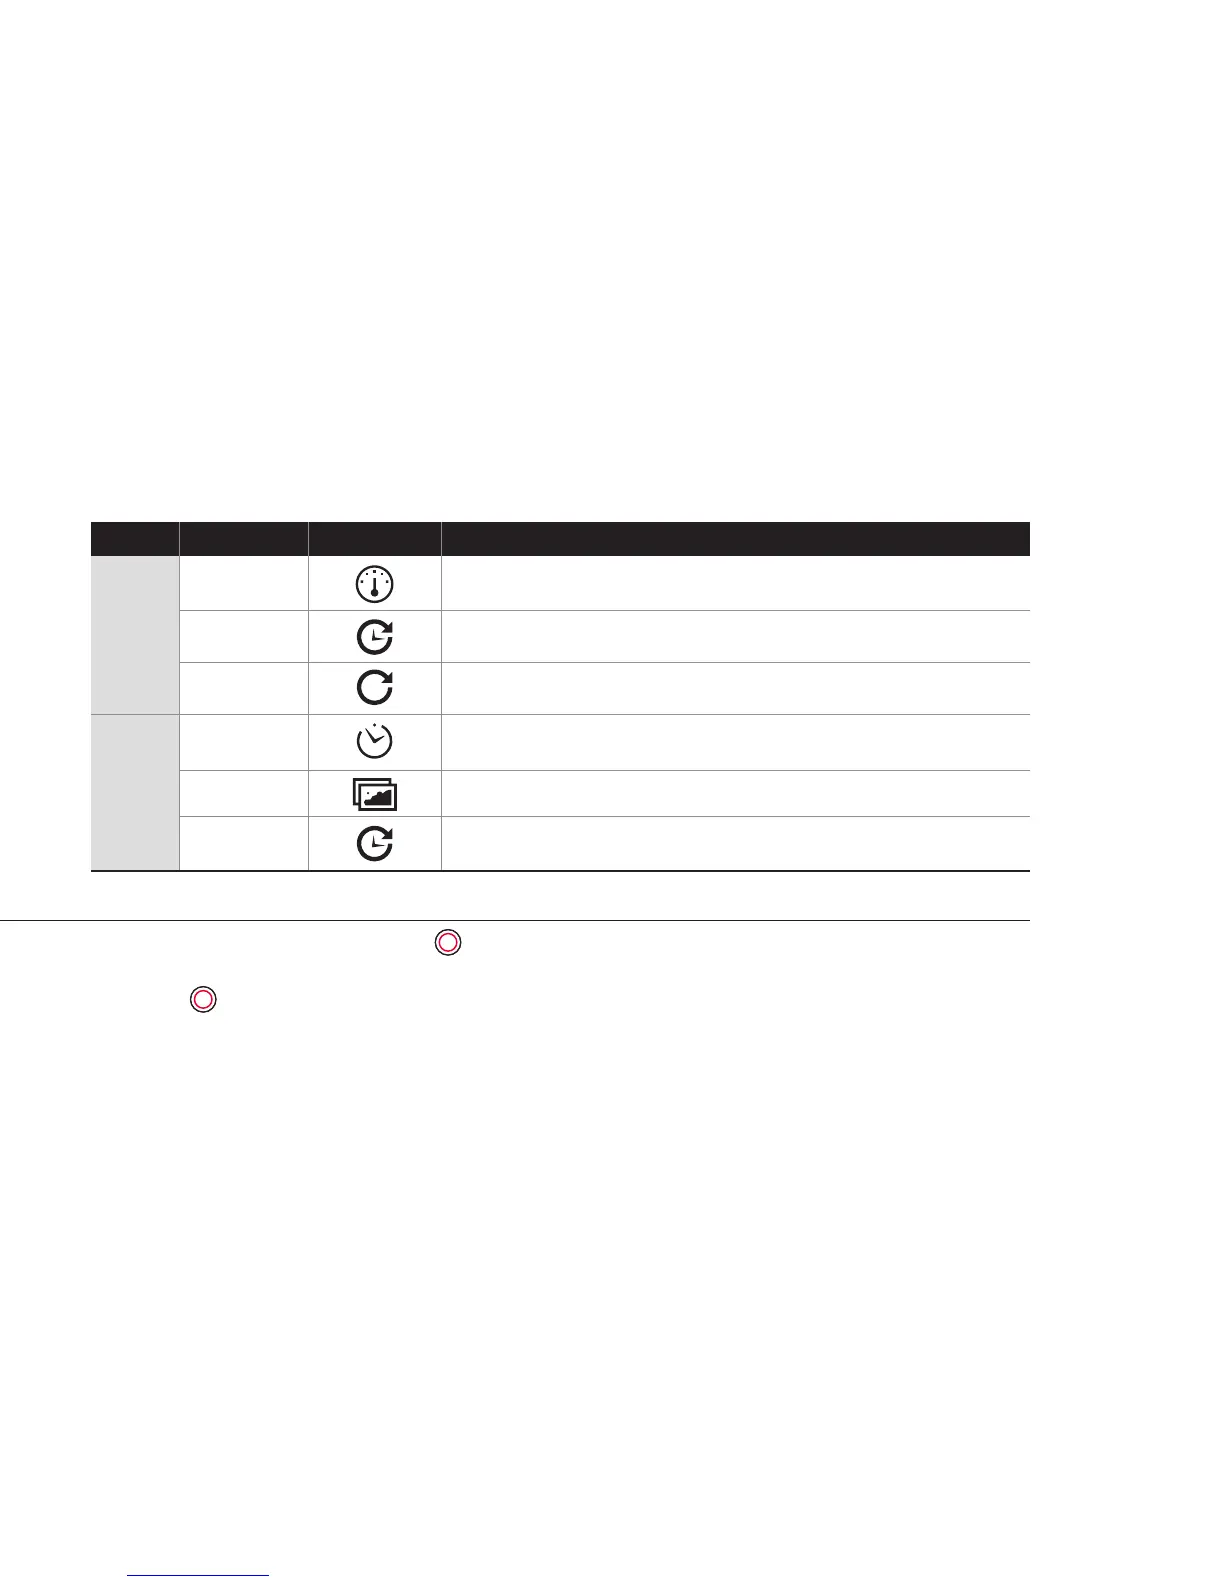
Records video until set time.
(1min / 5min / 10min / 30min)
Continuously records a video for a set time until you stop.
(5min / 20min / 60min / 120min)
Captures images in set intervals and creates a timelapse video le.
(1sec / 3sec / 5sec / 10sec /30sec / 60sec)
Auto stop
Looping
Timelapse
Function
IconsMode
Description
Video
Photo
Captures an image after a set time.
(5sec / 10sec / 15sec )
Captures images continuously in set intervals until you stop.
(1sec / 3sec / 5sec / 10sec / 30sec / 60sec)
Photo burst shooting (3/1sec , 5/1sec)
Self Timer
Timelapse
Burst