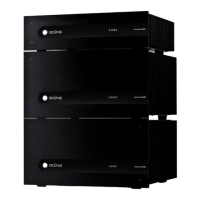
9
A 2 0 0 0 - S E R I E S A M P L I F I E R U S E R G U I D E
©2012 Indy Audio Labs, LLC all rights reserved / Revision20120420
Document No. 1000571
Audio Inputs
We recommend using good quality RCA interconnects
to connect the preamp output to the amplier inputs.
Use the same connection scheme as in the table above.
Pre-amp On/Off Control
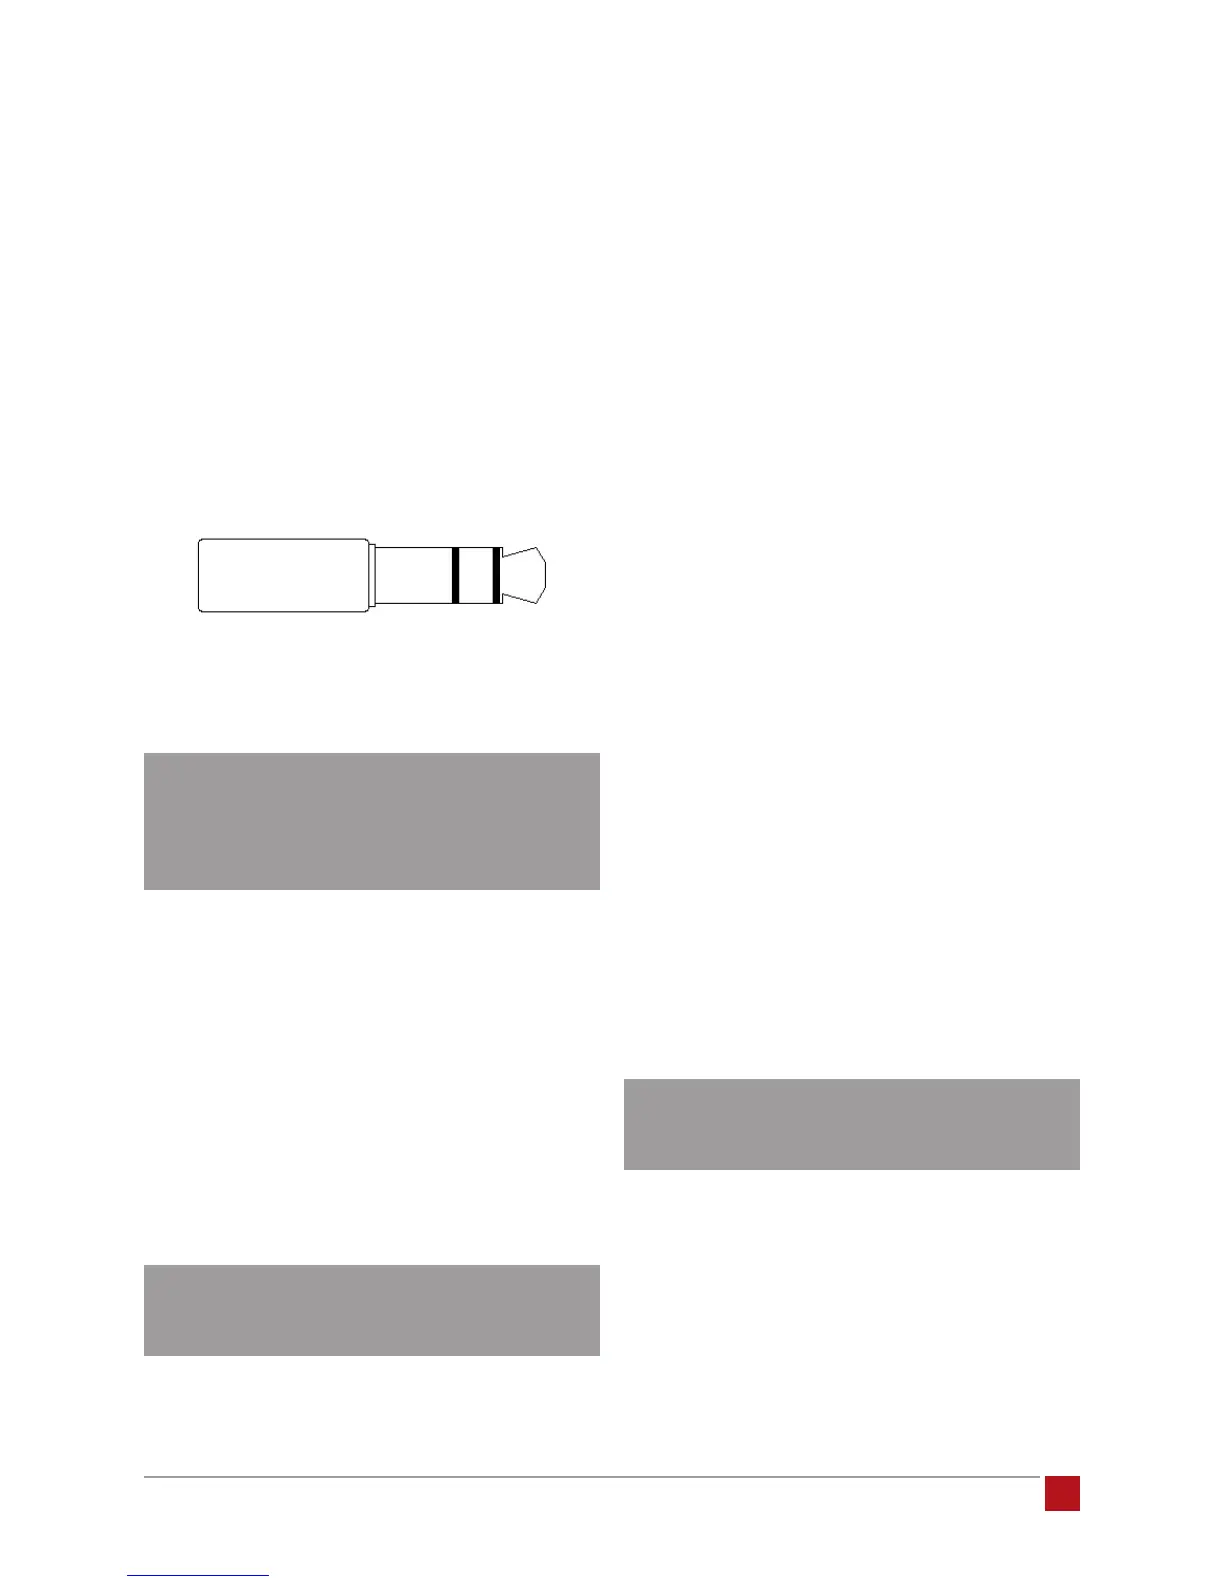
To enable an external 2-channel or surround preamp
to power on your Acurus amplier, connect the trigger
out from the preamp to the the 3.5mm jack labelled 12V
trigger on the Acurus. The jack is wired with its tip active
and will accept a stereo or mono plug.
NOTE: the front panel power button functions
normally even if the trigger input is used.
The Acurus amplifier will automatically
resume control sync with the external preamp
after the next time system power is cycled.
Mains (AC) Power
Your Acurus A2000 series amplier is equipped with a
high-quality 16 gauge, 3-conductor power cord. Plug
this cord into the back of the amplier and then into
a nearby AC outlet. Avoid using any extension cords
or plugging into other components with rear-panel
switched outlets. If using the amplier with a power con-
ditioner, ensure that the receptacle your amplier plugs
into is capable of providing the full current required by
the amplier. See section entitled Technical Specifica-
tions, p16 for a list of current requirements for each
model amplier in the A2000 series.
It is recommended practice to connect AC
power only after all other connections have
been made.
3.5mm stereo plug
1 – Ground
2 – Ground
3 – Trigger Voltage
Control Networks
Ethernet: In order to take advantage of Acurus En-
hanced Ethernet Control (E2C), connect the Ethernet
port to a 10/100 or faster home network router or switch
port via a standard CAT 5e or newer Ethernet cable. The
network activity indicator near the Ethernet jack illumi-
nates green when network activity is detected.
This port may also be directly connected to a system
controller utilizing Ethernet command protocols. Con-
tact your dealer or Acurus Customer Service in order to
verify compatibility with certain control systems.
RS-232: Connect this port to a system controller using a
9-pin RS-232 serial cable in order to control and monitor
the amplier remotely. Contact your dealer or Acurus
Customer Service in order to verify compatibility with
certain control systems.
operation
This section discusses the normal operation of your
Acurus amplier and highlights the control exibility
engineered into this component.
Standby Mode
When rst connected to AC power, your Acurus amplier
initializes in standby mode. This is indicated by a red
illuminated Status Light. Normally, the initialization proc-
ess takes a few seconds. Once the amplier is initial-
ized, it is ready to be powered on.
Before powering on, ensure that your preamp
volume level is not too high or else speaker
damage may occur.
Turn on the amplier by pressing the front panel power
button. If an external trigger input from a preamp is
used, turning on the preamp should automatically turn
on the amplier. The Status Light turns blue indicating
the amplier is active. Toggling the power button again
puts the amplier back into standby mode.
1 2 3