Determines configuration
of hotkeys in conjunction
with switch 3
Reserved for
future use
OFF: Normal operation
ON: Flash upgrade
Determines configuration
of hotkeys in conjunction
with switch 2
Note: When shipped, all switches are set in the OFF positions and this will
produce normal operation.
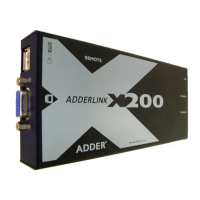
X200 module switches
Certain aspects of operation can be affected by the switches on the X200
module.
Switch 1
OFF: Normal operation.
ON: (Before power is applied) Places the X200 module into flash upgrade
mode so that the internal software can be changed. Please see the Flash
upgrade section in the ‘Special configuration’ chapter.
Switches 2 and 3
Switches 2 and 3 determine which two keyboard keys (when pressed in unison)
are to be designated as ‘hotkeys’. Hotkeys signal to the X200 module that the
next key to be pressed is a special configuration command for the module and is
not to be passed to the computer system.
2 OFF
3 OFF Hotkeys = CTRL and SHIFT
2 OFF
3 ON Hotkeys = ALT and SHIFT
2 ON
3 OFF Hotkeys = CTRL and ALT
2 ON
3 ON Hotkeys disabled
Switch 4
This switch is reserved for future use.