UTC-318 User Manual 16
3.1 Introduction
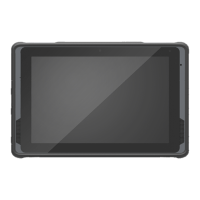
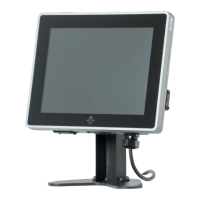
UTC-318 is a touch-based computer housed in a plastic enclosure. The system’s
rear cover must be removed in order to install an HDD, DRAM, or mini SATA card, or
to conduct hardware maintenance/upgrades.
3.2 HDD Installation
The UTC-318 internal controller can support one 2.5” SATA HDD. The SATA control-
ler accelerates data transfers and allows the SATA HDD to exceed 150 MB. To install
an HDD, follow the instructions below.
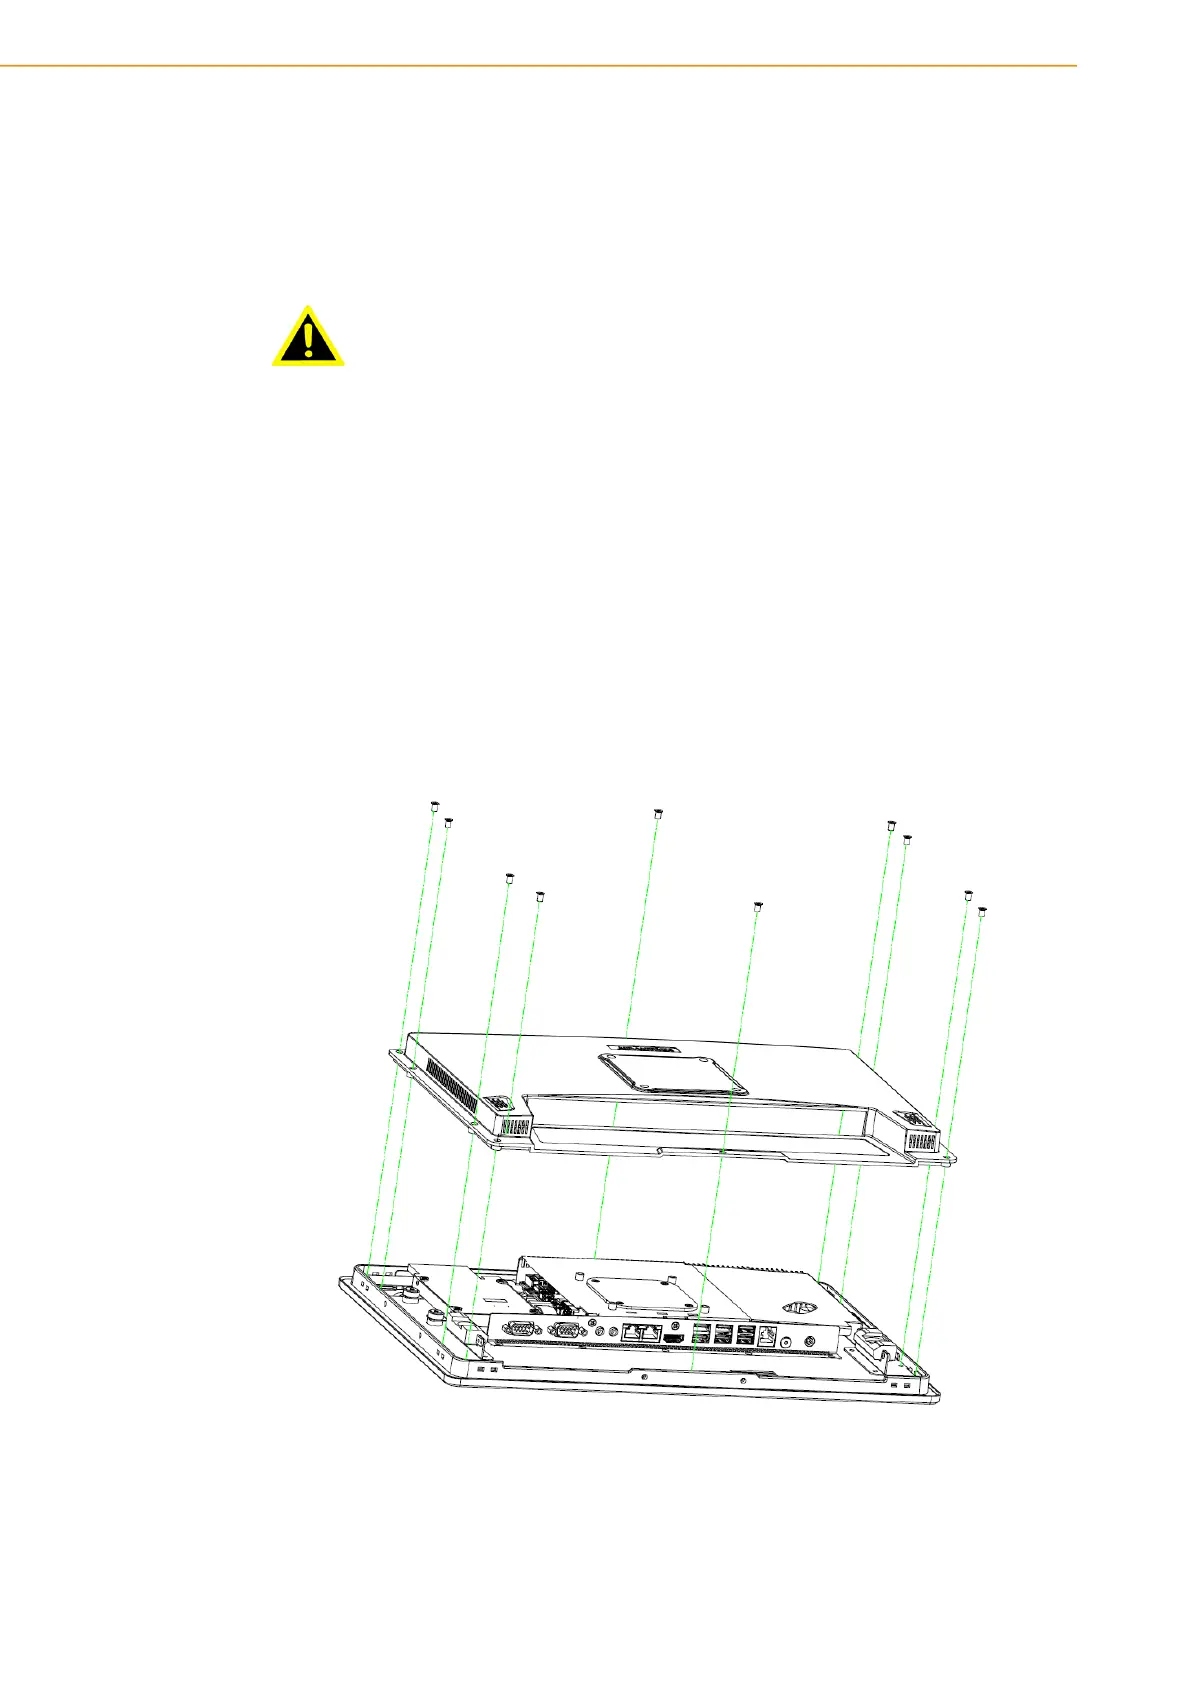
1. Detach and remove the rear cover.
2. Insert the HDD into the metal bracket and tighten the screws to affix in place
(see Figure 3.1).
3. The HDD cable (SATA 7P+1*5P-2.5/SATA(15+7)P) should be located next to
the metal brace. Connect one end of the HDD cable to the motherboard
(SATA1/SATA Power) and the other end to the SATA HDD.
4. Replace the rear cover and tighten the screws to secure in place.
Figure 3.1 Installing an HDD
Warning! Do not remove the rear cover until you have verified that no power is
flowing within UTC-318. The power must be switched off and the power
cord unplugged when servicing UTC-318.