8
NOTE: To decrease restriction and increase airflow, the ducting should make as few
bends and turns as possible. When corners or turns are required, we recommend that
you add radii to the corners to keep airflow at a maximum. Ten square inches of free
area per duct is the minimum requirement. Larger ducting will improve airflow and
system performance.
3. All field fabricated cold air supply ducting must be insulated to avoid condensation
and prevent cooling loss.
B. Registers
Cold air registers should have a minimum discharge area of 48 square inches per system,
or 24 square inches per duct run.
WARNINGS ABOUT WIRING
1. U.L. approval requires the power supply to be copper conductors with minimum
#12 AWG.
2. To prevent voltage drops greater than 10% during starting loads, adhere to the
following guideline: For lengths greater than 50 feet, use #10 AWG.
TEMPLATE MOUNTING
Frame Mounting
1. Place the roof top unit over the roof opening.
2. Position the mount frame into the ceiling opening (see Figure 6)
Figure 6
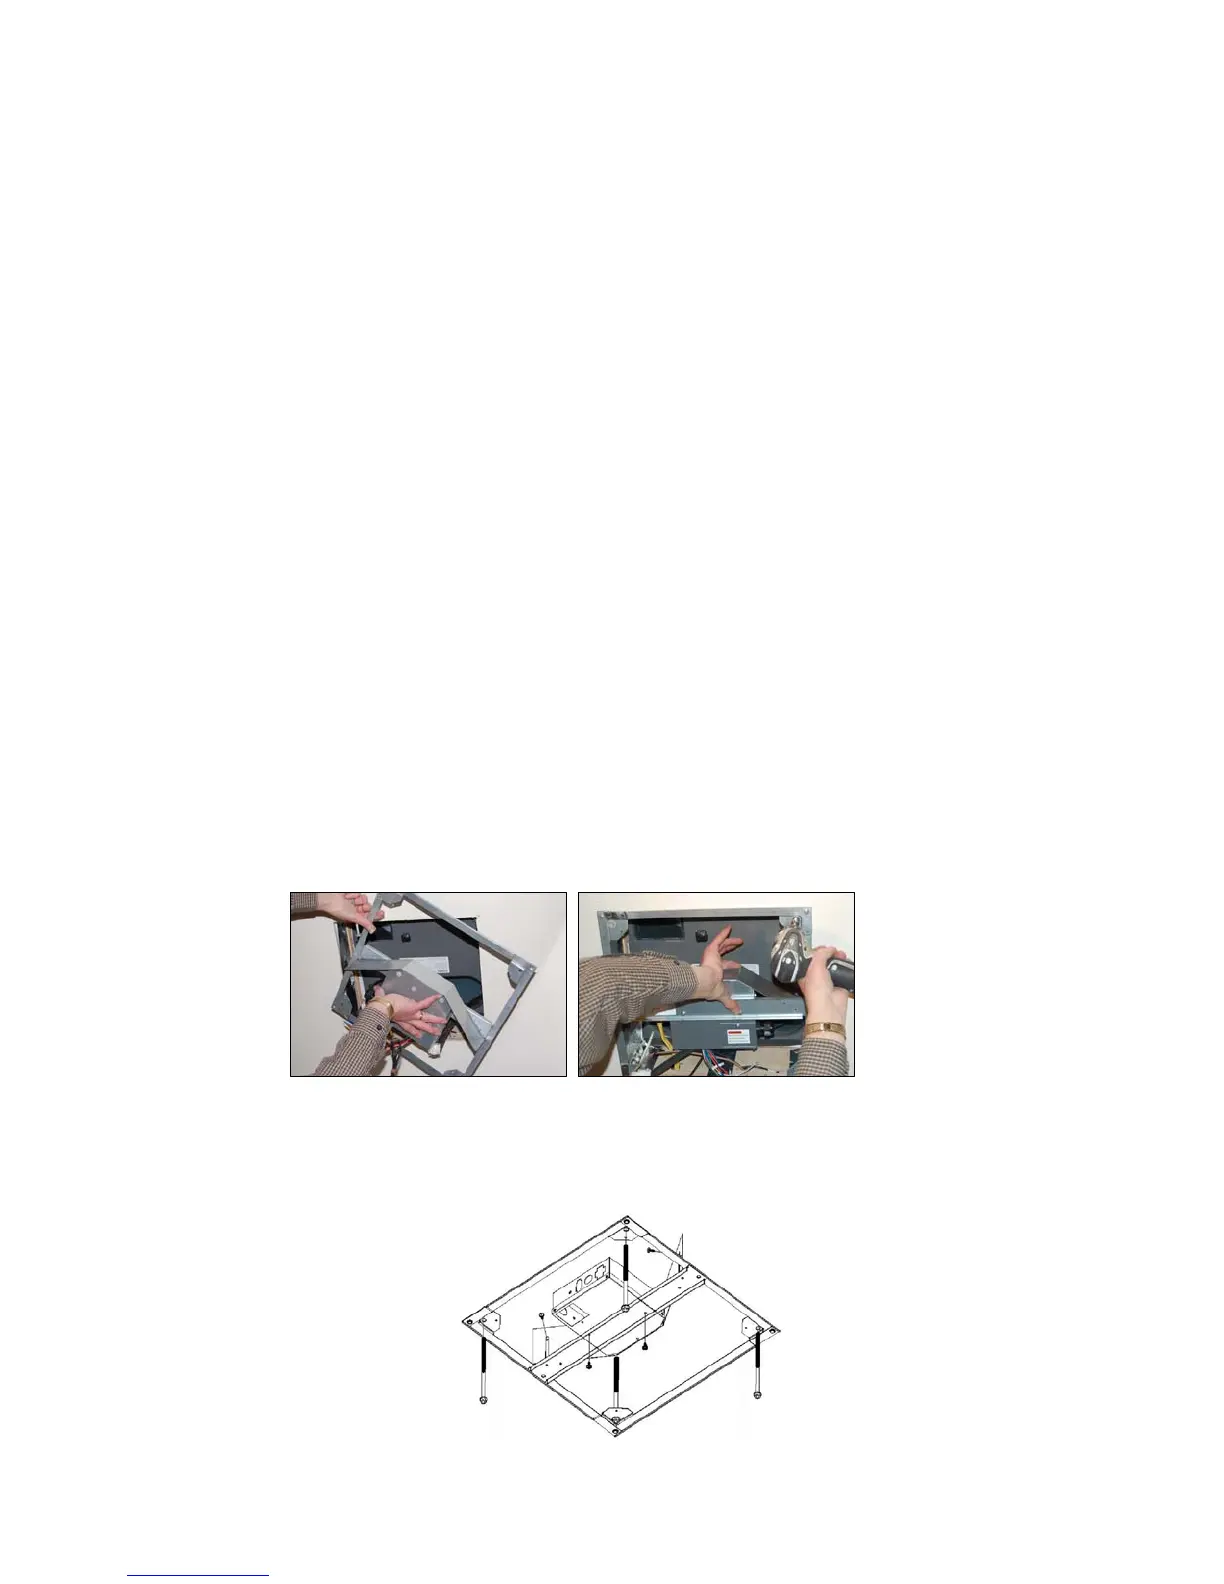
3. Using the four bolts provided, hold up the mount template to the ceiling. The four
mounting bolts are to be inserted up through the bottom of the mount template and into
the bottom of the roof unit. See Figure 7
Figure 7
 Loading...