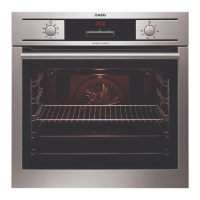
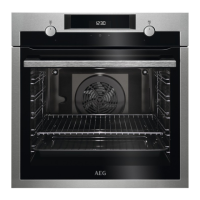
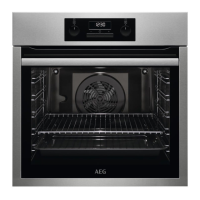
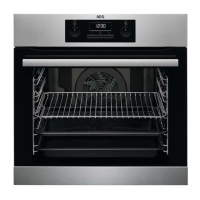
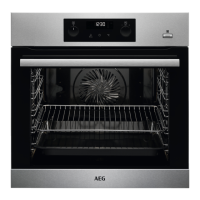
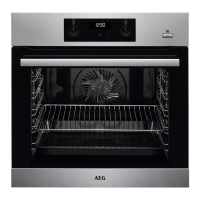
ENGLISH 9
clean and free of obstacles when
plugging in the oven.
If the clock does not respond correctly
when you touch the glass, unplug the
oven for a few seconds and then plug it
in again. Doing this causes the sensors
to adjust automatically so that they will
react once more to fingertip control.
CAUTION
The electronic clock features Touch-
Control technology. To operate,
simply touch the glass control
symbols with your fingertip.
The touch control sensitivity continuously
adapts to ambient conditions. Make sure
the glass surface of the control panel is
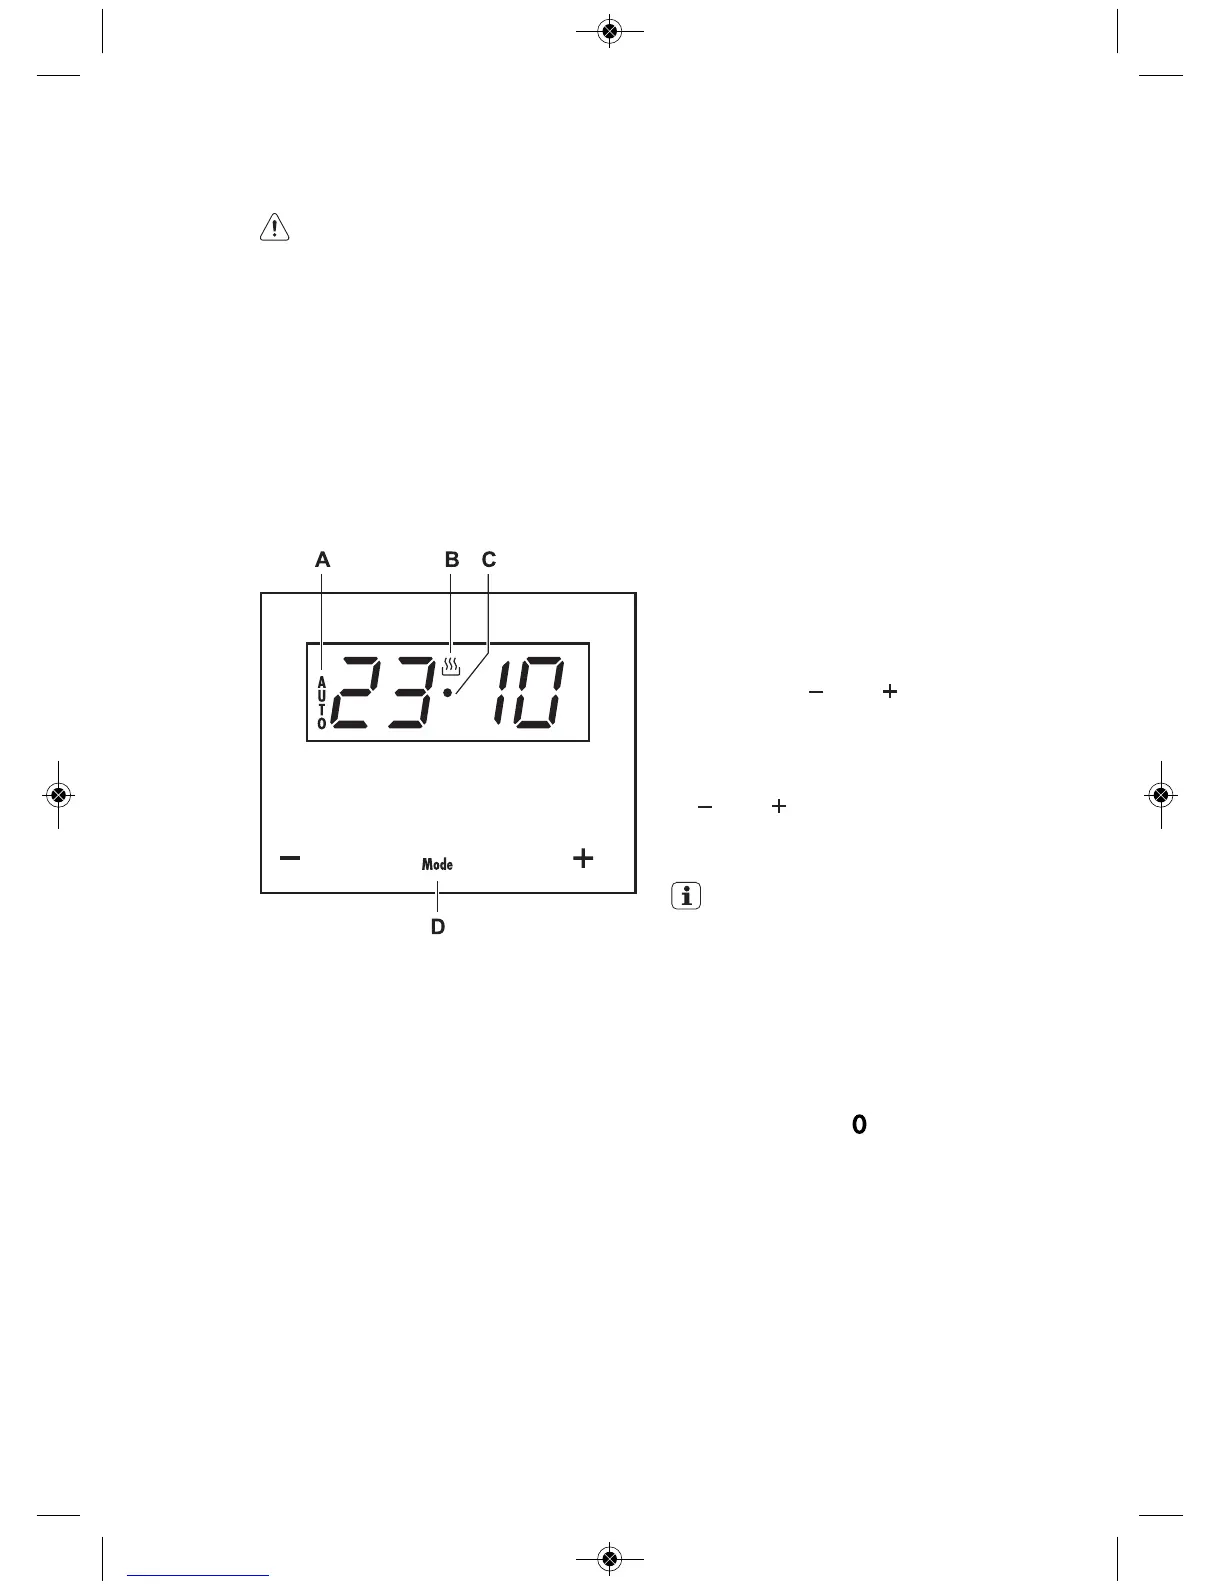
6.1 Setting the time on the
Electronic Clock
6.2 Manual Operation
The oven is ready to be used when the
clock has been set. Select a cooking
function and a temperature.
When you begin cooking, temperature
indicator lights up to indicate that the
When the oven is connected to the
power network, AUTO (A) and the
gures on the timer will ash. Set the
current time of day as follows:
1 Press in the and buttons
simultaneously till you hear a beep. A
point (C) between the gures of the
timer will start ashing.
2 Set the correct time of day using the
and buttons. You will hear a
beep conrming the time selected.
The heat symbol (B) stays lit.
IMPORTANT
The time can be changed whenever
you like; follow the instructions
above to do so.
oven is heating the contents; the
indicator goes out when the selected
temperature is reached.
Set the controls to to turn the oven
off.
6. DAILY USE