5
Unlocking the scanner
The scanner’s optical assembly is held in place during shipment by a
locking screw which must be loosened before the unit can be
operated.
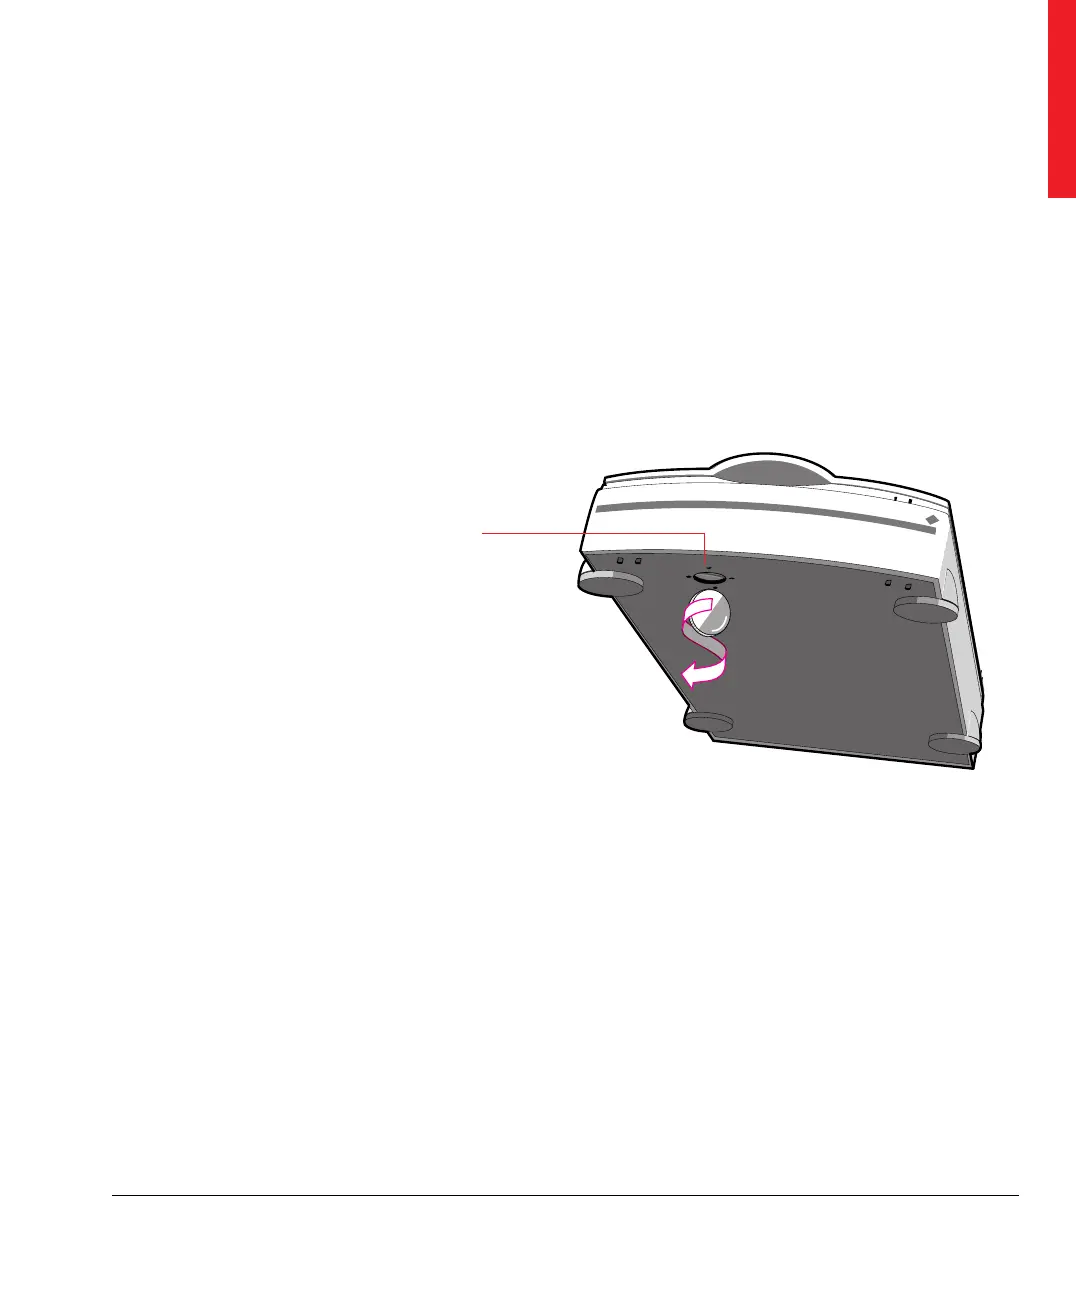
1. Locate the locking screw at the base of the scanner as shown in
Figure 2.
2. Unlock the locking screw with a small coin.
The screw pushes out a small distance, nearly even to the bottom
of the scanner.
❖ Note: Leave the locking screw in place so that you can relock it if you
have to move the scanner over long distances.
Unlocking the scanner
Locking the scanner
If you need to transport the scanner over long distances, you should
first replace the shipping restraint. This will protect the scanner’s
optical assembly from possible damage.
1. Turn off your scanner.
2. Turn on your scanner.
The Power indicator should light and the Ready indicator should
blink. The scanner’s optical assembly moves to its home position.
3. Wait until the Ready indicator stops blinking.
Figure 2
Unlocking the locking screw