6 Chapter 1 Preparing the scanner
4. Locate the locking screw at the base of the scanner.
5. Tighten the locking screw with a small coin.
6. Turn off your scanner.
7. Repack the scanner with the original packing materials to
protect it.
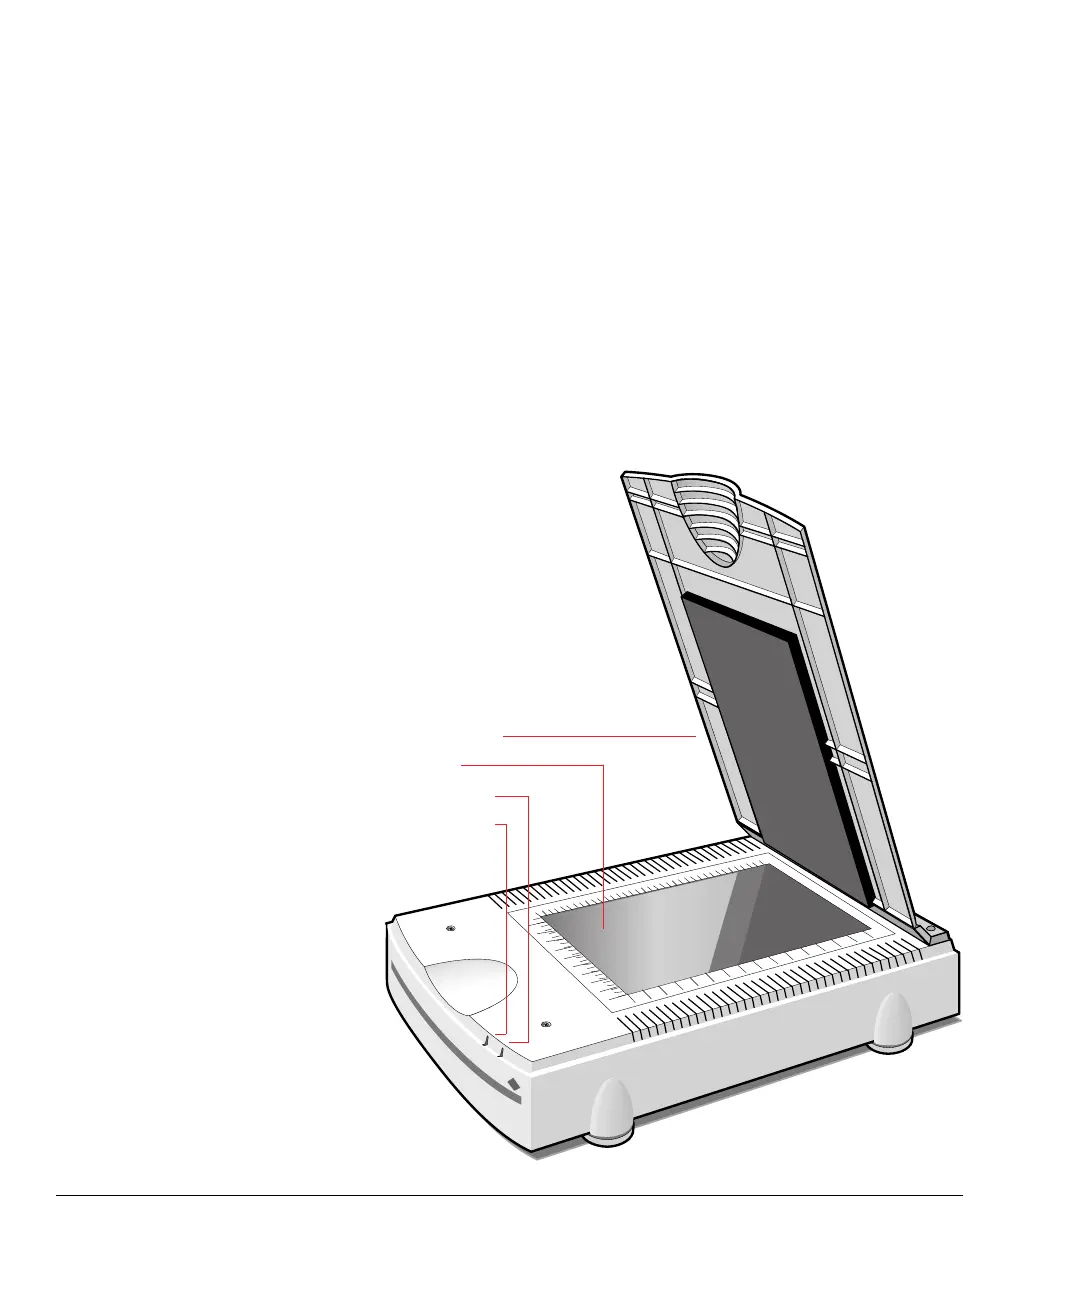
Taking a closer look
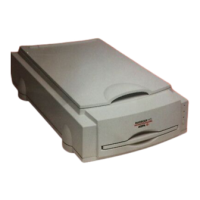
Now that you have the scanner out of the box, take a closer look so
that you’re familiar with its parts. Figure 3 and Figure 4 illustrate the
locations of the different parts of your StudioScan II.
Document cover
Glass plate
Ready indicator
Power indicator
Figure 3
The top and right side of the scanner