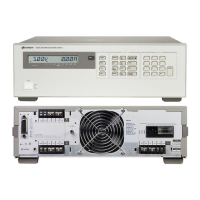
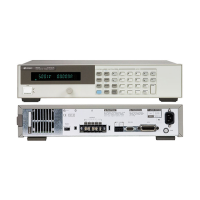
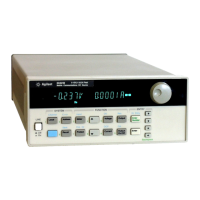
Parts required if A9 Assembly is to be replaced:
For Model Number:
6680A: Qty 1 06680-60022 Down Programmer/Slow sense Assy
Qty 1 5064-0142 FET Kit
6681A: Qty 1 06681-60022 Down Programmer/Slow sense Assy
Qty 1 5064-0142 FET Kit
6682A: Qty 1 06682-60022 Down Programmer/Slow sense Assy
Qty 1 5064-0141 FET Kit
6683A: Qty 1 06683-60022 Down Programmer/Slow sense Assy
Qty 1 5064-0141 FET Kit
6684A: Qty 1 06684-60022 Down Programmer/Slow sense Assy
Qty 1 5064-0141 FET Kit
Situation:
The output voltage cannot be lowered rapidly when the output is disabled or programmed to a
lower voltage. Cause: the sockets for field effect transistors (FET’s), A9 Q981 and A9 Q982,
have been found to overheat disabling the down programmer ciruit. Often the A9 can be easily
and quickly repaired.
Solution / Action:
1) Using the disassembly procdures in the service manual, remove the top cover, the protective
RFI Shield (galvanized sheet metal) and the A10 control assembly.
2) Without removing the A9, visually inspect the area around the FET sockets on the A9 as-
sembly. Look for signs of overheating. If the board is badly damgaged as indicated by lifted
traces and/or burned circuit board material, the A9 assembly will need to be replaced. If the
A9 board material is only discolored continue with step 3. If the A9 has to be replaced, also
replace the FET’s. Use the normal procedure for replacing the A9 and FET’s and, in addi-
tion, follow step 6 below to solder the FET leads into the sockets.
3) Remove the screws holding the A9 FET’s down to the heatsink and unplug the FET’s from
the A9 assembly. Discard the old insulators and FET’s.
4) Remove overheated FET sockets from the A9 assembly: Using a soldering iron and long
nose pliers, heat up the sockets from the side facing the outside of the unit and carefully
push them part way in. Next grasp them from the inside and remove them. Be careful not to
drop solder or sockets into the unit. Clean the plated-thru holes with desoldering braid.
5) Insert the new sockets into the A9 (don’t solder them in yet). Insert the new FET’s into the
sockets and mount them to the heatsink using new insulators. Make sure that the sockets are
fully seated into the circuit board. Do not use heatsink compound or overtighten the screws.
6) Carefully flow solder around the sockets on the side facing away from the heatsink (out-
side) and then carefully flow solder around the FET leads and INTO the sockets on the side
facing the heatsink. By applying heat only to the sockets, the solder will draw into the sock-
ets and will not flow toward the body of the FET’s.
7) Re-install the A10 control assembly, shields, and cover by reversing the disassembly proce-
dure in the manual.
Continued
Page 2 Service Note 6684A-03

 Loading...
