EPM Series Power Meter (E4418B) Modification
Appendix A 59
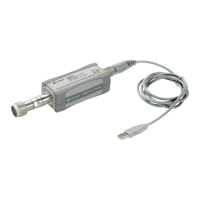
Step 8. Securely fit the three BNC connectors into the three holes in the rear panel, as
shown in Figure A-8. Use the 25 lb/in torque wrench to tighten the nuts.
Figure A-8
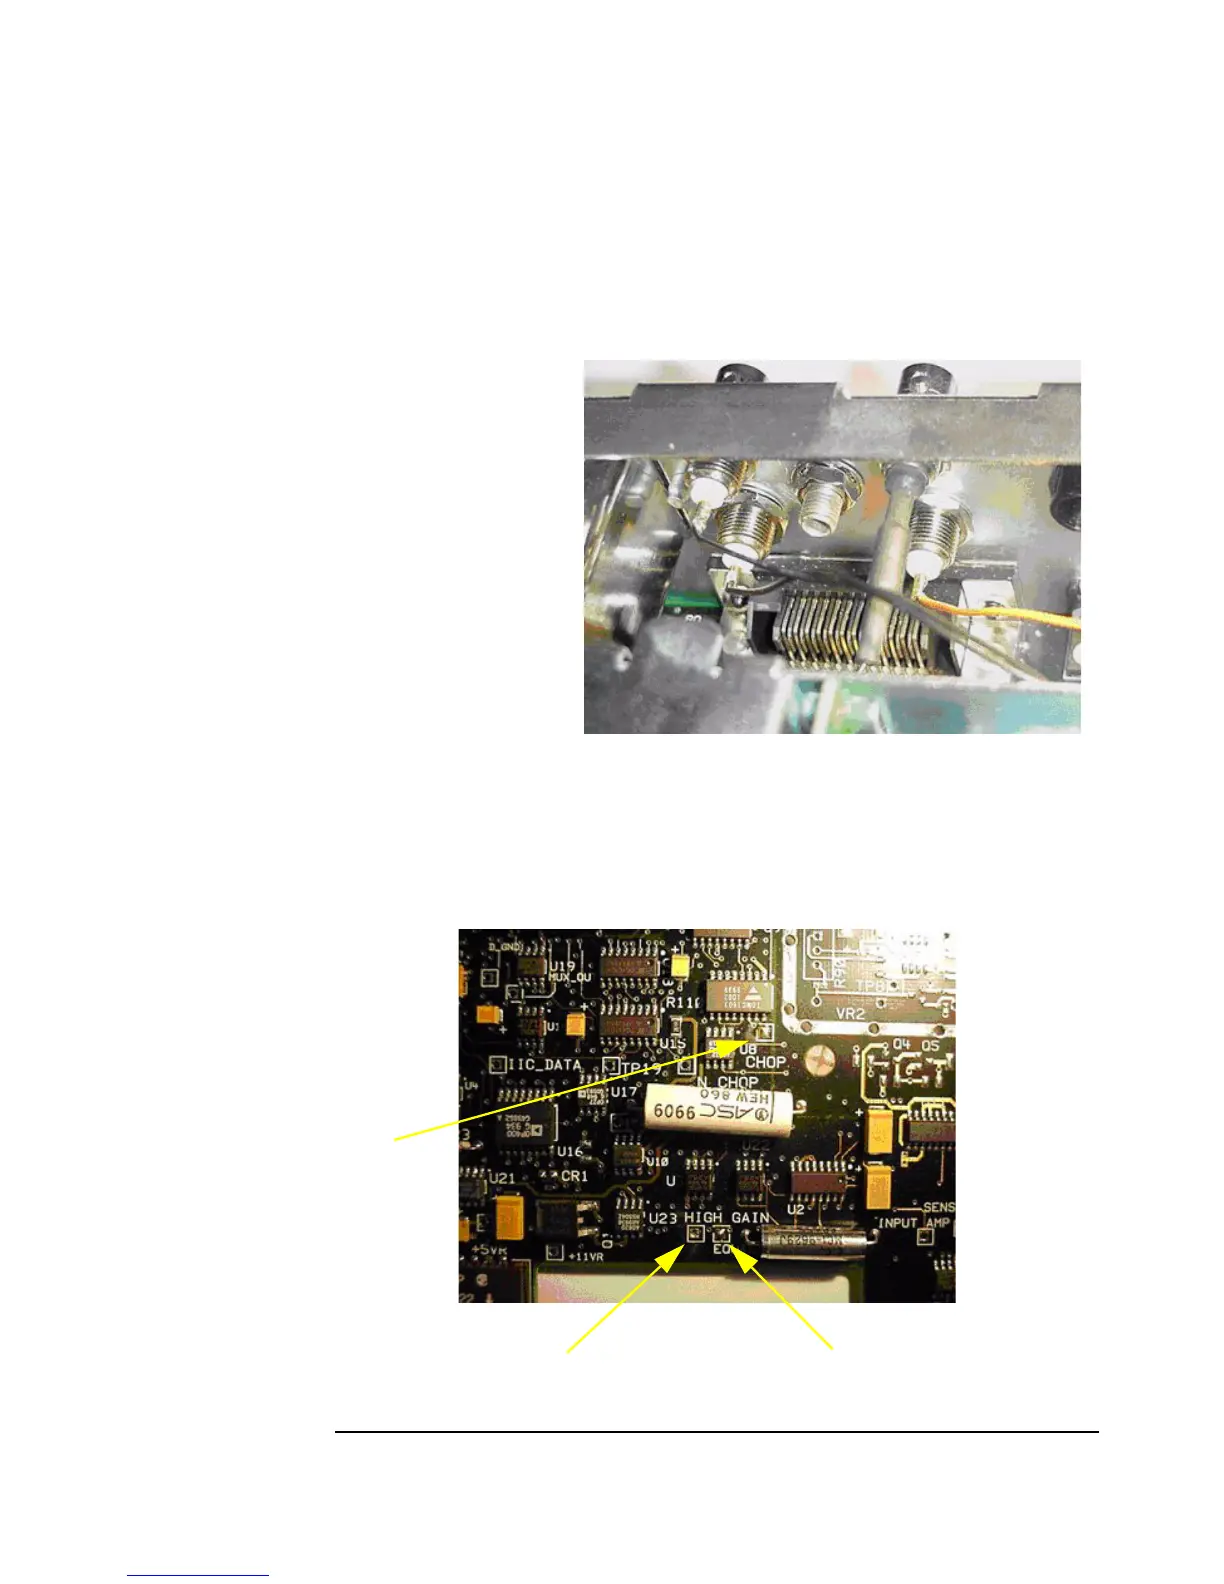
Step 9. The Measurement PCB (A6) must now be modified. The call outs in Figure A-9
show where the three wires need to be soldered. Solder a wire into each hole (Chop,
Low Gain, and High Gain Outputs). Take care not to over heat the PCB, as this may
damage the trace.
Figure A-9
Chop Output
High Gain Output
Low Gain Output
 Loading...