41
Installing the Autosampler
3
Installing the Autosampler
Installing the Autosampler
Parts required # Description
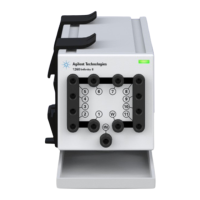
1Sampler
1 Power cord, for the other cables see below and “Cable Overview” on page 120
1 Control Software (ChemStation, EZChrom, OL, etc.) and/or Control Module G1323B
Preparations • Locate bench space
• Provide power connection
• Unpack the Sampler
WARNING
Module is partially energized when switched off, as long as the power cord is
plugged in.
Risk of stroke and other personal injury. Repair work at the module can lead to
personal injuries, e. g. shock hazard, when the module cover is opened and the
instrument is connected to power.
➔ Never perform any adjustment, maintenance or repair of the module with the top
cover removed and with the power cord plugged in.
➔ The security lever at the power input socket prevents that the module cover is taken
off when line power is still connected. Never plug the power line back in when cover
is removed.
WARNING
Personal injury
To avoid personal injury, keep fingers away from the needle area during autosampler
operation.
➔ Do not bend the safety flap away from its position, or attempt to remove the safety
cover (see Figure 13 on page 42).
➔ Do not attempt to insert or remove a vial from the gripper when the gripper is
positioned below the needle.
 Loading...