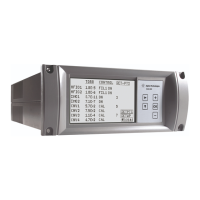
XGS-600 Gauge Controller
42
DRAFT 4/
15/14
Examples:
❑ You want to install 5 IMG boards:
❍ IMG boards are installed into slots 1, 2, 3, 4, and 6. Slot 5 remains empty. Do not
install any board into slot 5.
❑ You want to install 4 IMG and 2 CNV boards:
❍ IMG boards are installed in slots 1, 2, 3, and 4; CNV boards are installed in slots 5
and 6.
Sensor Board Replacement Procedure
WARNING Only trained service personnel should attempt this work.
Disconnect the XGS-600 mains connection by unplugging the
IEC power cord from the back of the unit before removing the
unit's cover.
CAUTION Wear an ESD bracelet and observe all appropriate precautions
to avoid damage to PCBs.
CAUTION When these boards are assembled certain components are bent
over intentionally. Do not straighten them.
1. Turn off and unplug the line cord (AC mains).
2. Remove the cover by unscrewing the two Philips head screws.
3. If removing an HFIG board, unplug the yellow connector near the front panel. It may
require some effort to unplug. Do not pull on the wires, pry the yellow plastic connector
instead.

 Loading...