20
SECTION: 5
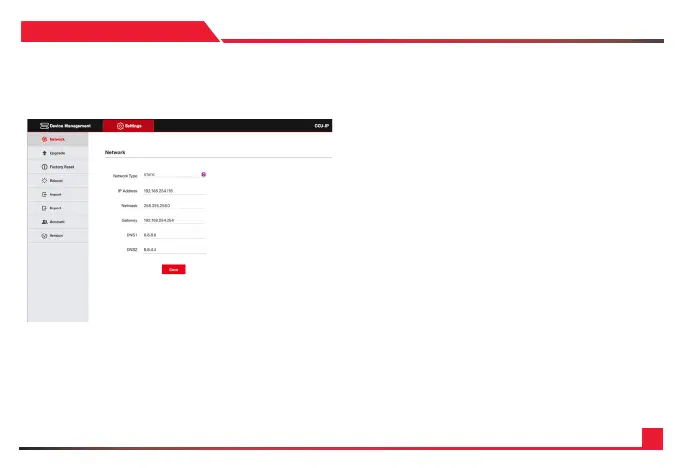
SETTINGS TABS
Under the settings tab you will nd a couple of optimizable settings.
1. Network: Adjust the CCU-IP’s network settings, such as
DCHP or Static IP addresses, as well as changing the Static
IP address settings.
2. Upgrade: Used for potential future rmware upgrades.
As of now there is no new rmware released.
3. Factory Reset: Clicking the reset button will factory reset the
controller. Do note that if you changed your IP address, the
CCU-IP will factory default back to IP Address 192.168.1.108.
4. Reboot: Clicking the restart button will power cycle the
controller. No settings will be lost.
5. Import: Allows you to import any saved AIDA CCU-IP preset
les. This will change all of your settings.
6. Export: Allows you to export your current AIDA CCU-IP
settings into a preset le, which can later be imported to the
same or other controllers.
7. Account: Create multiple user accounts to access the controller.
8. Version: Displays the current CCU-IP version numbers.
 Loading...