Power Wire Connection
WARNING: Shock Hazard
The solar PV array cannot produce open-circuit voltages in excess of 155V DC
when in sunlight. Verify that the solar input breaker or disconnect has been opened
(disconnected) before installing the system wires.
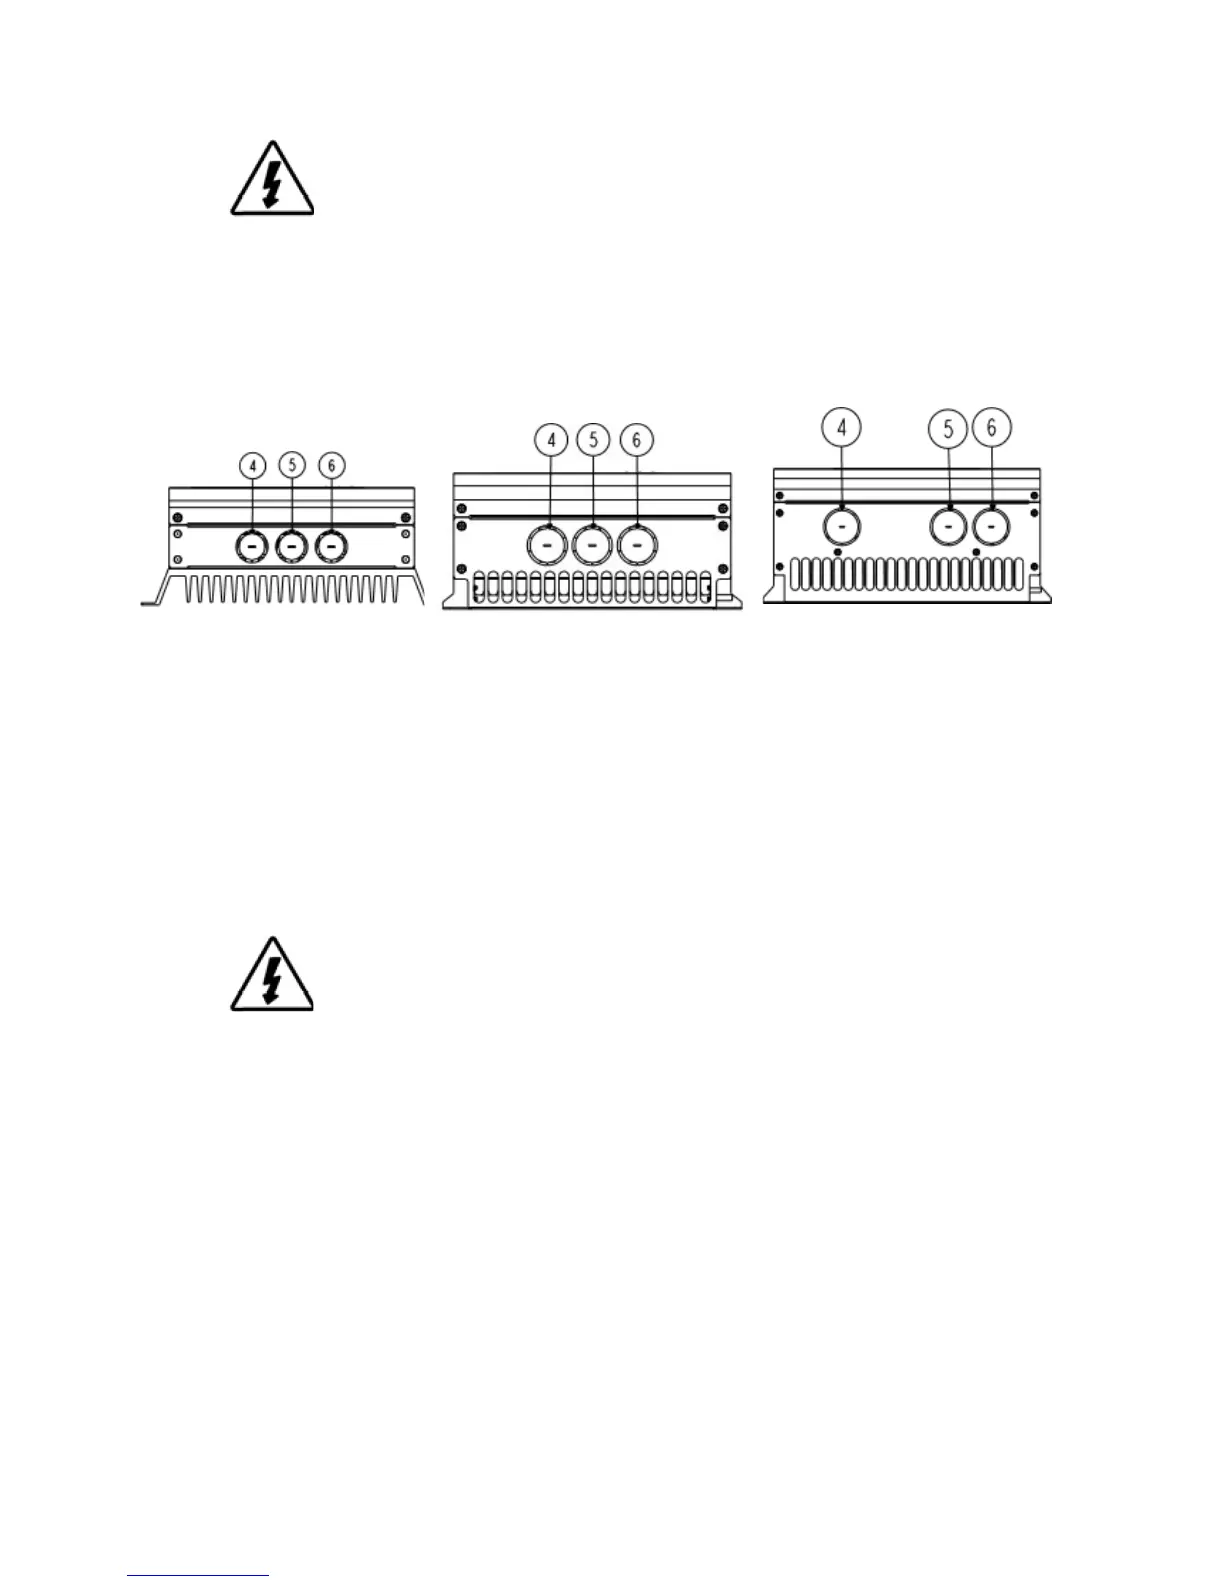
Model: 20A 30A Model: 40A Model: 60A 80A 100A
Connect the six power conductors shown in figure above the following steps:
Confirm that the system input and output disconnect switches are both turned off
before connecting the power wires to the controller and that there are no disconnect
switches inside the controller.
1. Put the wires into the wiring box. ④ Solar Input ⑤Battery Input ⑥DC load
Output
WARNING: Risk of Damage
Be very certain that the battery connection is made with the correct polarity. Turn on
the battery breaker/disconnect and measure the voltage on the open battery wires
before connecting to the controller. Disconnect the battery breaker/disconnect before
wiring to the controller.
2. Connect the Battery+ (Positive) wire to the Battery+ terminal on the
controller, Connect the Battery- (Negative) wire to the Battery- terminal on
the controller.
3. Connect the Solar+ (Positive) wire to the PV+ terminal on the controller,
Connect the Solar- (Negative) wire to the PV- terminal on the controller.
4. Connect the DC load+ (Positive) wire to the Load+ terminal on the controller,
Connect the DC load- (Negative) wire to the Load - terminal on the controller.
 Loading...