HOW TO USE THIS GUIDE
This guide is intended to be used for a single site IS-IP system that includes IS-IP door stations, IS-IPMV master
stations, and IS-SOFT PC master stations.
Note: When using the IS-IPC or when multiple sites are required, refer to the IS-IP Standard Setting Manual.
Step 2: Congure PC’s IP Address (not required if using a DHCP server)
Step 1: System Layout
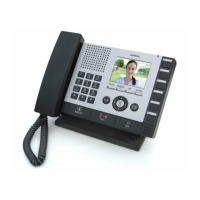
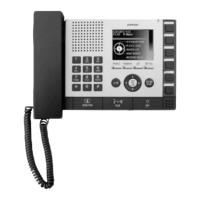
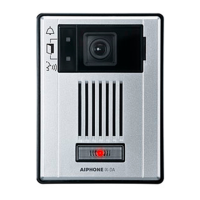
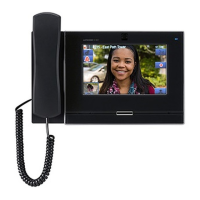
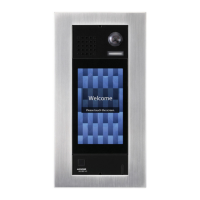
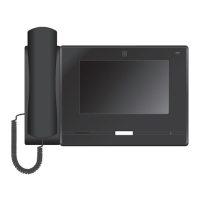
Choose an IS-IPDV, IS-IPDVF, or IS-IPMV to be the Host. All other devices will be set as clients. The nal network
will be a LAN or a VPN that supports Multicast. Use a router with a DHCP server to program the system. If one is not
available, use a CAT-5e cable to connect the PC to each device one at a time.
The default IP address for each IS-IP device is https://192.168.0.40. The PC will need to be set in the same subnet in
order to connect to the IS-IP devices.
A. Open Control Panel
- Windows XP
®
(classic view) Network Connections Double click Local Area Connection to open
Connection Status window.
- Windows 7
®
(Category View) Network and Internet View network status and tasks Click
Local Area Connection to open the Local Area Connection Status window.
B. Click the Properties button to open Local Area Connection Properties window.
C. Scroll down and left click Internal Protocol (TCP/IP) then click Properties button to open Internet Protocol
Properties window.
D. Select the Use the following IP address radio button. Type in the IP address 192.168.0.100 (the last number
can be any valid host address except 40) and change the subnet mask to 255.255.255.0. Click [OK].
E. Click [OK] in the Connection Properties window to accept these changes.
3
IMPORTANT:
When changes are made while programming, click
Temporarily stored
to save data prior to leaving each screen.
The saved data will be applied to the system when the system is updated.
General Precautions
 Loading...