Use Type I (normal) tapes only.
INSERTING A TAPE
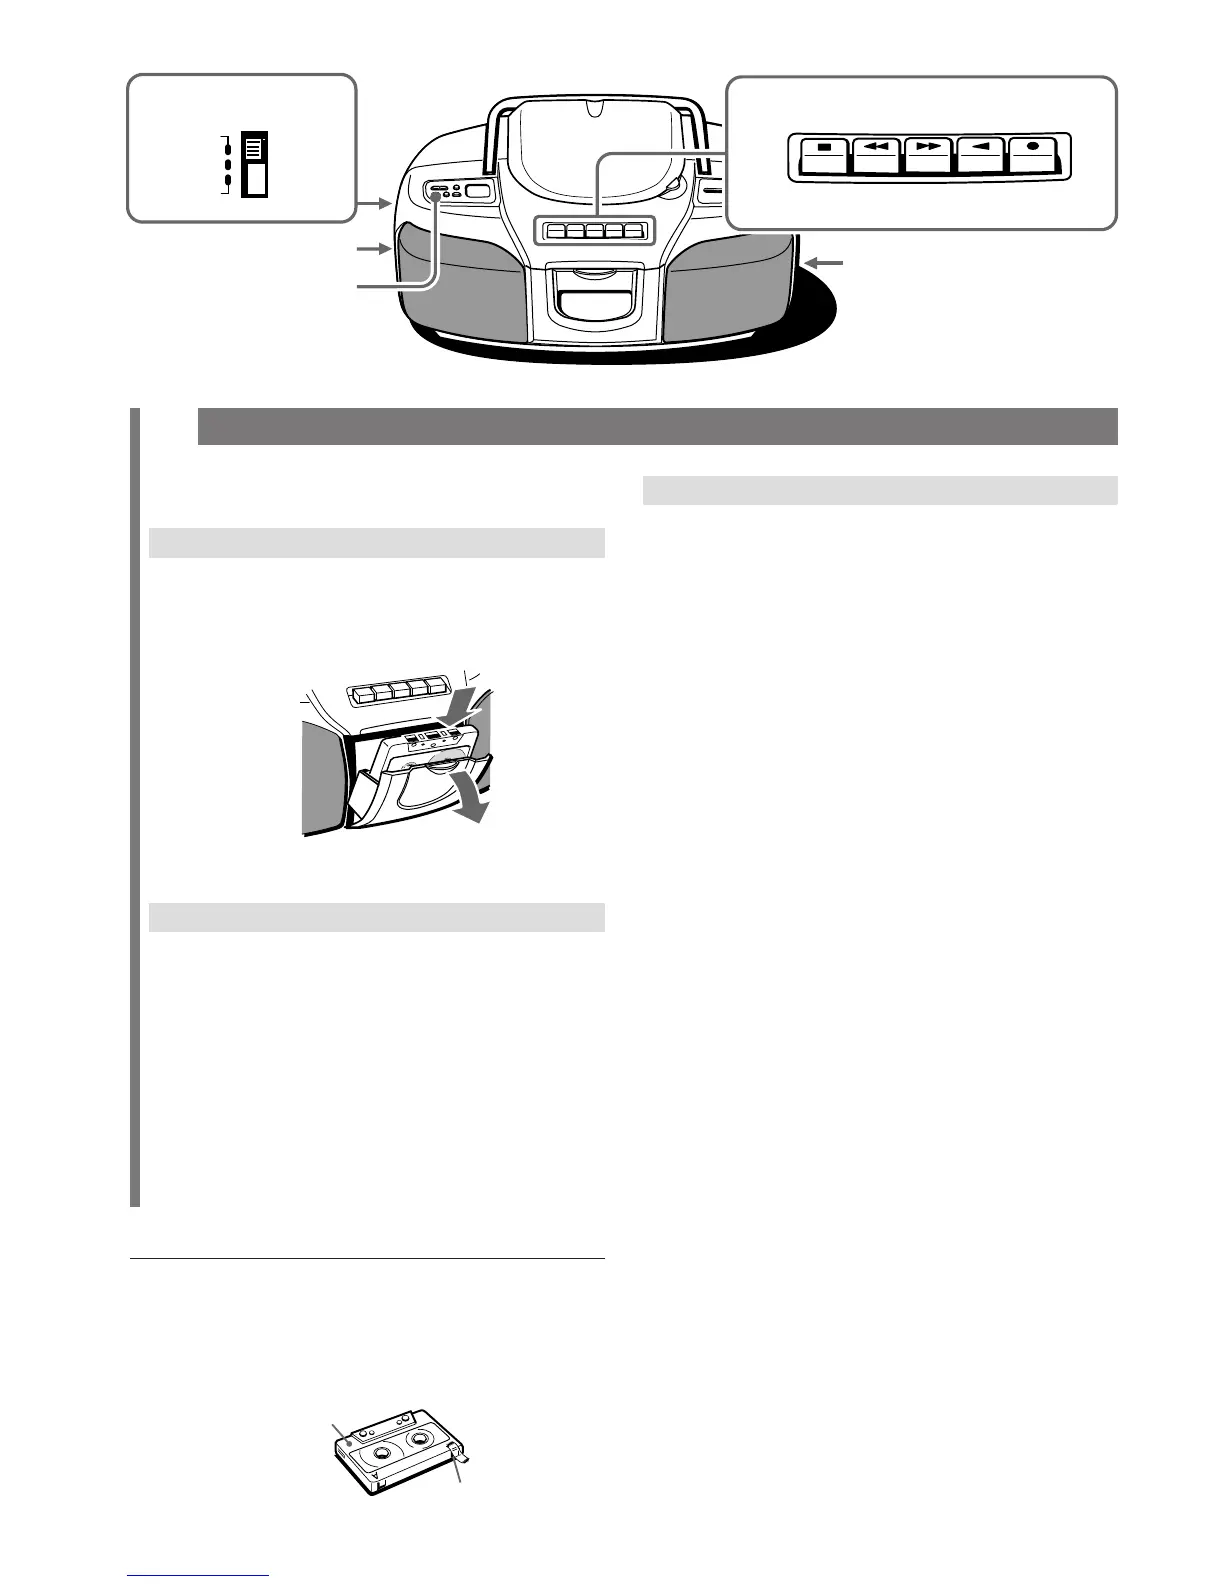
Place your finger on the top of the cassette
holder and pull it, then insert a tape with the
exposed side up and the side to be played
facing out.
Push the cassette holder to close.
PLAYING A TAPE
Press x PLAY while the power is off.
The power is turned on and play of the inserted tape
begins.
Adjust the volume with VOLUME.
s STOP – Stops play. The power will be
automatically turned off.
f F FWD/ g REW – Fast forwards/ rewinds. To
stop the winding, press s. At the end of the tape,
press s to release f or g.
TAPE OPERATION
C
6 ENGLISH
RECORDING
Note that recording is done on only one side of the
tape.
1 Insert a tape with the side to be recorded
facing out.
2 Get ready to record from the source.
To record from a CD, select CD and load the disc.
To record from a radio broadcast, select RADIO
and tune to a station.
3 Press w REC to start recording.
x PLAY is pressed simultaneously.
When recording from a CD, press e PLAY/
PAUSE to start playback.
To record only the selected tracks of a CD
1 Follow steps 1 to 4 of PROGRAMMED PLAY on
page 5 to program tracks.
2 Press w REC and start CD play.
To stop recording, press s STOP on the deck. To
stop CD play, press s STOP on the operation panel.
To erase recording, press w REC while the power is
off.
After recording, select TAPE/6 STANDBY with
FUNCTION to turn the power off.
OSC
If a high-pitched sound is heard during recording from
AM, set OSC to another position.
To prevent accidental erasure
Break off the plastic tabs on the cassette tape with a
screwdriver or other pointed tool after recording.
To record on the tape again
Cover the tab openings with adhesive tape, etc.
Tab for side A
Side A
s STOP
TAPE
RADIO
CD
FUNCTION
6
STANDBY
C
VOLUME
OSC
STOP F FWD
REW
PLAY REC

 Loading...