SOUND MIXING
For mixing microphone and line input signals, proceed as
follows:
A. Insert microphones into Microphone Jacks and connect
the line outputs of external source to the Line Input
Jacks.
B. Adjust microphone input level with Microphone
Recording Level Controls and line input level with Line
Recording Level Controls.
C. For playback, operate Track Selector Switch according
to tracks used in making recording.
SOUND-WITH-SOUND RECORDING
Sound-with-sound recording is accomplished in the same
way as Sound-On-Sound except that instead of transferring
from one track to another, the sound on track 1 is
monitored through headphones while the second recording
is made on track 3. This feature is especially convenient for
teacher/student repetition and comparison (teacher's voice
on track 1 and student's voice on track 3. For sound-with-
sound recording, follow Sound-On-Sound recording proce-
dure, substituting the following step for step L, and
eliminating step O.
L. Decrease Line Recording Level Control to minimum.
For playback, depress both Track Selector Switches (for
stereo) and depress the TAPE Monitor Switch.
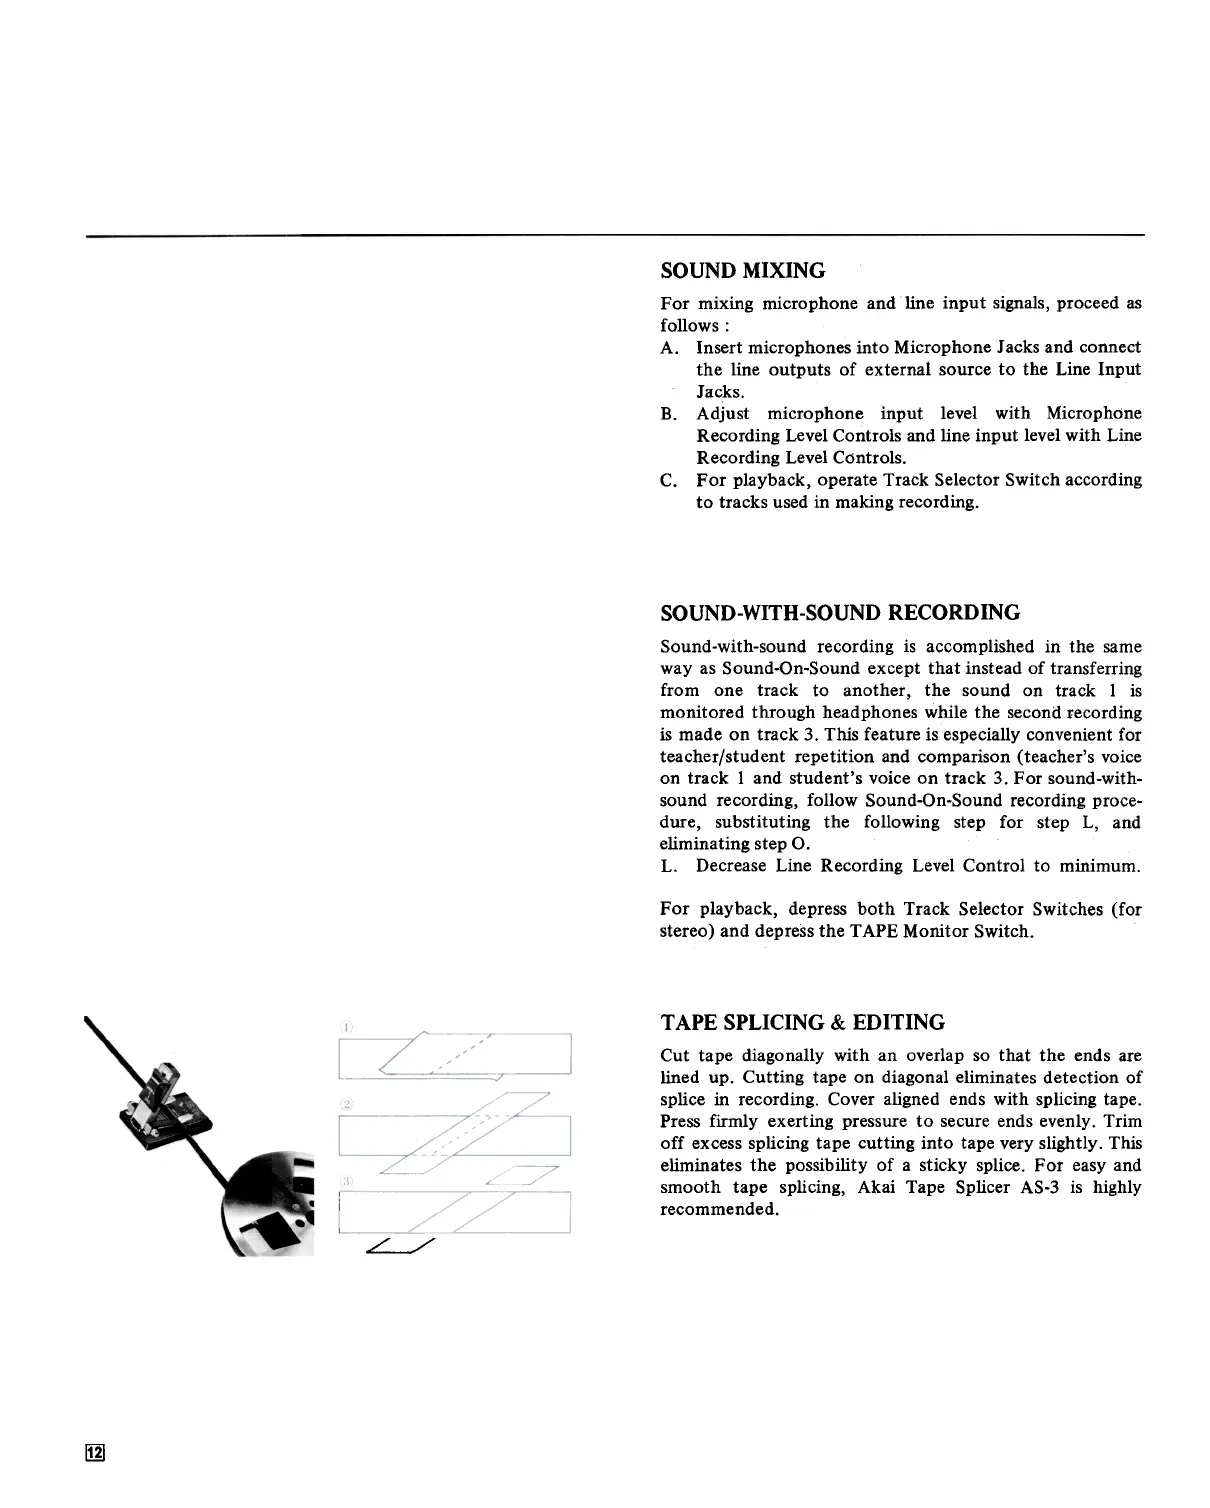
TAPE SPLICING & EDITING
Cut tape diagonally with an overlap so that the ends are
lined up. Cutting tape on diagonal eliminates detection of
splice in recording. Cover aligned ends with splicing tape.
Press firmly exerting pressure to secure ends evenly. Trim
off excess splicing tape cutting into tape very slightly. This
eliminates the possibility of a sticky splice. For easy and
smooth tape splicing, Akai Tape Splicer AS-3 is highly
recommended.
~
~
 Loading...