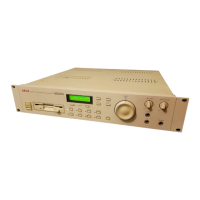
Introduction
Insert the disk with the metal shutter first, and the label to the ri
ht
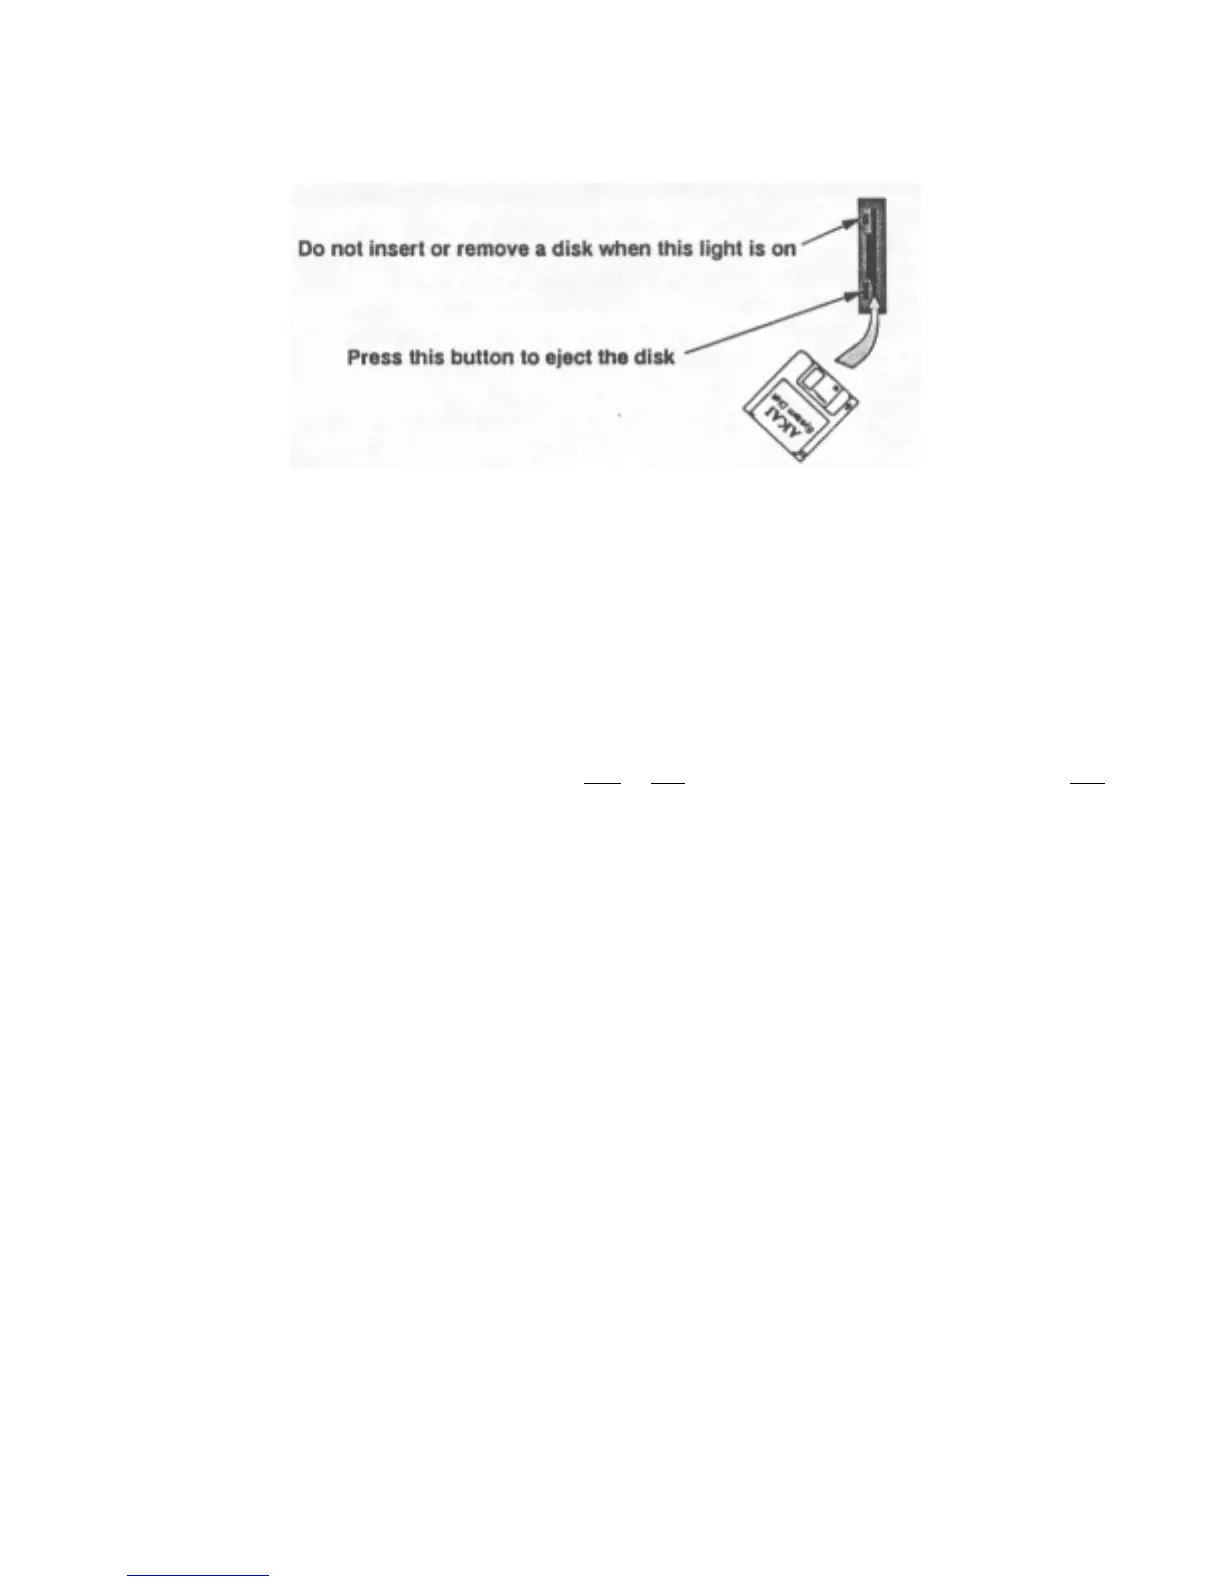
Insert the disk until it clicks into place. To eject a disk, press the black rectangular button
at the bottom of the disk drive. When the S1000 is reading or writing a disk
("accessing"), an LED on the disk drive will show this. NEVER, try to insert or remove
a disk while this light is on! You may damage the drive and/or the data on the disk if you
do this.
When buying blank 3.5" disks for- use with the S1000, you can use either MF2DD
(these are low-density disks, cheaper, but don't hold as much data), or MF2HD
high-density disks (more expensive and capable of holding more data). Format disks for
use with the S1000 using the
HIGH or LOW options in the disk formatting page of the DISK
menu. No harm is done by formatting high-density disks as low-density (though it's a
waste of a high-density disk), but you probably won't be able to format MF2DD disks as
high-density. It's better not to try this.
You can prevent accidental erasure or overwriting of a disk by opening the small tab in
the corner of the disk. It is a good idea to keep this small tab open all the time, unless
you are sure that you want to write to, erase, or overwrite a disk.
Page 15
Version 2.0 89/11
 Loading...