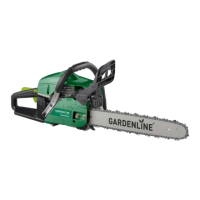
When replacing with a new chain, rotate the
adjustment screw 10 FULL turns (Fig H).
8. After adjusting the chain tensioning screw
(22), replace the chain side cover (23) on to the
chainsaw and hold the cover firmly against the
Bar. DO NOT fit the nuts (Fig I). While holding
the cover on firmly, grasp the guide bar (19)
and slide it outward slowly (Fig J).
When the chain tensioning pin (30) aligns with
the clearance hole in the bar, the cover will
drop firmly and flat on the bar (Fig L - shows
internal side on chain drive side cover and
where the chain tensioning pin is located).
If the chain tensioning pin (30) does not align,
adjust the chain tensioning screw (22) using the
combination tool (flat blade screwdriver) (33)
so the pin aligns with the hole in the bar (Fig K).
The chain tensioning pin (30) must enter the
guide bar (19), and the flat face of the chainsaw,
and the flat face of the chain drive side cover
(23) must be flat against the bar before the nuts
are applied.
9. Fit the chain drive side cover nuts (24) and
tighten FINGER TIGHT. Check again the cover is
flat on the surface of the bar.
10. Rotate the chain (20) a few times to ensure
the chain (20) is free to rotate around the drive
sprocket (29) and is correctly engaged on the
sprocket.
11. Check the tension of the chain (20). It will need
to be tightened. Tighten the chain tensioner
screw (22), in a clockwise direction (previous
Fig K) until the links of the chain just touch the
bottom edge of the guide bar (19).
K.
I.
J.
L.
Assembly
TIGHTEN
LOOSEN