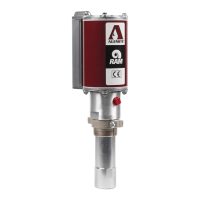
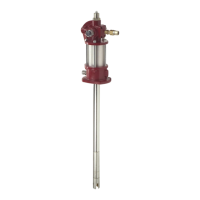
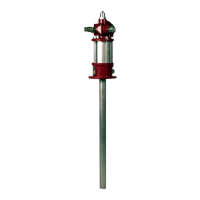
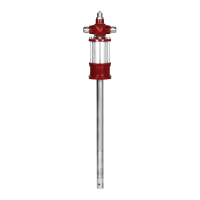
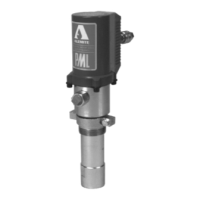
SER 9668
Medium-Pressure Stub Pump
Revision (1-97) 6 Alemite Corporation
Overhaul
NOTE
: Refer to
Figures 2
and
3
for compo-
nent identification on all overhaul proce-
dures.
Prior to performing any maintenance procedure, the
following safety precautions must be observed. Personal
injury may occur.
WARNING
Do not use halogenated hydrocarbon sol-
vents such as methylene chloride or 1,1,1-trichlo-
roethane in this pump. An explosion can result
when aluminum and/or zinc-plated parts in the
pump come in contact with halogenated hydrocar-
bon solvents.
Release all pressure within the system prior to
performing any overhaul procedure.
• Disconnect the air supply line from the pump
motor.
• Into an appropriate container, operate the
control valve to discharge remaining pressure
within the system.
Never point a control valve at any portion of your
body or another person. Accidental discharge of
pressure and/or material can result in injury.
Read each step of the instructions carefully. Make
sure a proper understanding is achieved before
proceeding.
Disassembly
Separate Air Motor from Pump Tube
1. Clamp the pump assembly in a soft-jaw vise at
Bung Adapter (
22
).
2. Remove Capscrews (
10
) that secure Body (
6
) to the
Air Motor assembly.
• Remove Keepers (
9
) from the Body.
3. With a side-to-side motion, pull Air Motor
Assembly (
1
) from the Body.
• Lubricate O-Ring (
5
) with oil to ease separation.
Pump Tube
4. Remove O-Ring (
5
) from the Body.
5. Unscrew Adapter (
8
) from the Body.
6. Remove O-Ring (
7
) from the Adapter.
7. Unscrew Tube (
21
) [with Bung Adapter (
22
)] from the
Body.
• Remove the Bung Adapter from the Tube as required.
8. Remove O-Ring (
19
) and Back-Up Ring (
20
) from the
Tube.
9. Remove Screw (
2
) that secures Air Piston (
3
) to
Rod (
15
).
• Remove the Air Piston from the Rod.
10. Remove O-Ring (
4
) from the Air Piston.
11. Pull the Rod assembly from the bottom of the Body.
12. Unscrew Valve Seat (
18
) from the Rod.
• Remove Ball (
17
) and Nylon Piston (
16
).
13. Remove Spacer (
14
) and Seal (
13
) from the Body.
14. Remove Bearing (
12
) and Seal (
11
) from the Body.
Foot Valve Assembly
15. Unscrew Foot Valve (
27
) from Tube (
21
).
16. Remove O-Ring (
26
) from the Foot Valve.
17. Remove Pin (
28
) from the Foot Valve.
18. Remove Washer (
23
), Spring (
24
), and Ball (
25
) from
the Foot Valve.
Clean and Inspect
NOTE
: Use the appropriate repair kit for
replacement parts. Make sure all the compo-
nents are included in the kit before discard-
ing used parts.
1. Clean all metal parts in cleaning solvent. The solvent
should be environmentally safe.
2. Inspect all parts for wear and/or damage.
• Replace as necessary.
3. Inspect Air Piston (
3
) for fatigue cracks.
• Replace as necessary.
4. Inspect Nylon Piston (
16
) and Rod (
15
) closely. Use a
magnifying glass to detect any score marks on the Rod.
• Replace as necessary.
5. Closely inspect the mating surfaces of all check valve
components for any imperfections. Ensure a smooth
and clean contact is obtained when assembled.
EXAMPLE
: Place Ball (
25
) into Foot Valve
(
27
). Fill the Foot Valve with solvent. Make
sure no leakage occurs.
1-800-548-1191-http://www.partdeal.com-info@partdeal.com
 Loading...