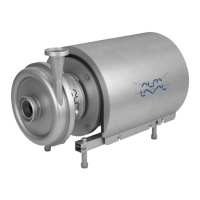
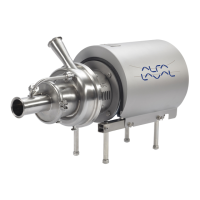
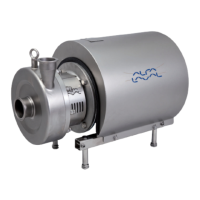
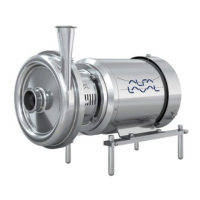
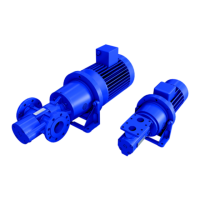
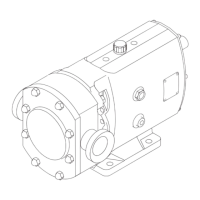
5 Maintenance
5.3 Dismantling
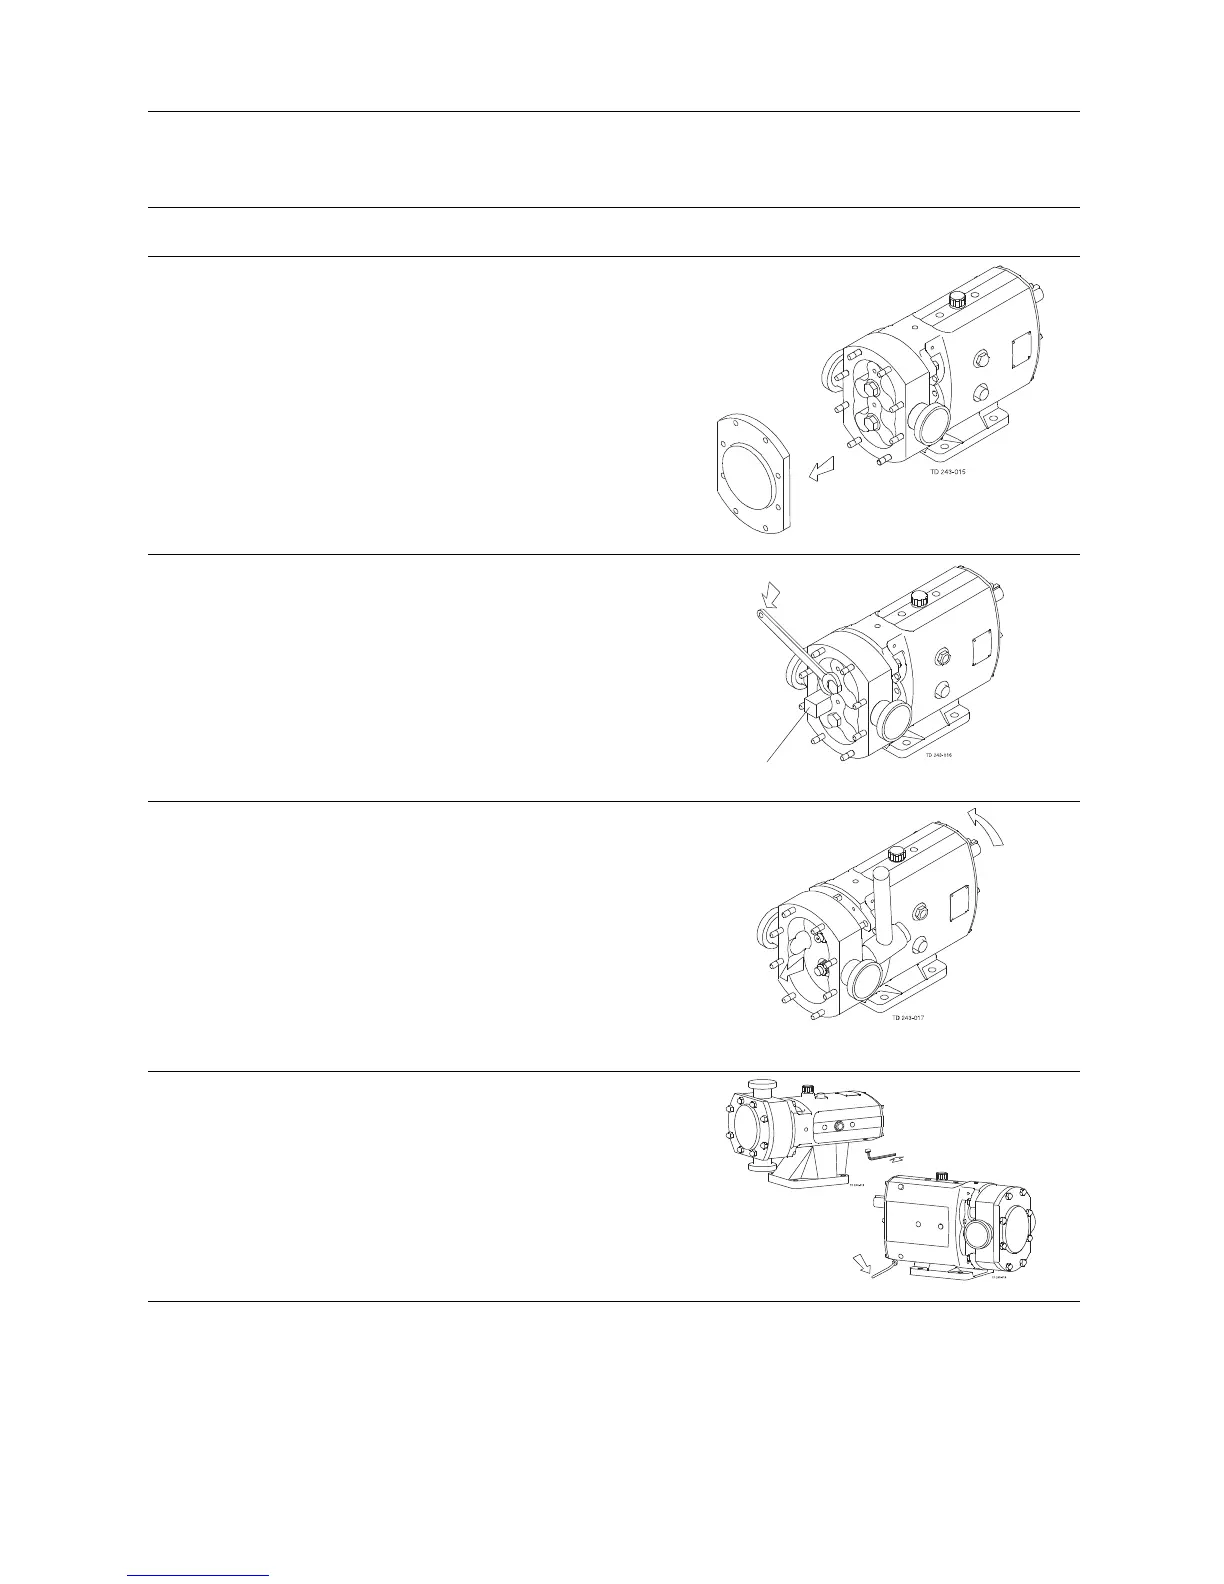
Step 1
Before dismantling the pump refer to safety precautions. See
exploded view drawings (chapter 7 Parts list).
Removing rotorcase cover
1. Remove rotorcase cover nuts (13) and cover (12).
Step 2
Removing rotors
1. Insert a plastic/wooden block between the two rotors (17) to
stop them turning.
2. Remove rotor retention nuts (22) and rotors. Pump series 6
rotors are retained by torque locking assemblies, TLA’s (19)
andcanberemovedby:
- Remove the rotor cap to reveal the TLA.
- The screws now visible are unscrewed and the TLA is
removed.
Plastic or wooden block
Step 3
1. For packed gland seals loosen the gland followers to relieve the
packing pressure on the shaft.
For flushed mechanical seal arrangements, remove the seal
housing retaining nuts and ease the seal housings from the
rotorcase.
2. Remove rotorcase retaining nuts (4) and washers (4A).
3. Tap both sides of the rotorcase (9) with a soft mallet.
4. Take care not to damage mechanical seals. The rotorcase
must not be allowed to drop onto the shafts (24 and 25) during
the removal process.
5. Shims (8) should not be removed unless rotor clearances
require resetting.
Step 4
Draining pump lubrication
1. Place a tray under the gearcase to collect the waste lubricating
oil.
2. Remove the lower drain plug (45) at the side of the gearcase (1).
17
 Loading...