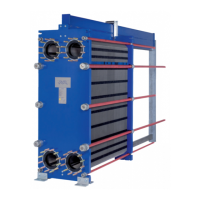
3
Make sure that all sealing surfaces are dry,
clean and free of foreign matter such as fat,
grease or similar.
4
Check the gasket and remove rubber residual
before attaching it.
NOTE
Especially the end plate gasket!
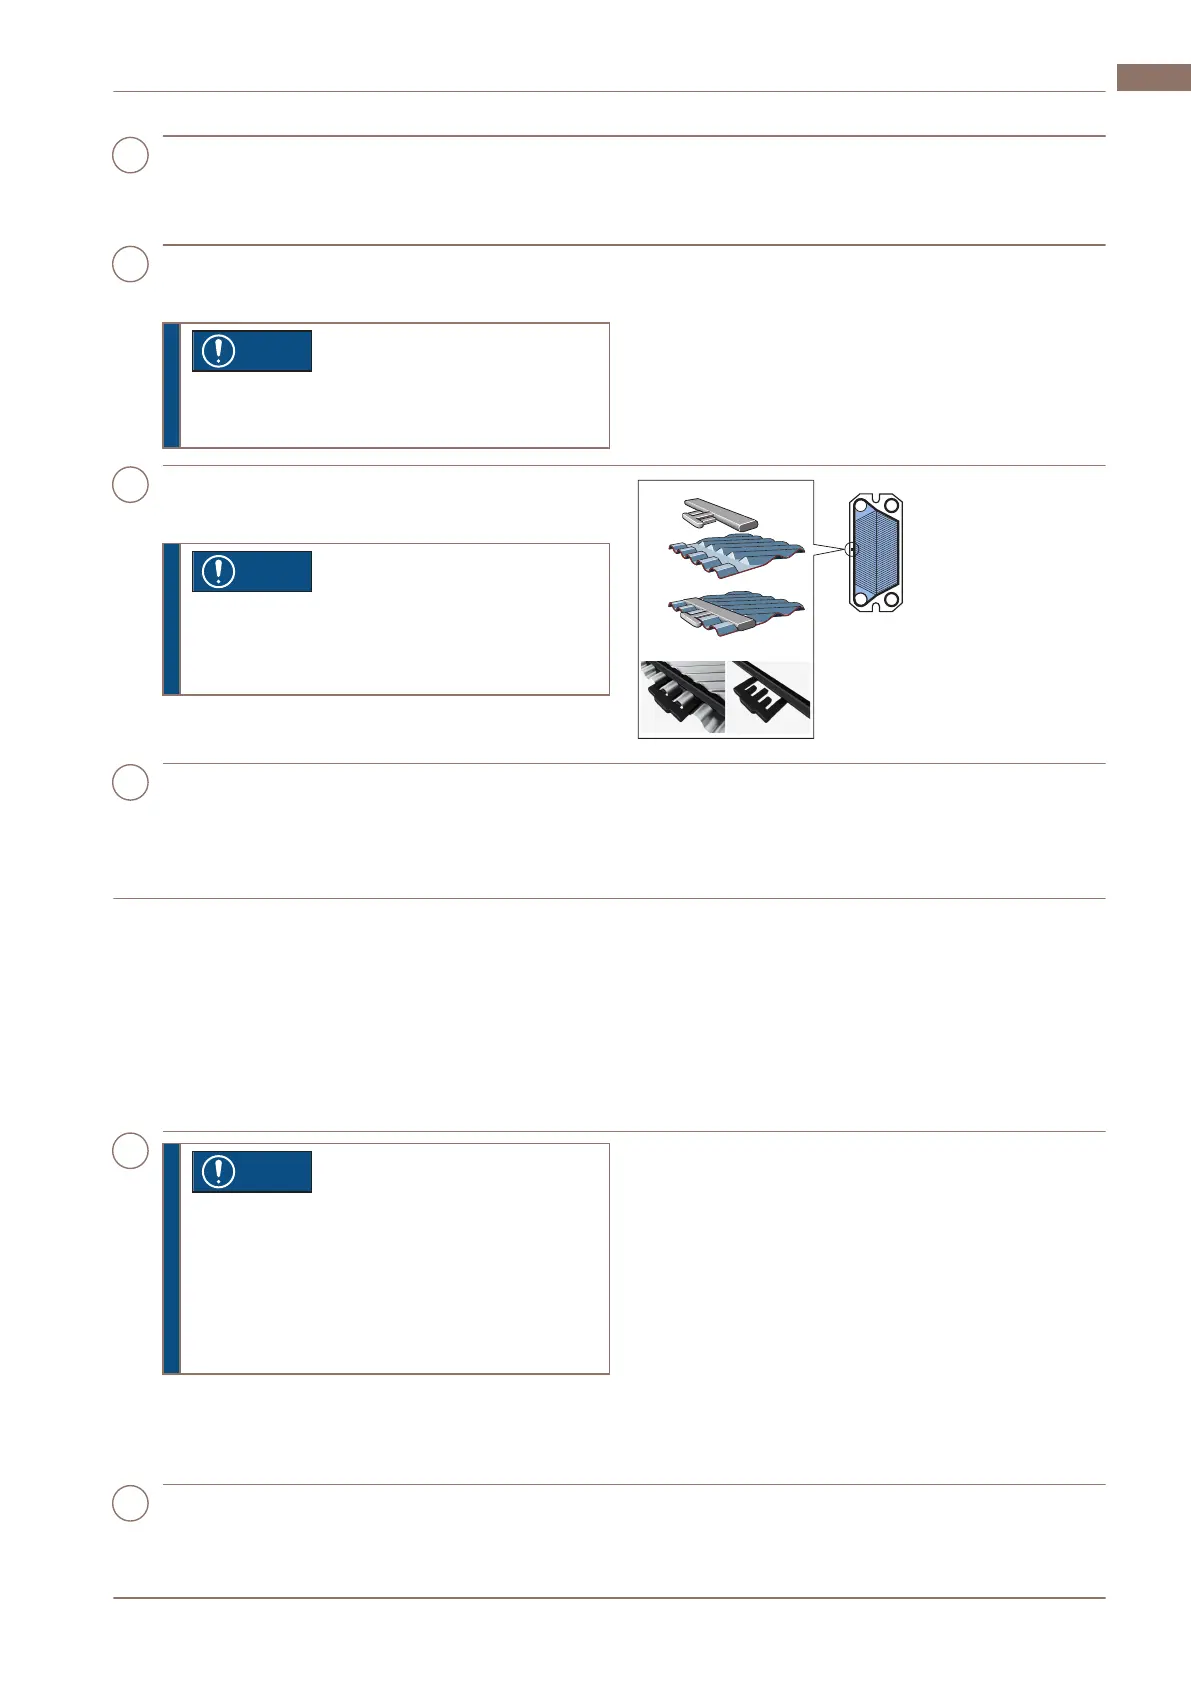
5
Attach the gasket to the plate. Slip the gasket
tabs under the edge of the plate.
NOTE
Make sure the two gasket prongs are in
the correct position.
6
Repeat the procedure until all plates that are
needed to be regasketed are done. Close the
heat exchanger according to Closing on page
38.
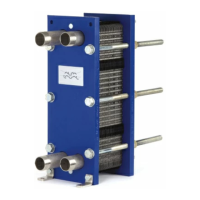
6.7.2 Clip-ad gaskets (MX25 and TL15)
The Clip-ad gasket represents a system with the conventional Clip-on fastening around the ports and
fastening by means of adhesive tape along the sides of the plates.
The use of the adhesive tape (GC1) is a simple way to obtain secure gasket positioning. It is adhered
to the gasket groove by means of a special tape gun, making it easy to apply the tape exactly where
wanted.
1
NOTE
Before opening the heat exchanger,
check the warranty conditions. If in any
doubt, contact an Alfa Laval sales
representative. Refer to Warranty
conditions on page 7.
Open the heat exchanger (refer to Opening
on page 33) and remove the plate that is to
have a new gasket.
2
Remove the old gasket.
200000418-2-EN-GB 43
Maintenance 6 EN