13
8. USE AND CONFIGURATION
NOTE. The chapter describes the main configuration parameters of the standard version of the meter.
The pages described in this manual refer to the instrument set in 3-PHASE,4-WIRE/3CT wiring mode.
Some pages may differ or disappear if the wiring mode is different.
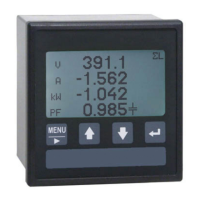
8.1 CONTROL PANEL DESCRIPTION
The front LCD shows all the parameters measured by the instrument in a numeric format. The display
backlighting can be programmed to remain always ON or go OFF after a pre-set time (see section 8.4.4).
When the back lighting is OFF, it is automatically activated by pressing a key.
Hereafter, the main functions of the pushbuttons:
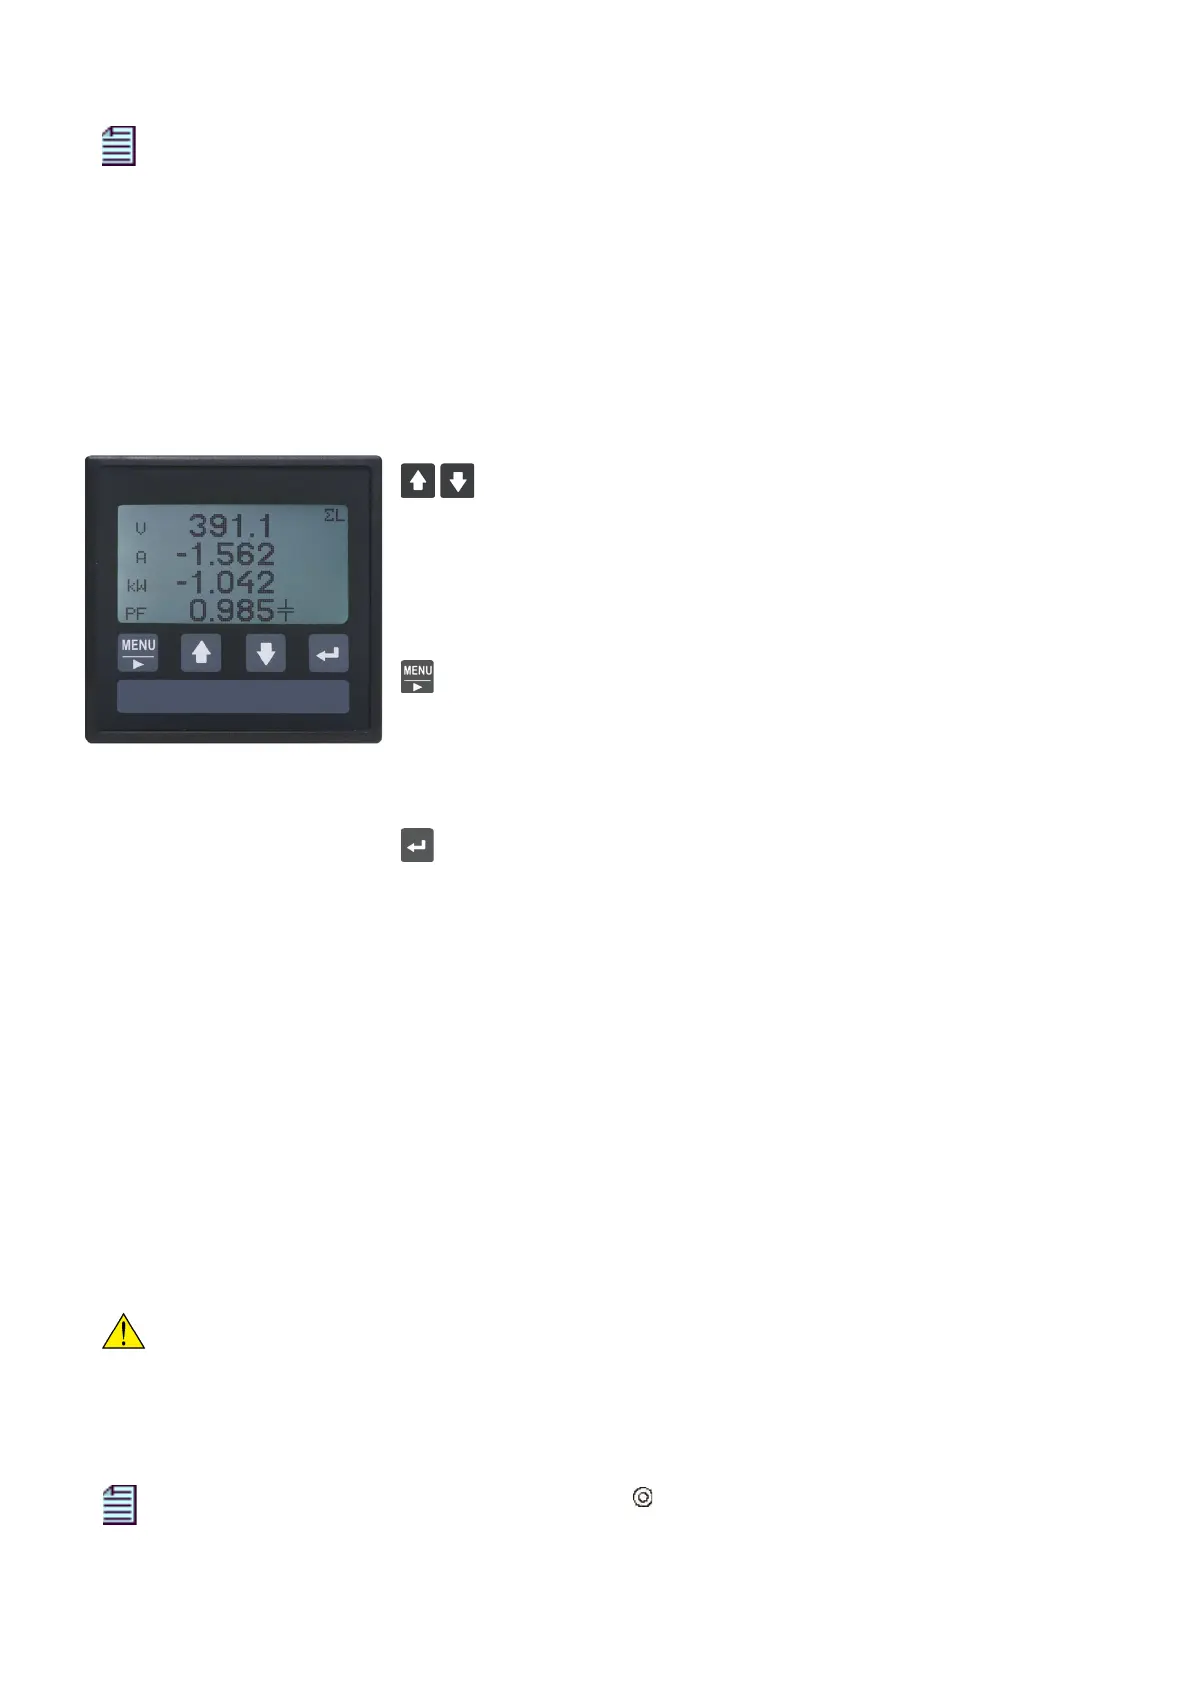
UP and DOWN key
a) In sequence, scroll all the available pages
b) In programming, change the value of the flashing figure (or group of
figures)
c) In programming, move the highlighted bar
d) In programming, pressed simultaneously insert the password
MENU key
a) Pressed for at least 2 seconds, display the General Menu
b) In programming, move the highlighted bar to the right-hand side figure
c) On Harmonics pages, switch from graphic to numerical view, or
viceversa
ENTER key
a) In programming, access to the parameter to be changed, or confirm
the set parameters
b) Pressed for at least 2 seconds, set the displayed page as Main Page or
delete the Main Page function from the displayed page
c) Pressed with MENU key simultaneously, display the Main Page (if it
was previously set)
8.2 INSTRUMENT SWITCHING ON
The instrument switches ON automatically when it is powered.
8.2.1 Initialization
At start-up, an Info page is displayed, showing the instrument name, the serial number and the firmware
release. After a few seconds, the instrument displays another page which summarize the set wiring mode
and the main parameters.
ATTENTION!
The displayed page shows the selected wiring diagram. Make sure that the carried out
connections correspond to the programmed wiring mode.
After 2 minutes from instrument switching ON, the Main Page is displayed (if it was previously set). Any
instrument page can be set as Main Page, menu and Setup pages excluded.
NOTE. The Main Page is identified by a symbol ( ) displayed on the left side of the instrument
LCD.
 Loading...
