6 www.Observint.com
© 2014 Observint Technologies. All rights reserved.
8. In the next window, the Wizard will search the LAN to nd compatible cameras to add to the system.
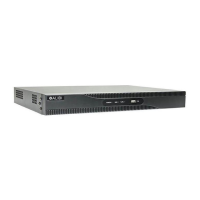
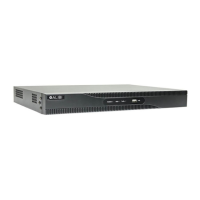
With the ALI-NVR5016P, you can monitor up to 16 IP cameras total (the sum of those attached to ports in the integrated 16-port
Ethernet switch plus those added from the LAN the NVR is attached to).
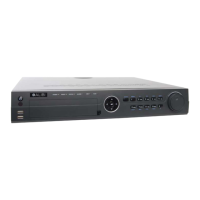
With the ALI-NVR5032P, you can monitor up to 32 IP cameras total (up to 16 attached to the 16-port Ethernet switch on the back
of the NVR plus up to 16 added from the LAN the NVR is attached to).
Check the select boxes for the cameras you want to add, then click the Add button (see above).
9. On the next screen, you can congure all cameras to begin recording video either continuously, when motion is detected, or not
record (select no options). The recording mode of individual cameras can be congured using the menus in the rmware. See the
ALI-NVR5000P Series Embedded Network Video Recorder User Manual for more information.
5. In the date and time setup window, click the eld you want to change, then use the drop-down list or setup aid to select the
appropriate values. Click Next to conrm your settings or Cancel to discard them and open the network setup Wizard window.
6. In the Network setup Wizard window, click the eld value you want to change, then use the pop-up aid to enter a new value. By
default, the DVR uses DHCP (Dynamic Host Conguration Processor) to acquire compatible (dynamic, changeable) network settings
from a network DHCP server.
Generally, it is preferable to setup the DVR with a xed network settings, if possible, to assure the DVR has an unchanging IP address
for remote login. To enable xed network settings, un-check the Enable DHCP box, then edit the appropriate elds to change the
settings. Consult with your network administrator to determine the best network settings for your DVR. When nished, click Next.
7. Click Next after you congured the network parameters. The HDD management Wizard window will open. If a new DVR is shipped
with a pre-congured HDD, nothing needs to be done in this window. If you installed an HDD or replaced the HDD, select (check the
box for) the HDD, then click Init to setup the disk for the DVR. NOTE: Init will erase all data from the disk. When the initialization is
complete, click Next to continue.
 Loading...

