SpeedSentry Radar Speed Display - 7
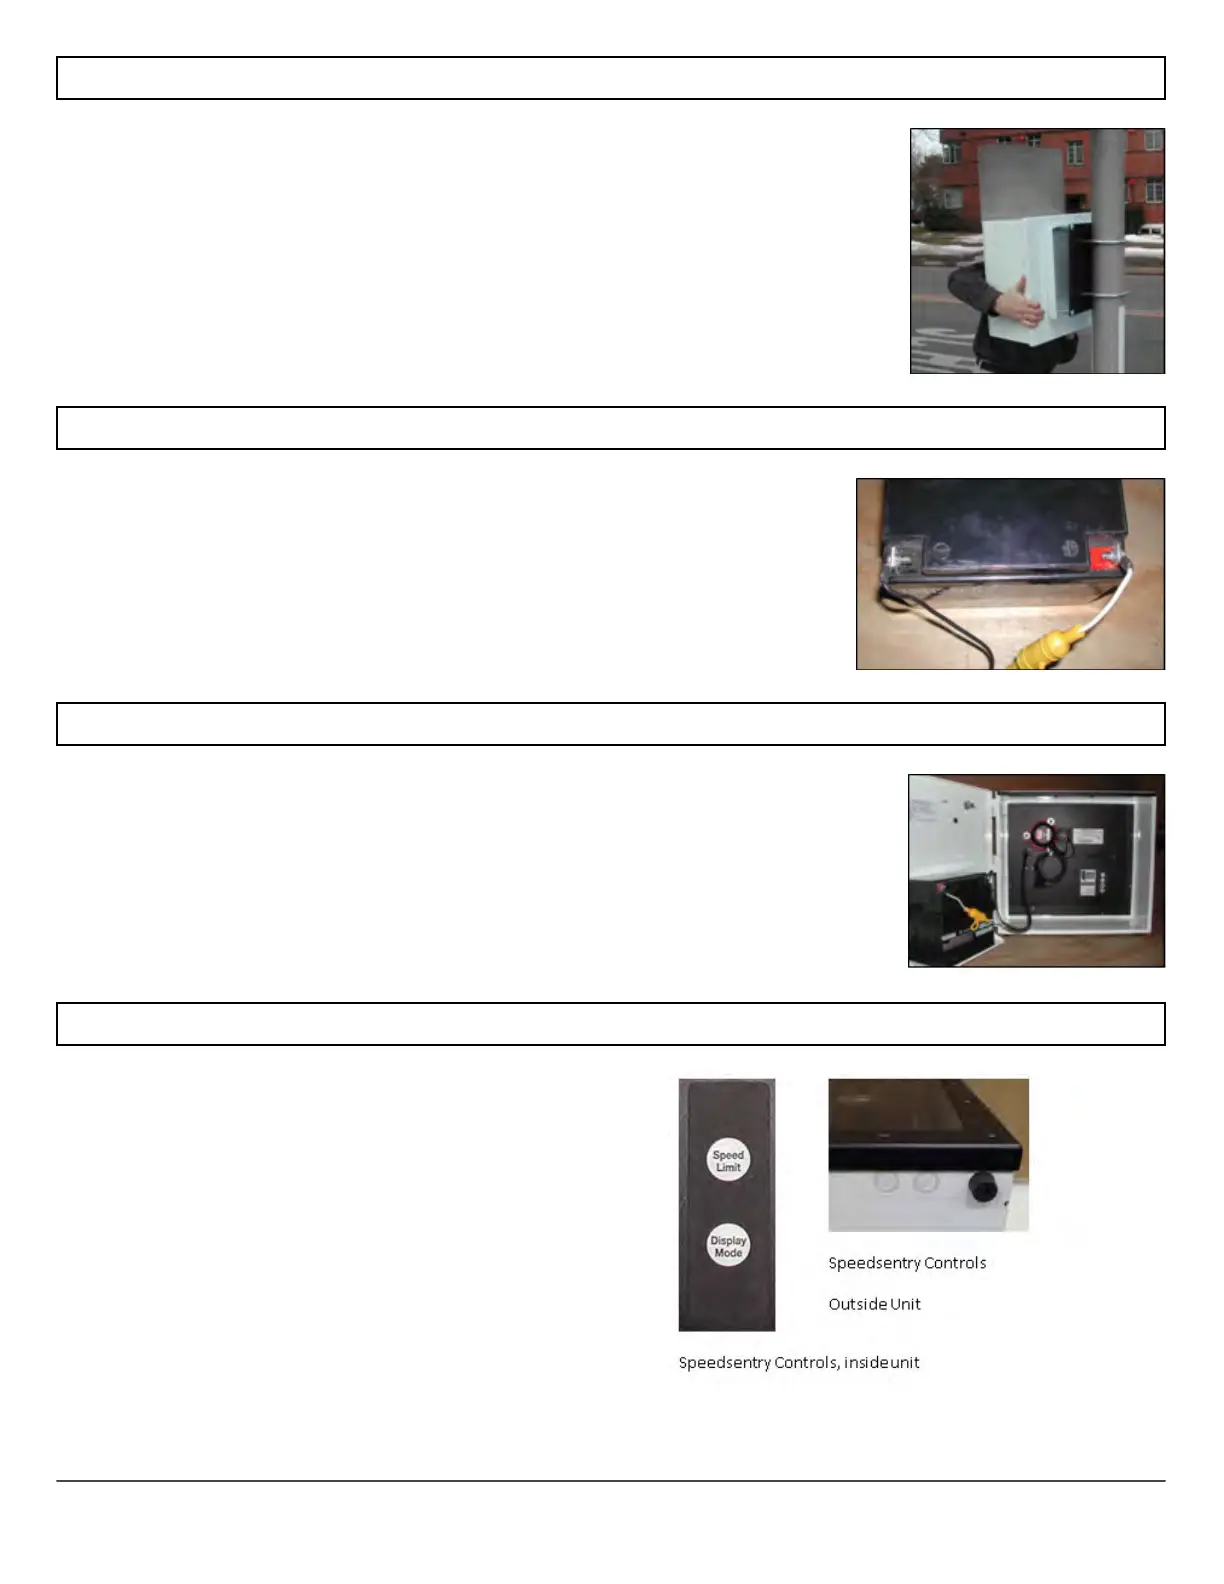
Attach the Speedsentry to the Mounting Plate
Place the four large wing nuts inside the unit so they are within reach when the
unit is opened. With the display facing traffic, hoist the unit onto the mounting
plate sliding it onto the four protruding bolts. While holding the unit in place,
open the front and place a washer and wing nut on each screw inside the unit and
tighten to secure. Tighten the top left nut forst, and this will hold the unit in place
while the other nuts are put on. Do not mount the unit with the battery installed.
To install the battery cable, attach the black wire of the battery cable to the
negative (black) terminal and the red or white wire of the battery cable to
the positive (red) terminal. Use the supplied hardware.
Place the battery on the door’s shelf. Replace the battery strap, and tighten the
wing nuts on the strap to secure. Connect battery cable plug to the receptacle in
the unit. The unit will run a 70-second diagnostic test.
Program the Unit - 2 Button Control
Make sure the power is on. Press the Speed Limit button
to set the speed. The speed limit will display on the
unit’s display. The first press will display the current
setting, and each successive press will increment the
speed limit by 5 MPH. Press the display mode until you
see the cS display, which is constant with the violator
strobe, or the c, which is constant without the strobe. On
the new outside controls, the button on the left controls
the speed limit and the button on the right controls the
display mode. The buttons become inactive 5 minutes
after power is applied to prevent tampering. There are
 Loading...